Editorial

Everything I Love Lives at Lockhart Rising

When it comes to any social endeavor, it’s rare that everything comes together in my Venn diagram. That’s why I love Lockhart Rising. It checks all of my boxes.

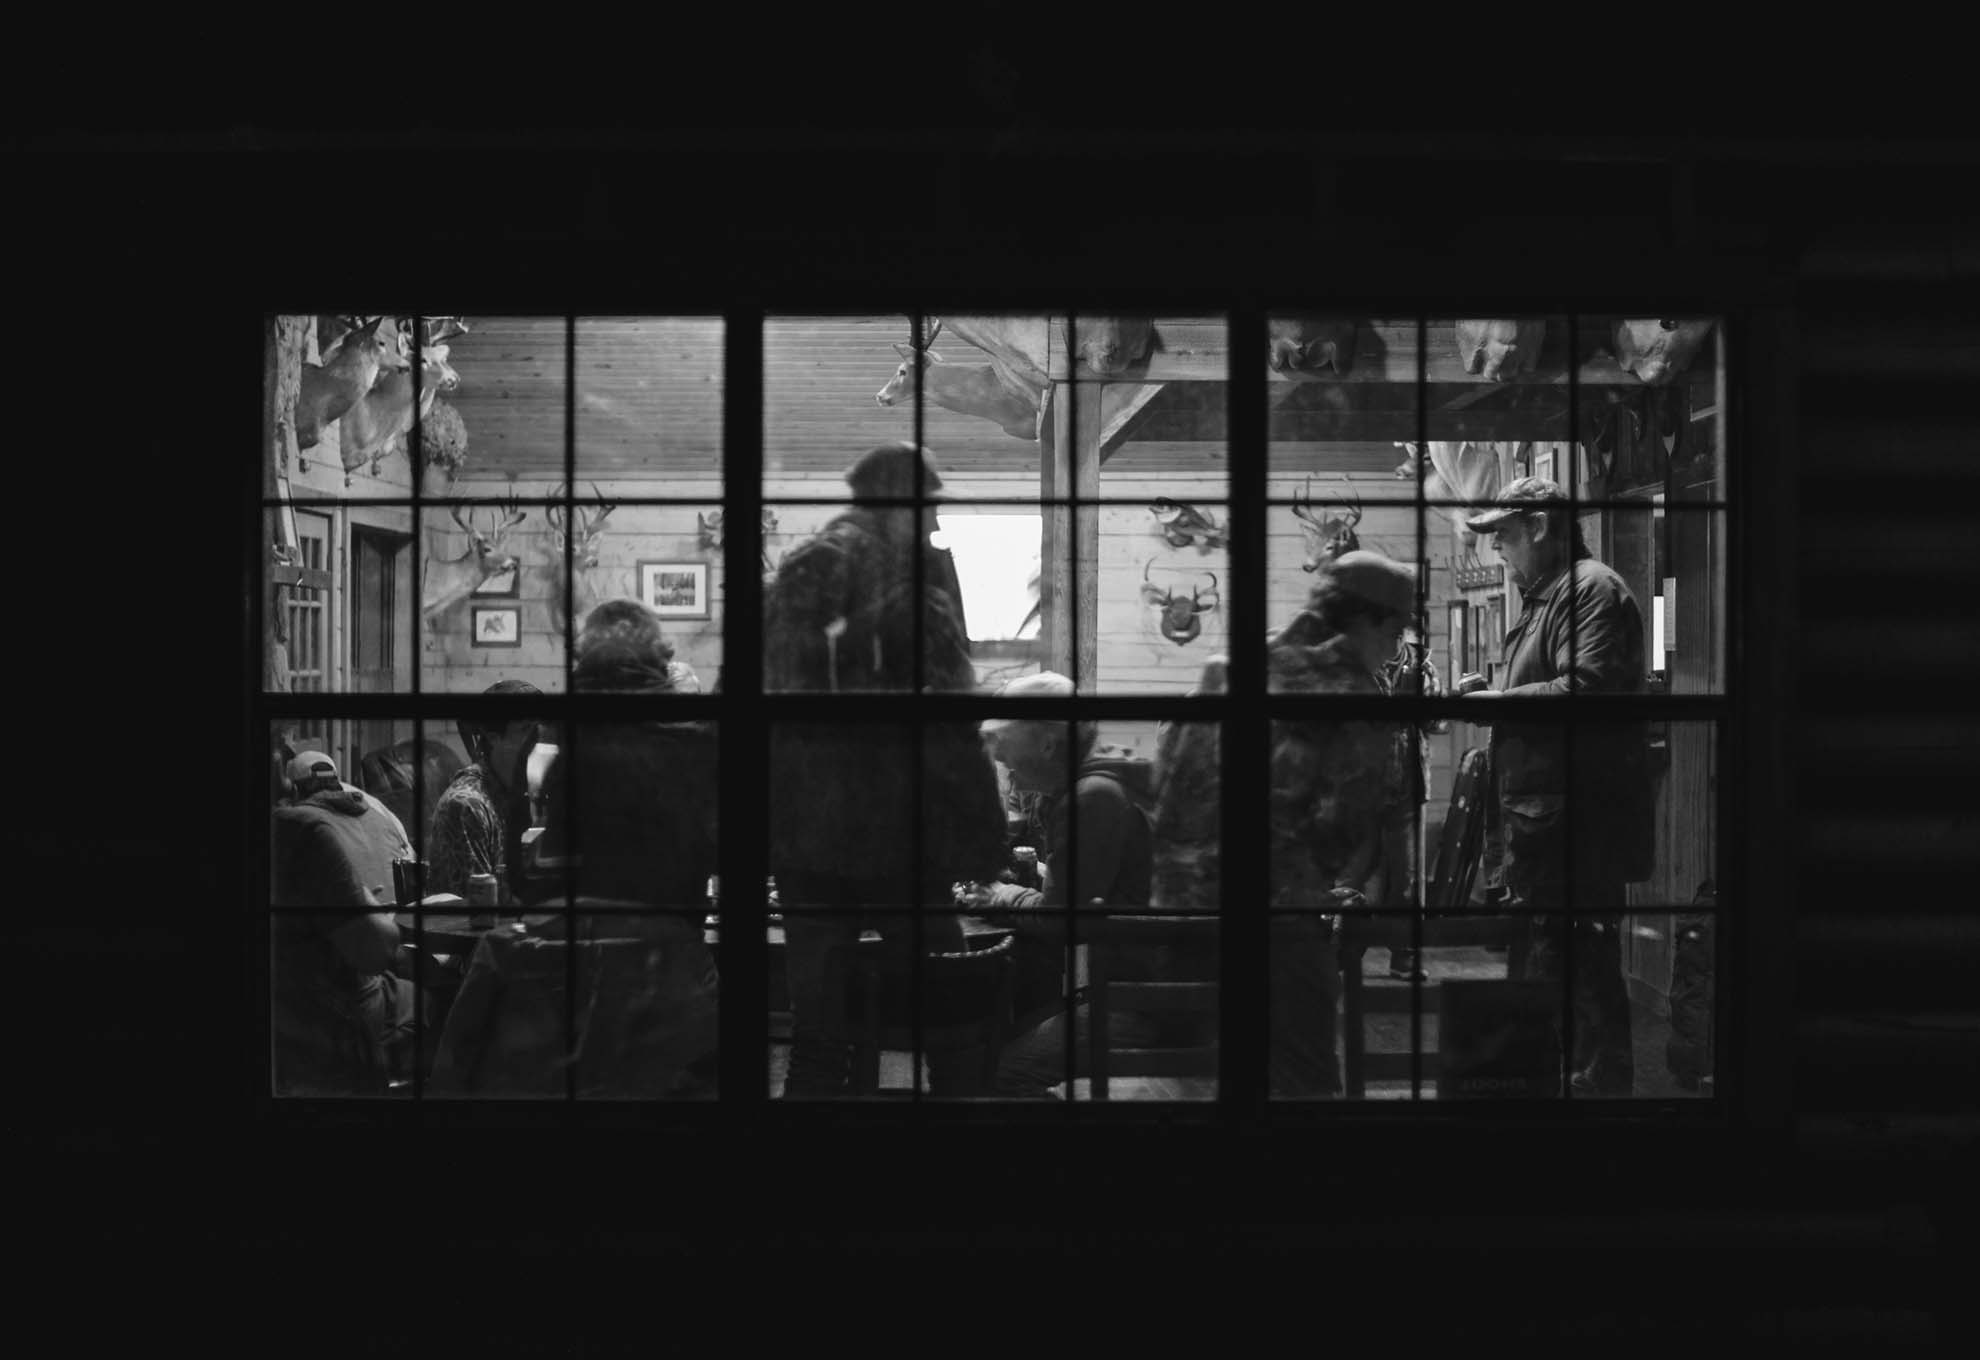
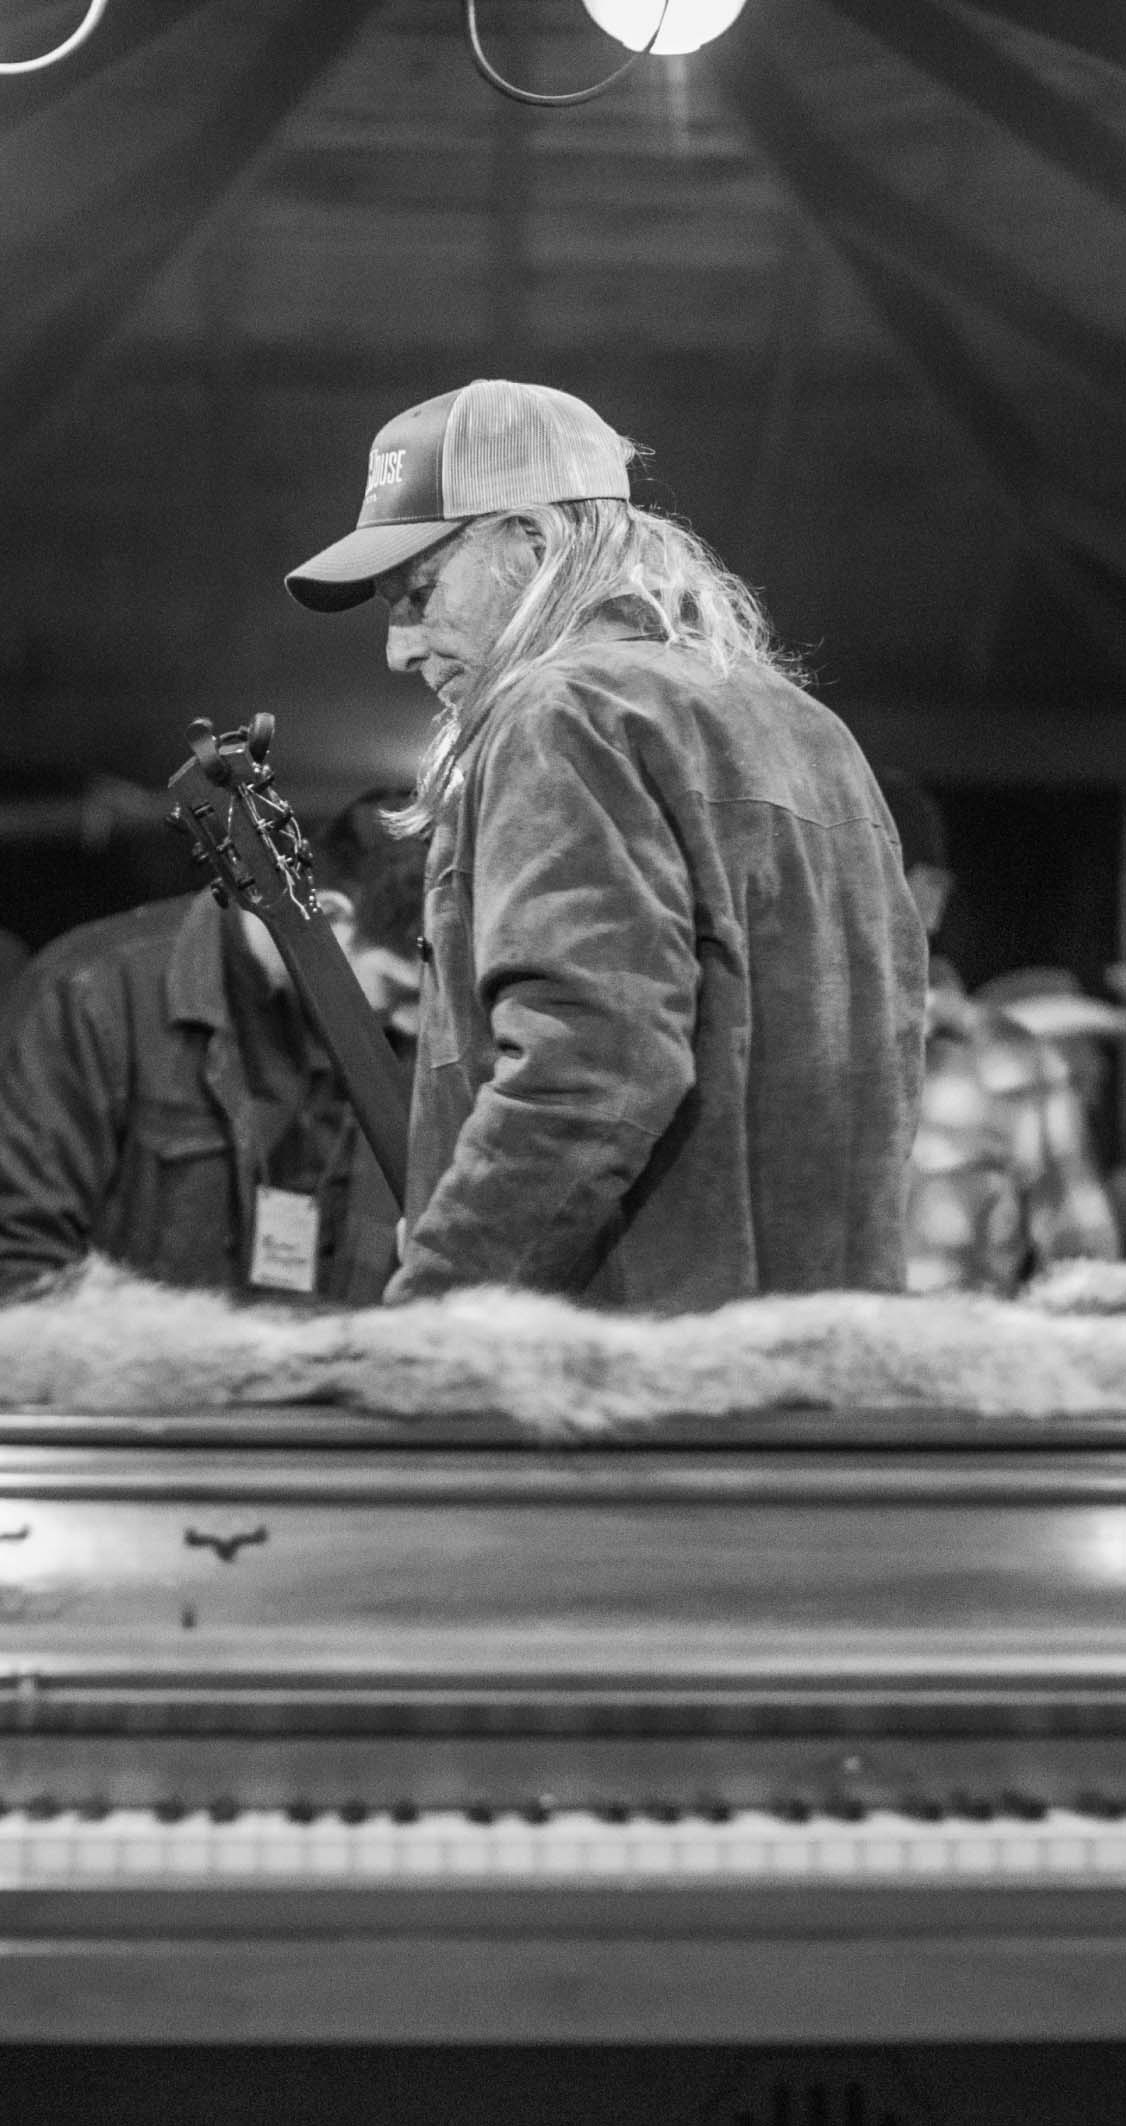
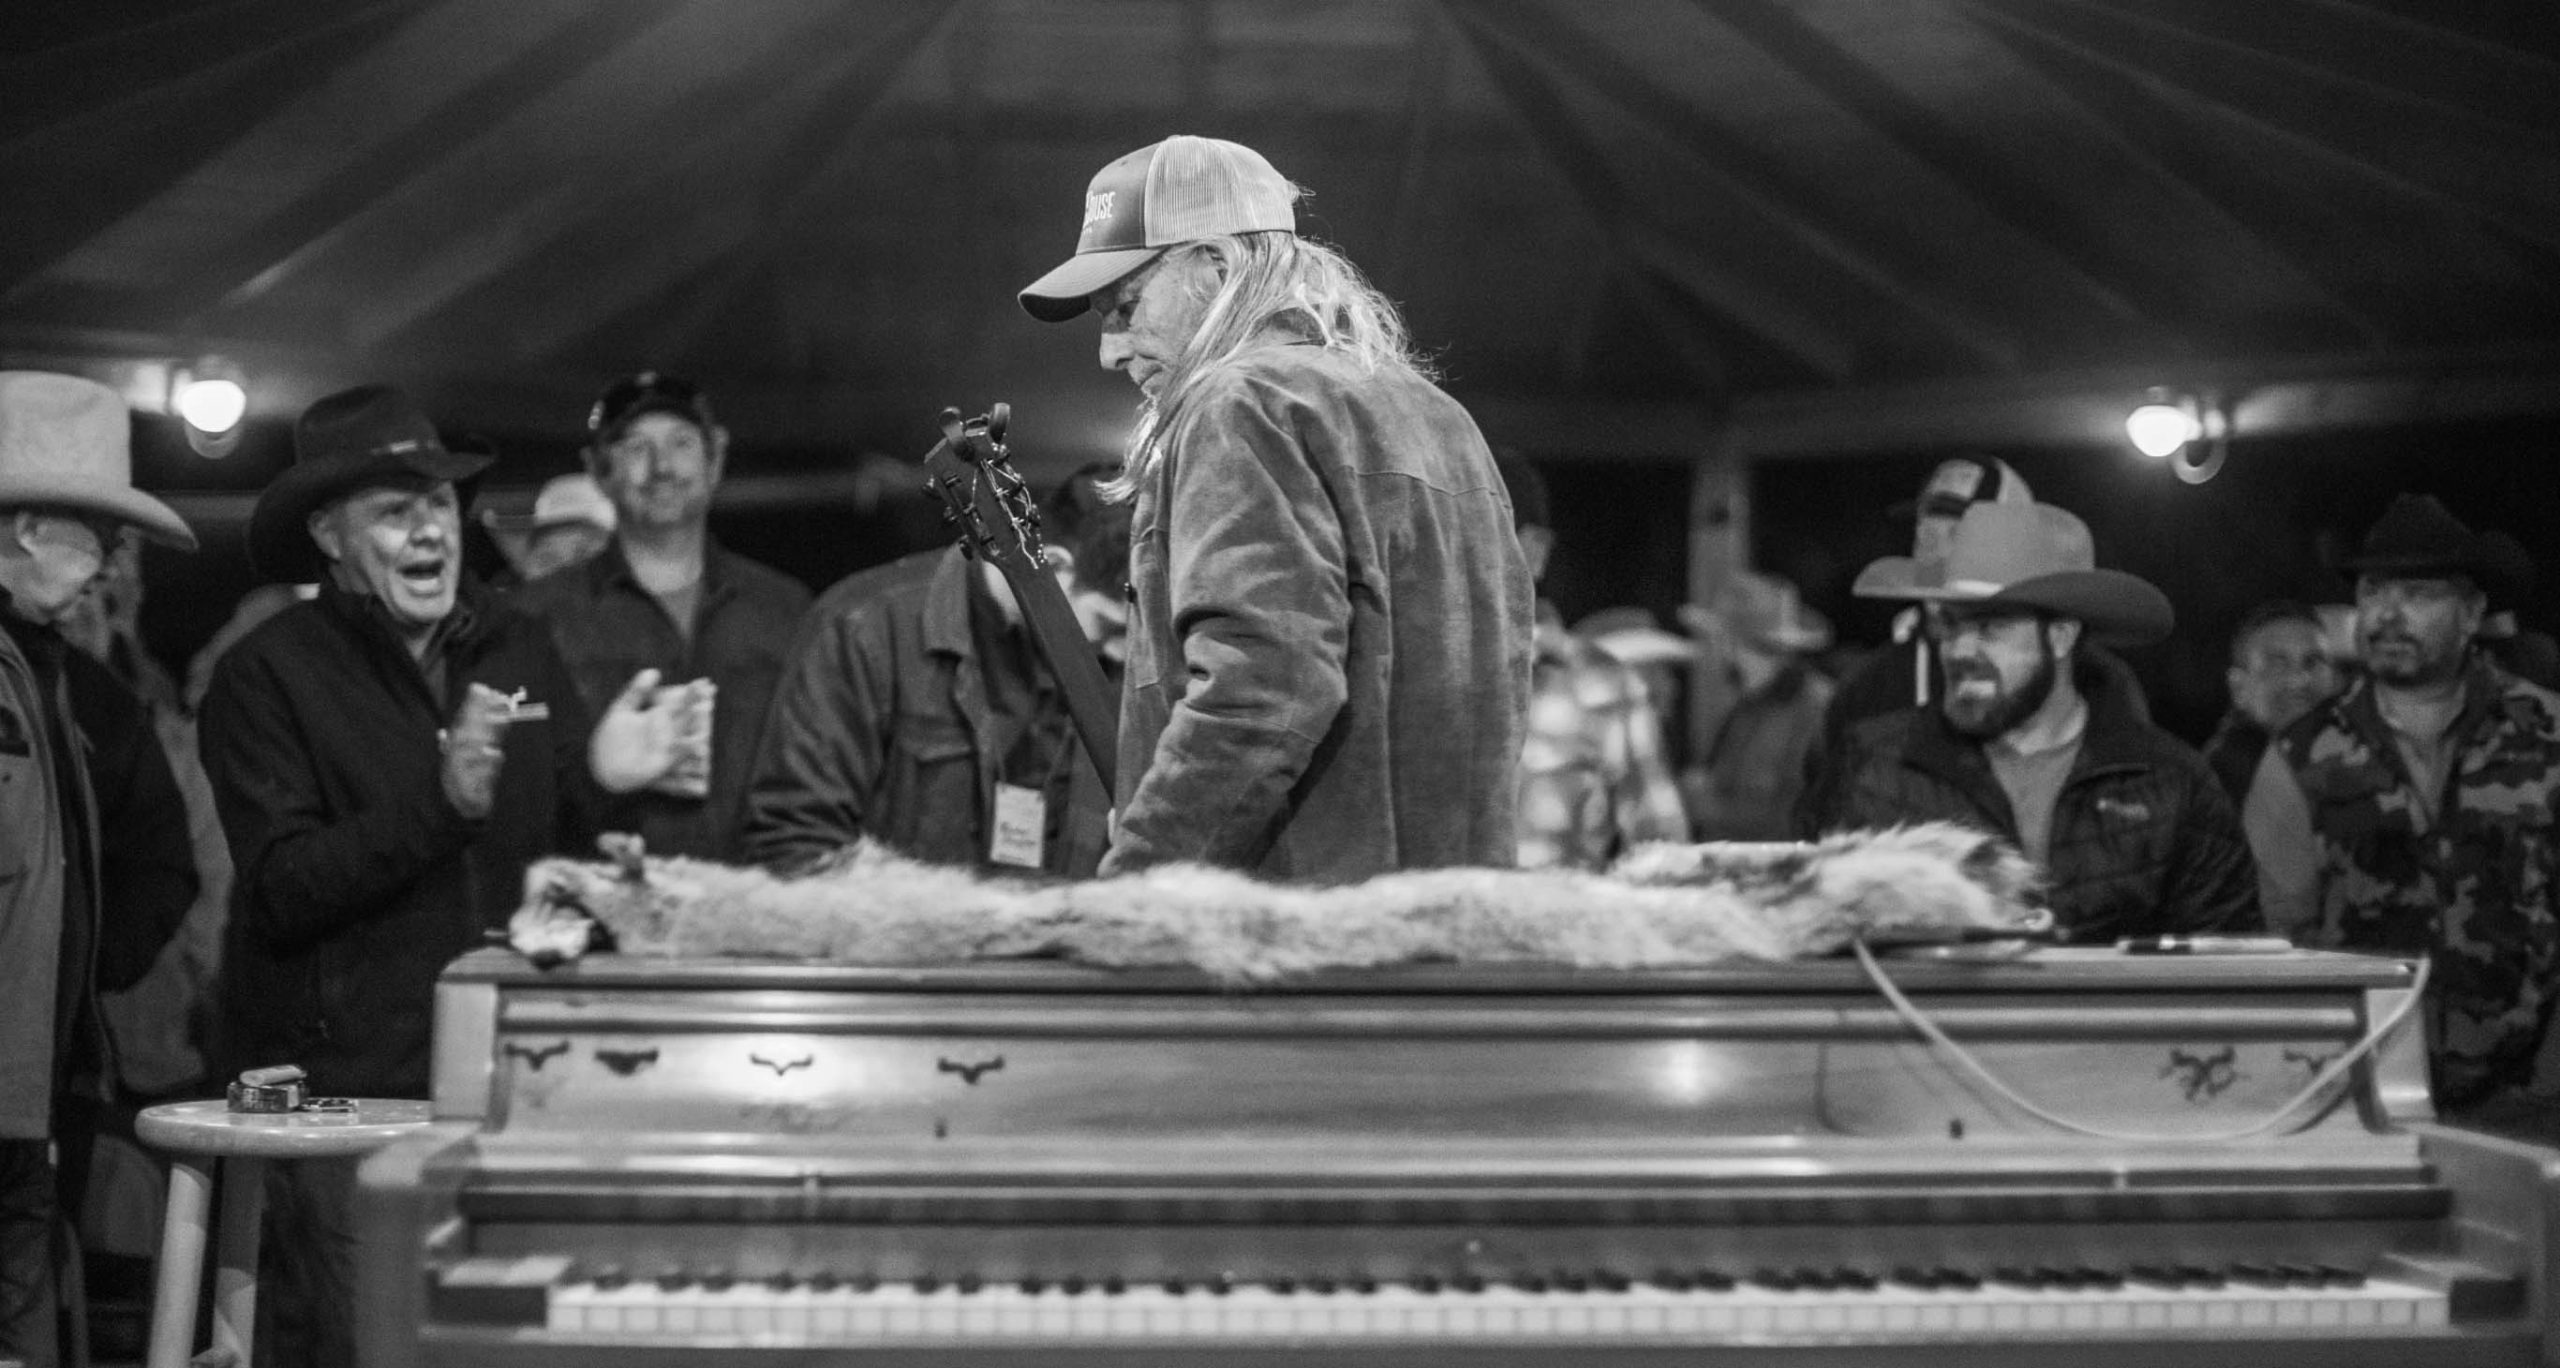
Is there a constant cloud of mesquite smoke hovering over barbeque pits as far as the eye can see? Check. Do you hear the whine of a slide guitar backing a perfectly suited guitar solo? Check. Are there hundreds of Texans (and the Texan-adjacent, of course) there for the sole purpose of eating world-class food and listening to world-class music? Check.

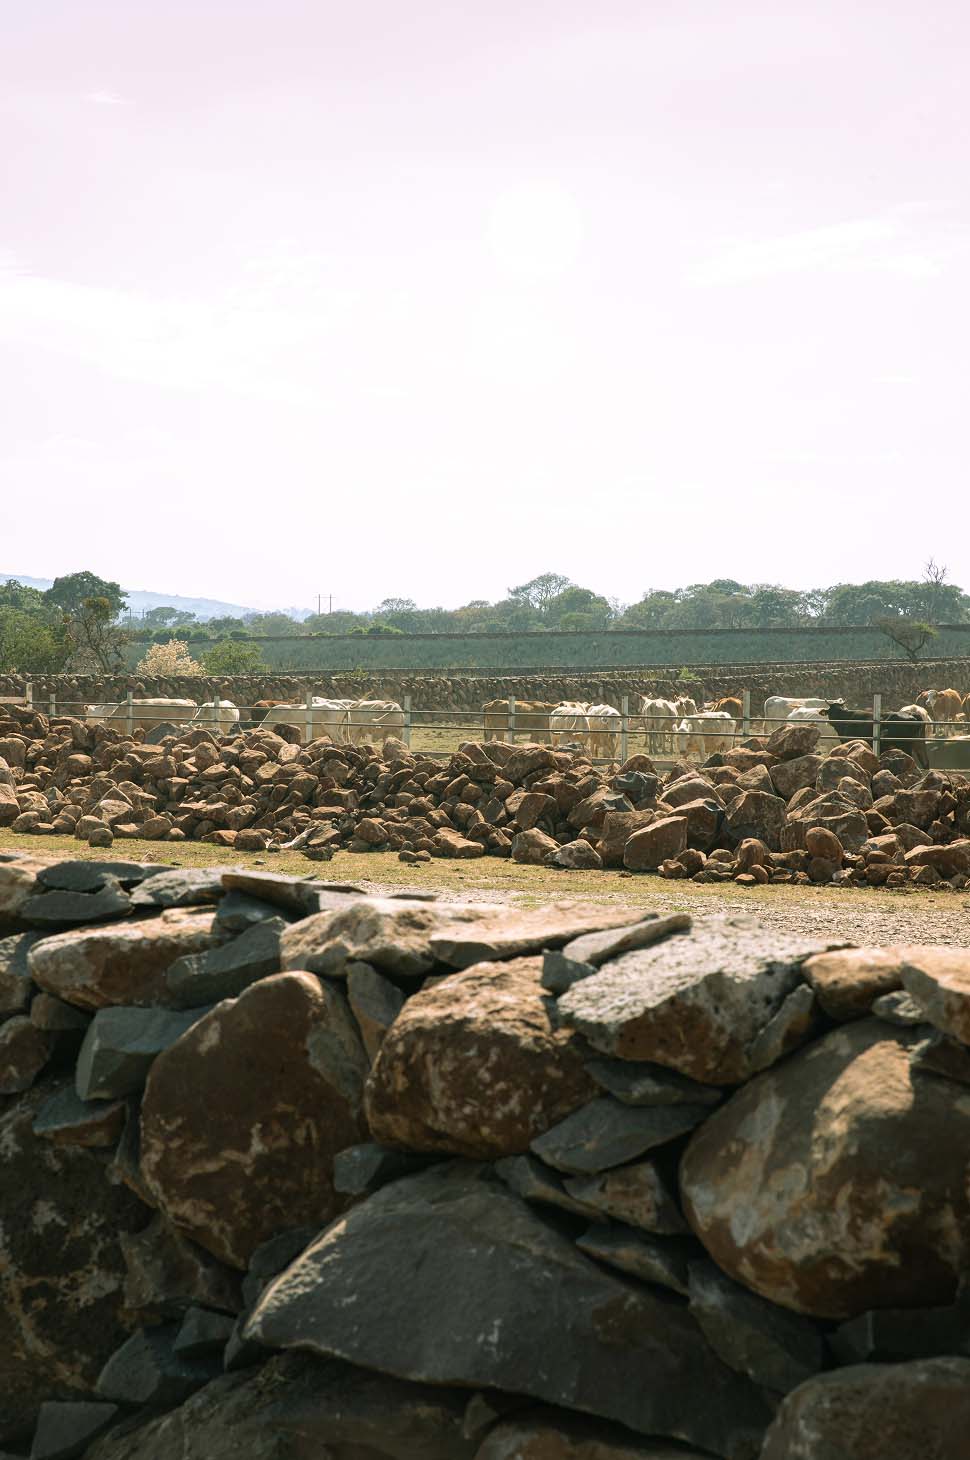
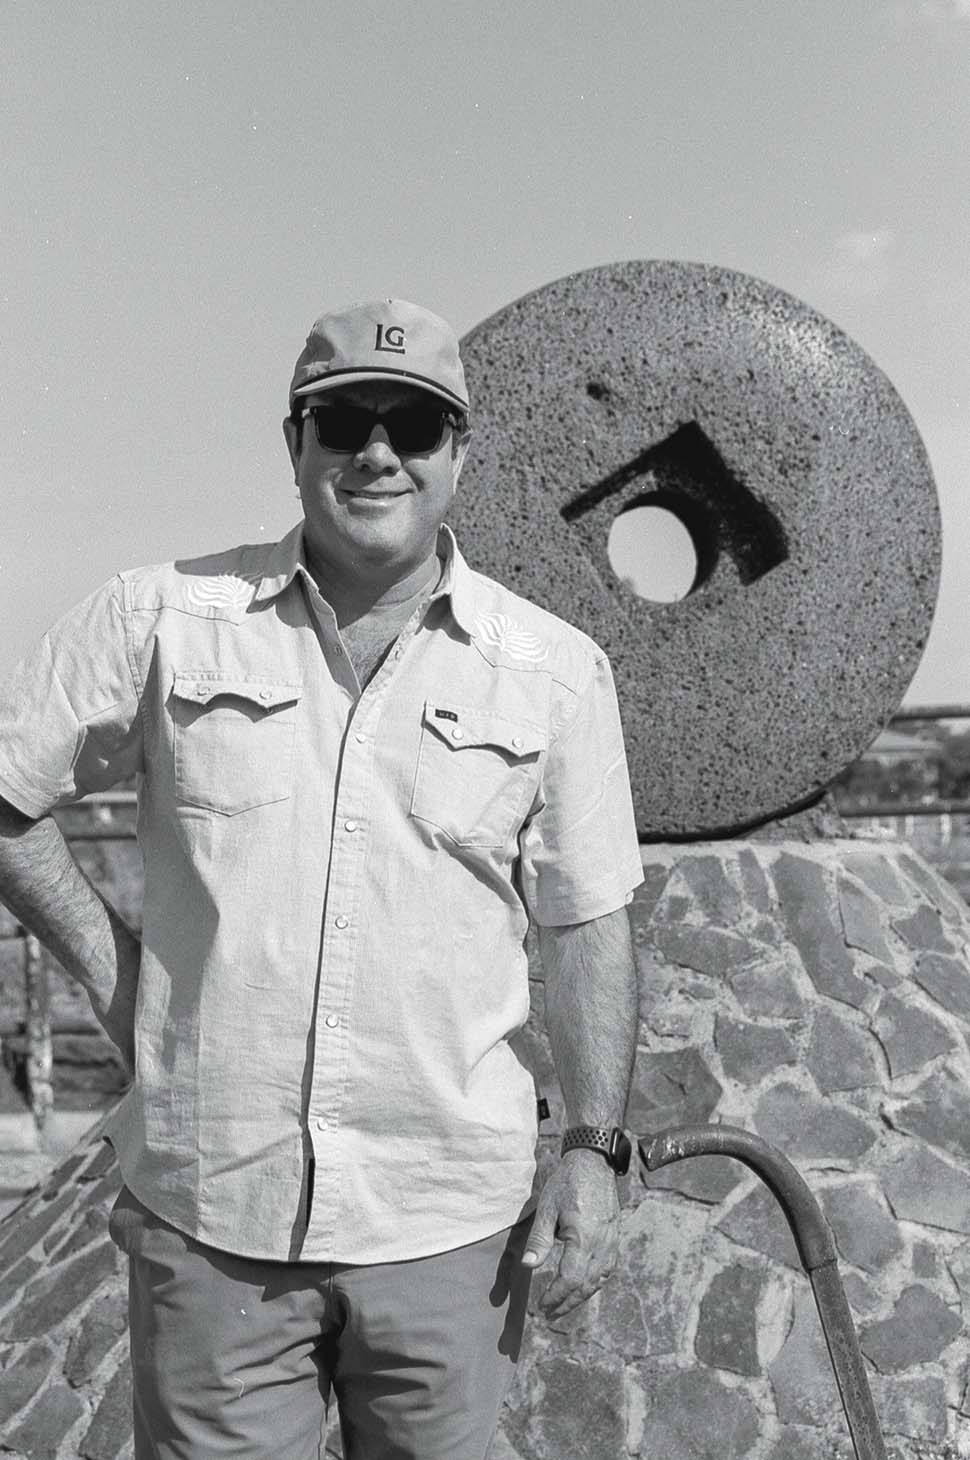
Lockhart Rising is a Hill Country event, through and through, and our team was lucky enough to plant our smoker in the mecca of Texas barbeque for the whole damn thing. We were afforded this opportunity because of the good folks at Mill Scale, which is the brainchild of my good friends Matt and Caleb Johnson. Chances are, you’ve seen their work. These fellas are welders to their core, but they’re not putting up your pole barn—they’re pumping out some of the finest cooking tools you’ve ever seen in your entire life.

I know this from personal experience. If you’ve been to any of my events—or events that I’m lucky enough to put on my chef’s hat for—you’ve probably seen their work. My smoker is a custom-made Mill Scale product that’s produced countless meals for my friends, family, and fine folks from Texas and far beyond. “Product” doesn’t even do it justice. This thing is a work of art, and the Johnson brothers have curated functional culinary art for some of the biggest names in Texas barbeque, not to mention just as many diehard backyard cooks.

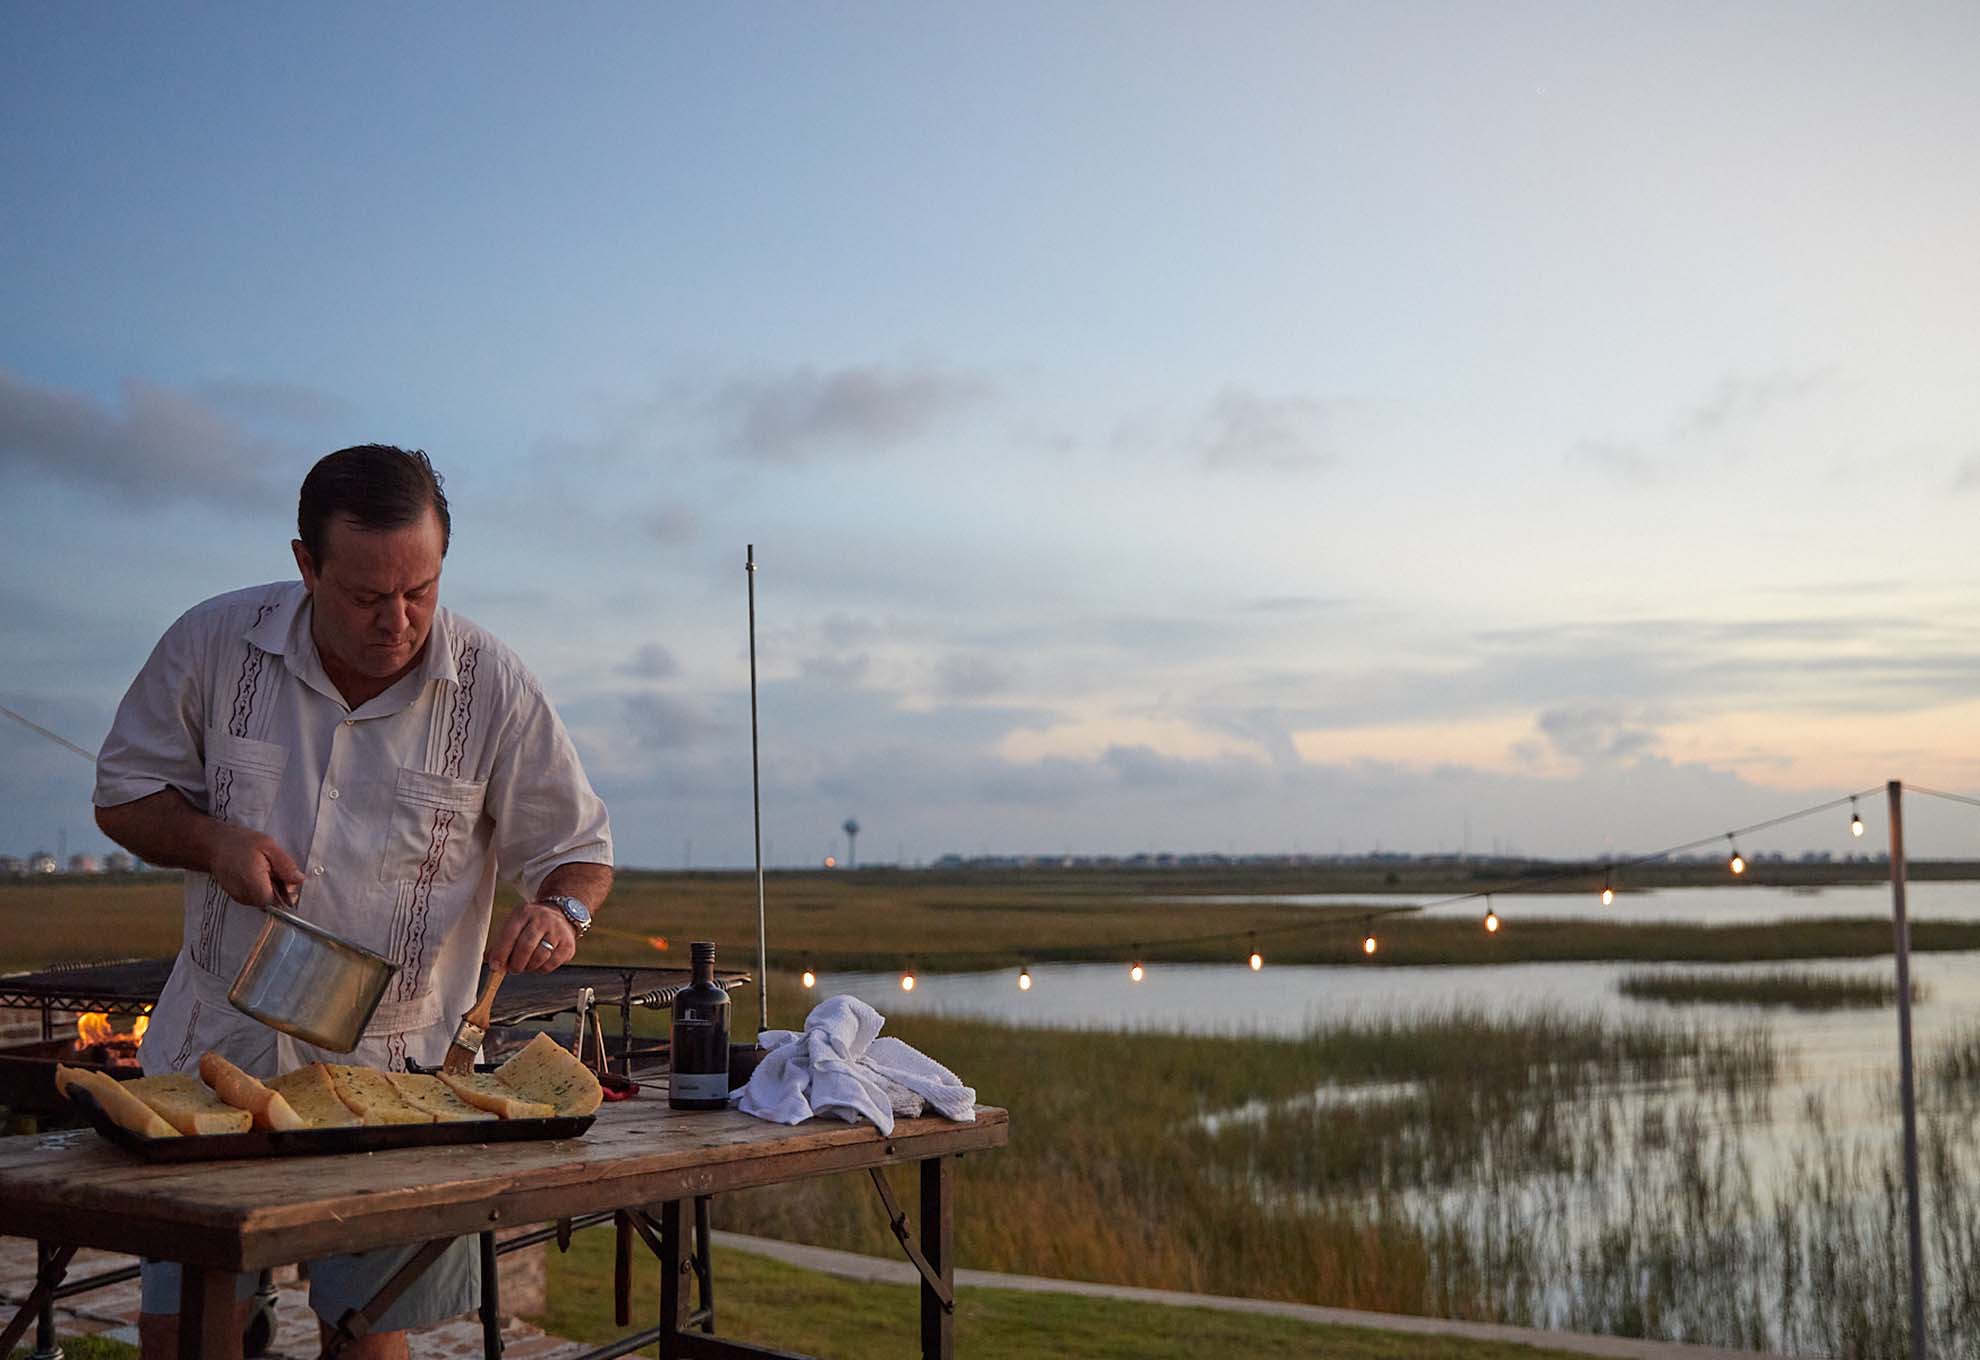
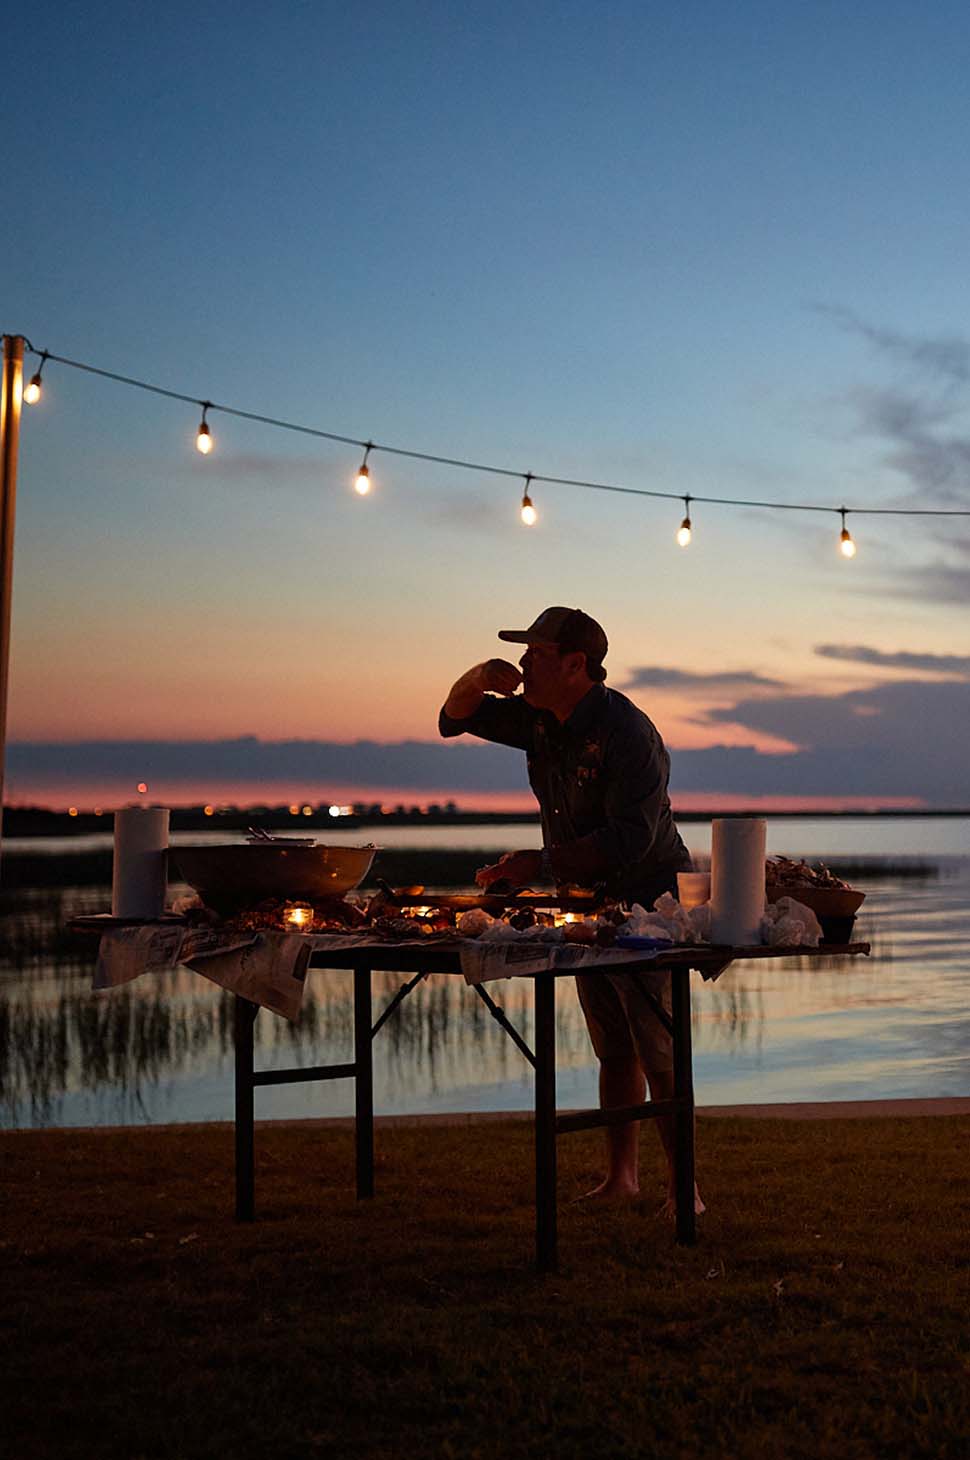
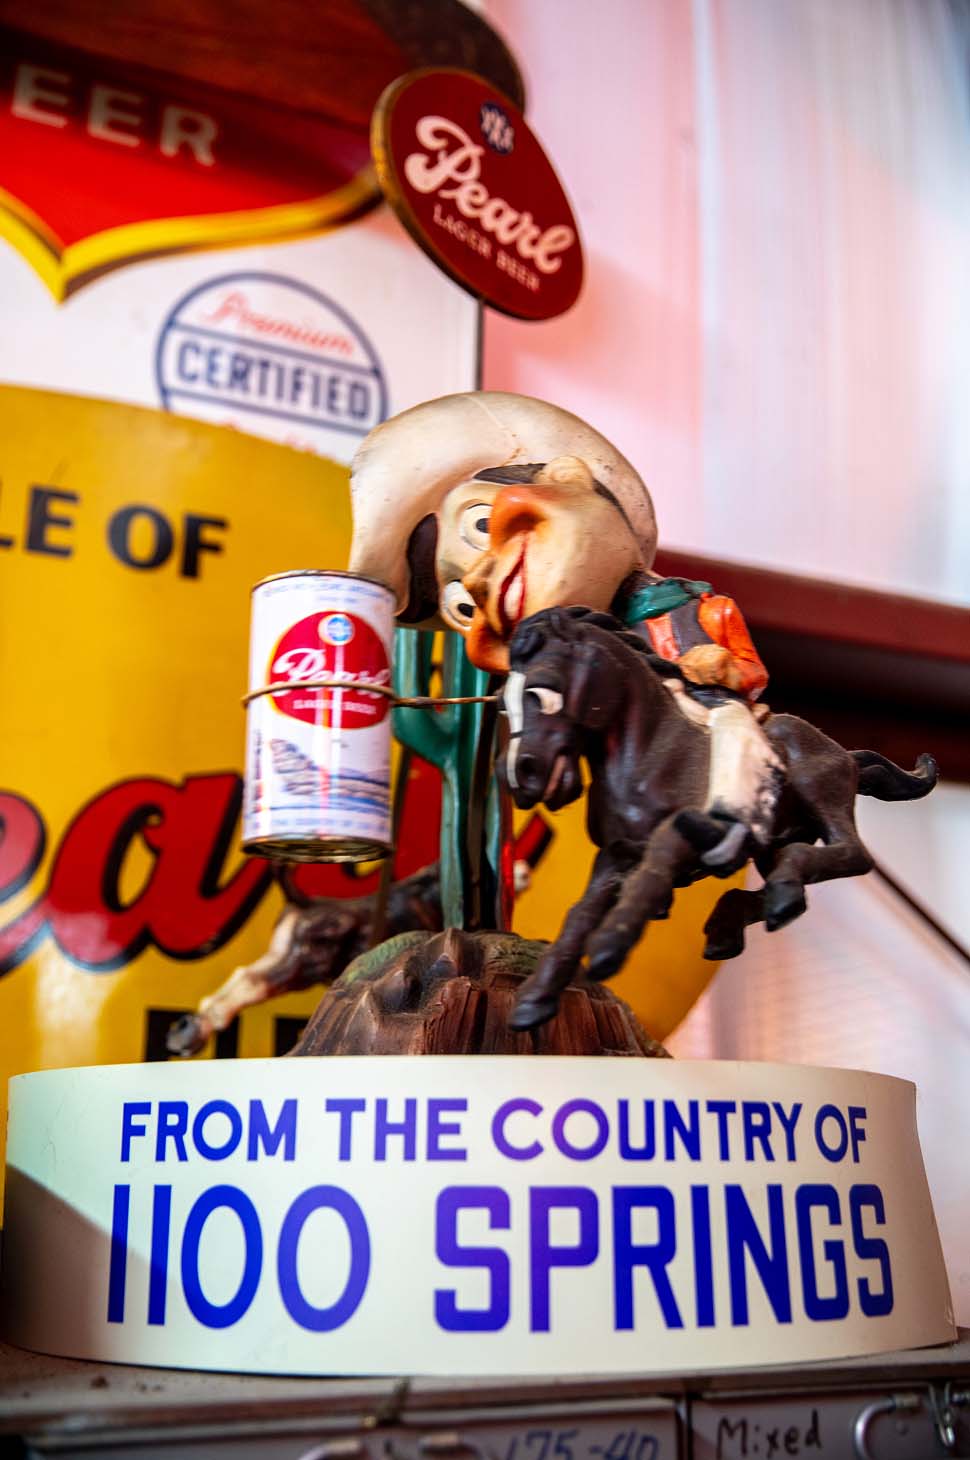
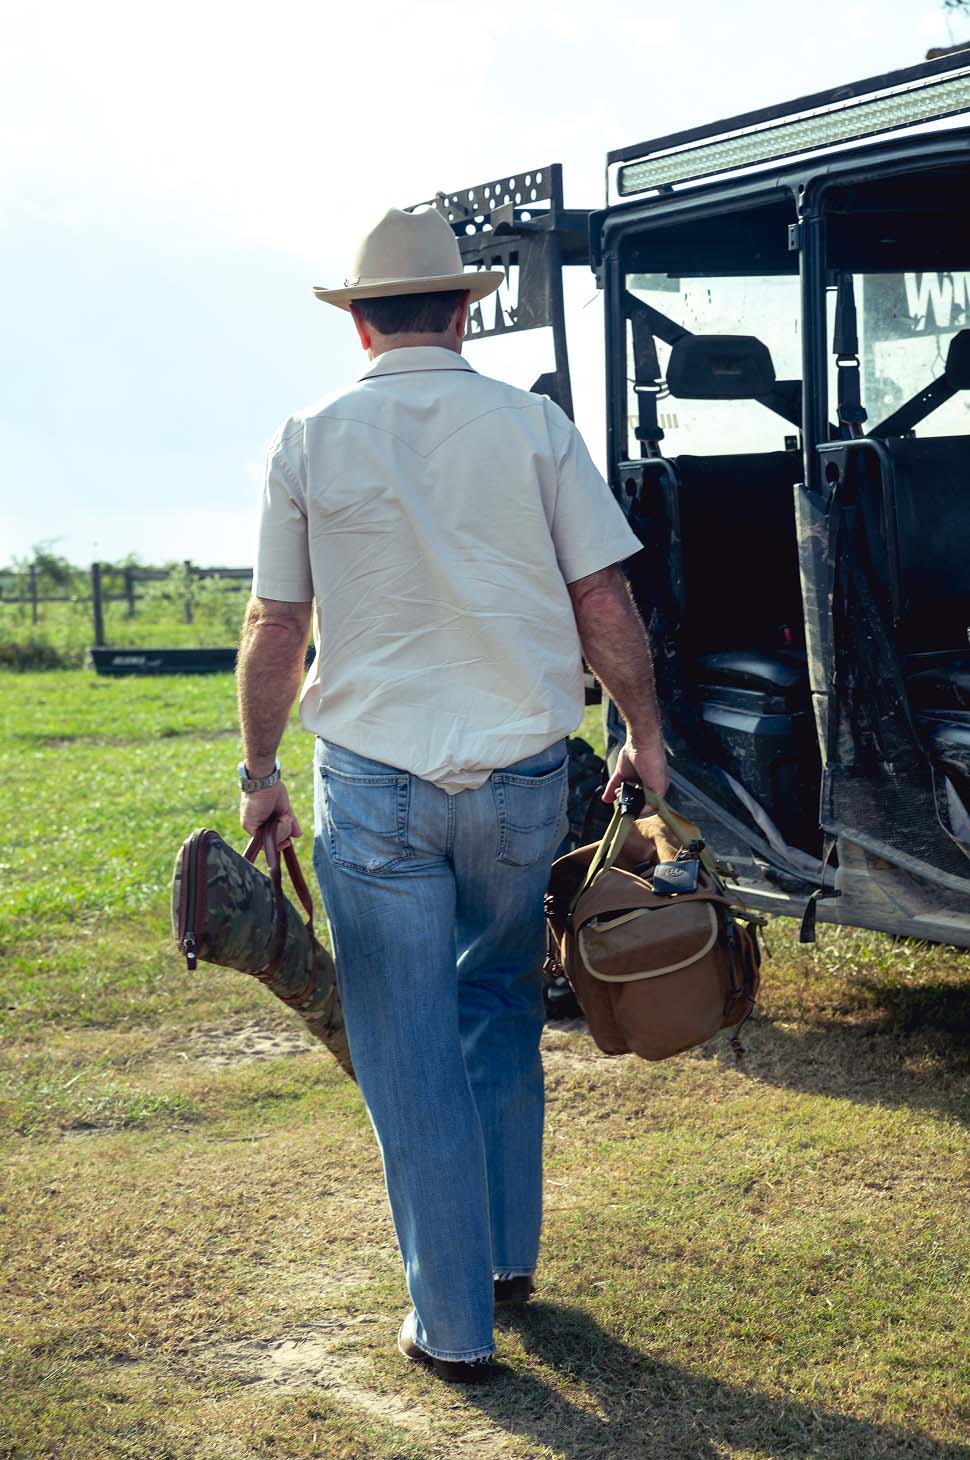
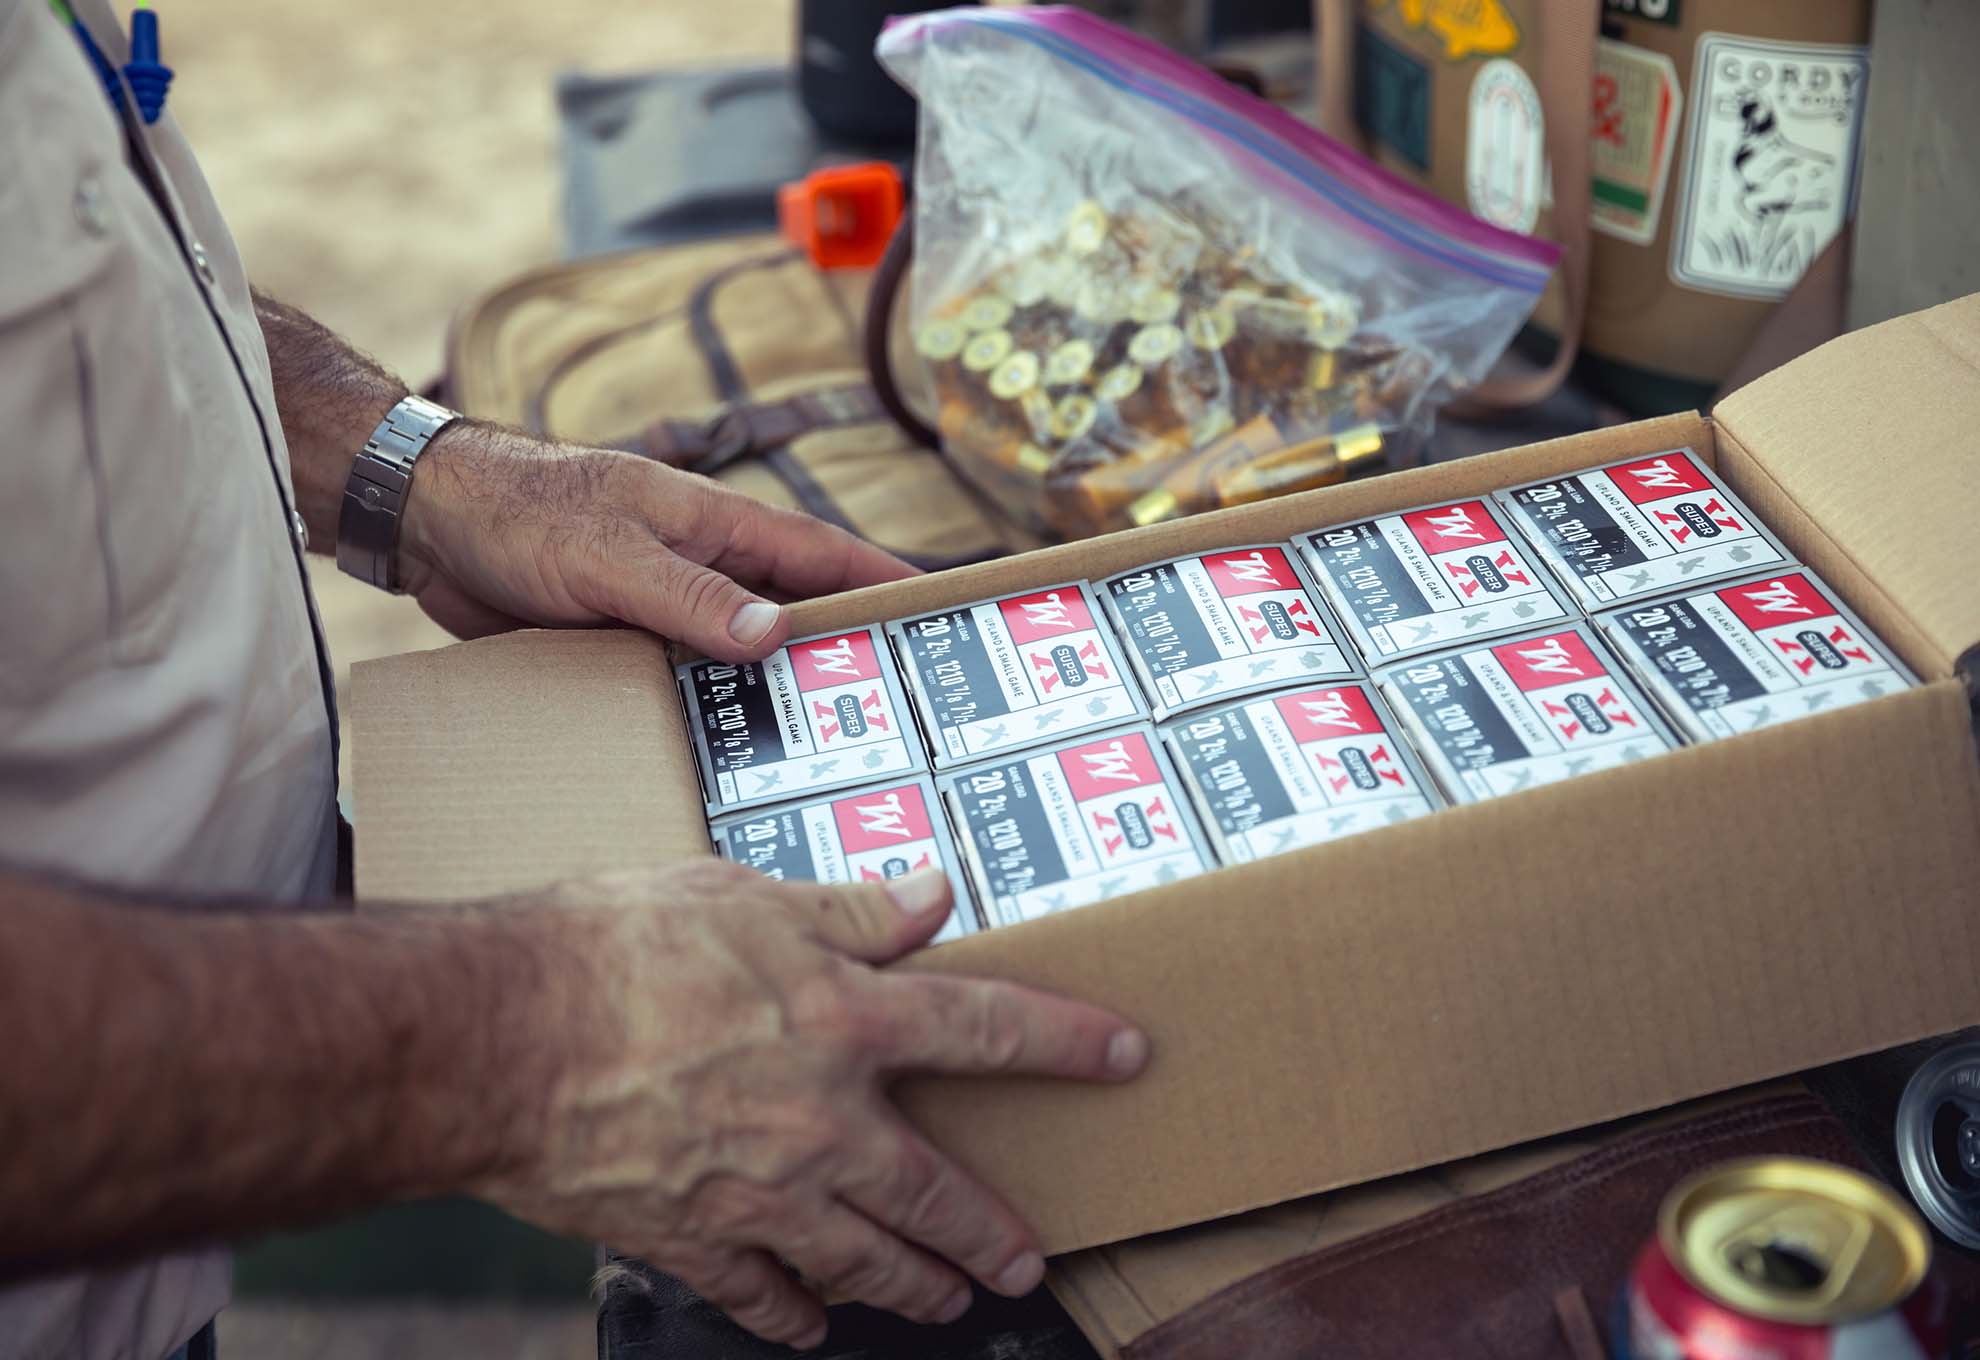
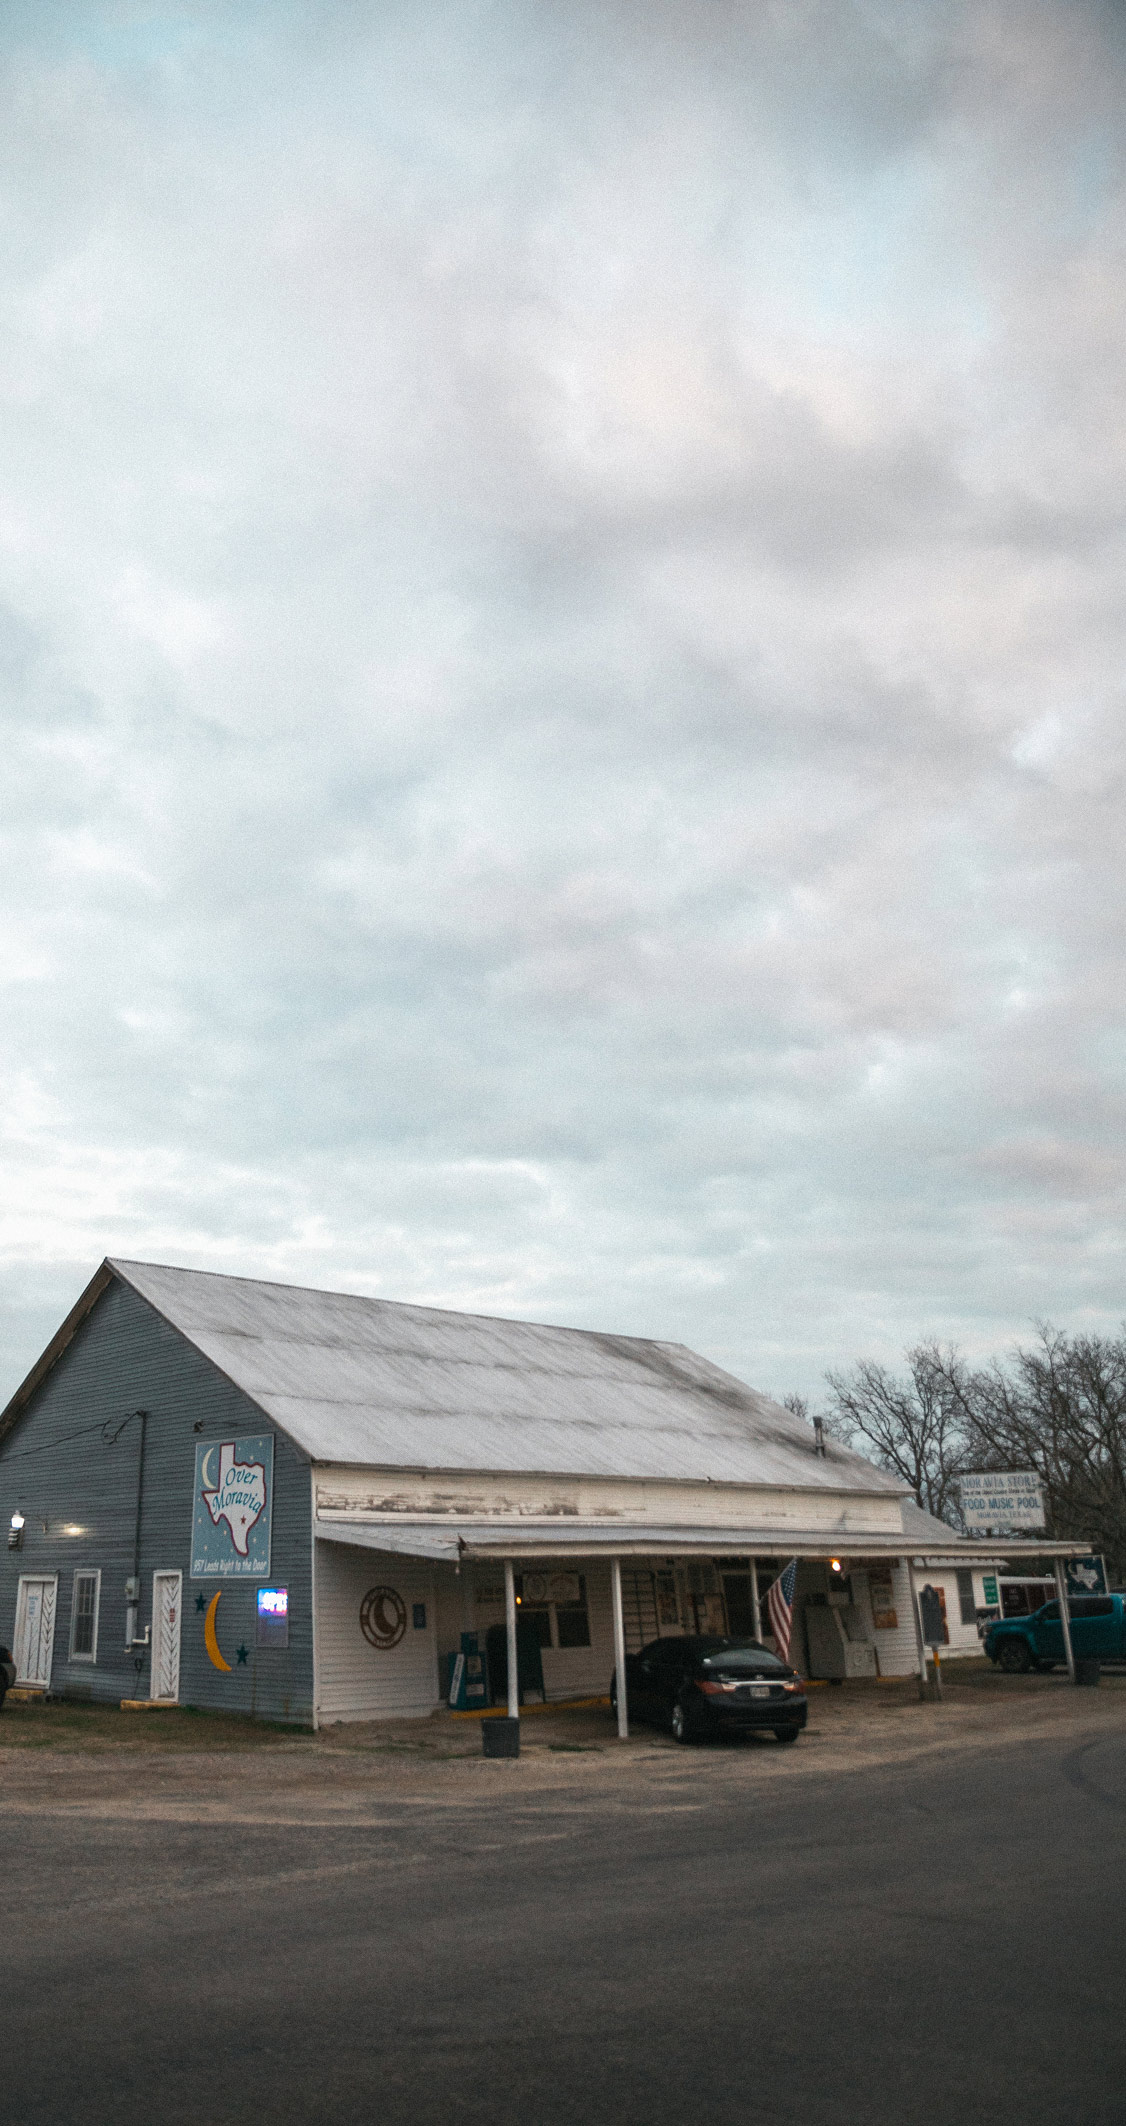
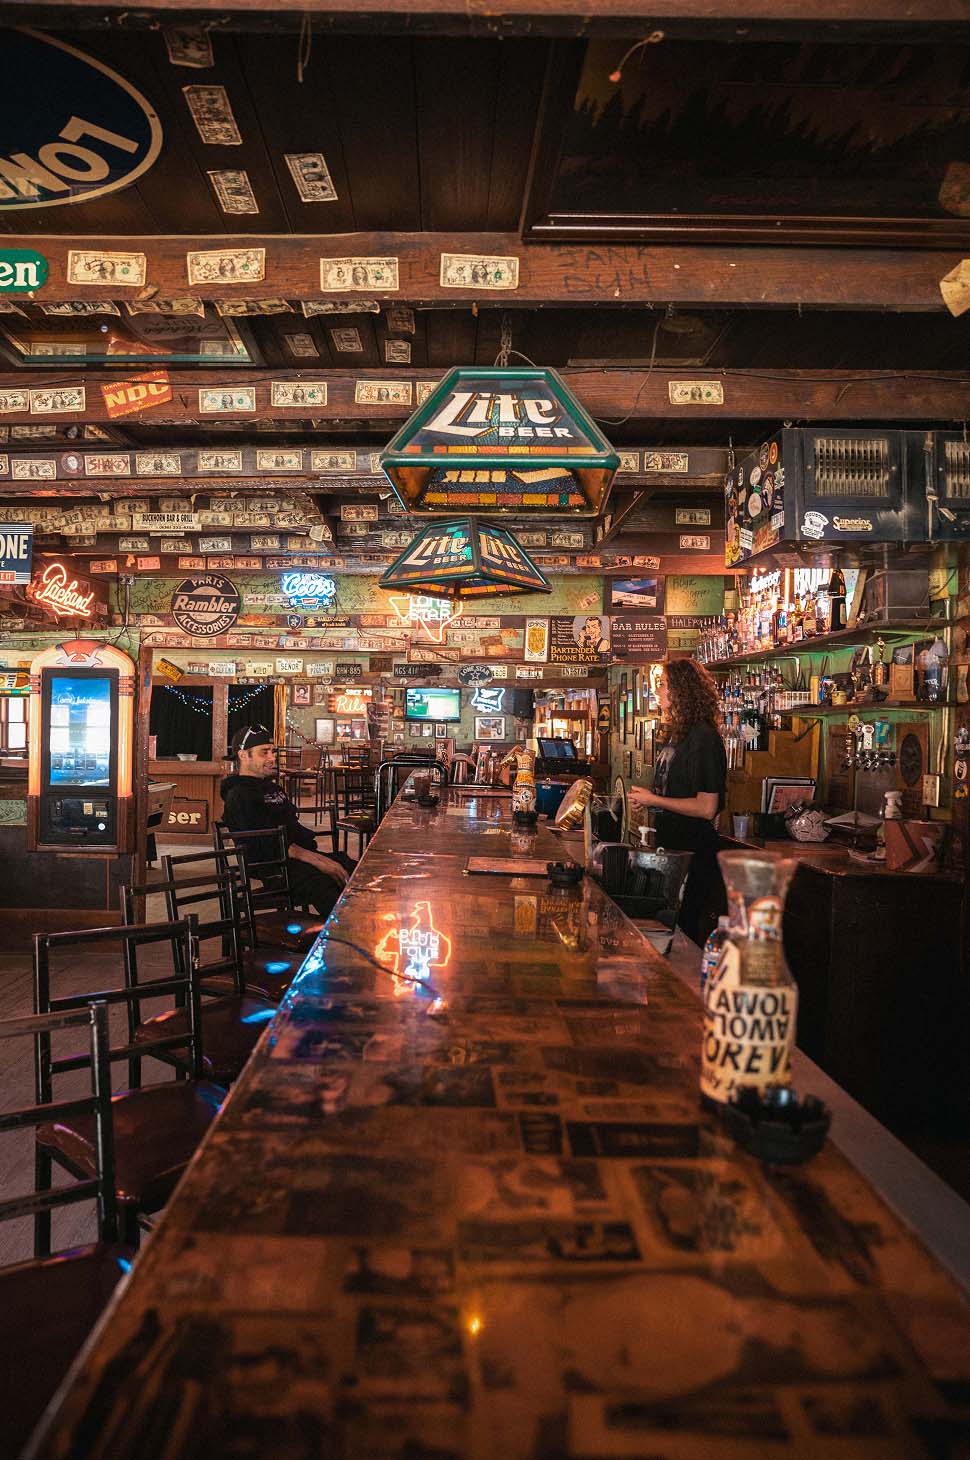
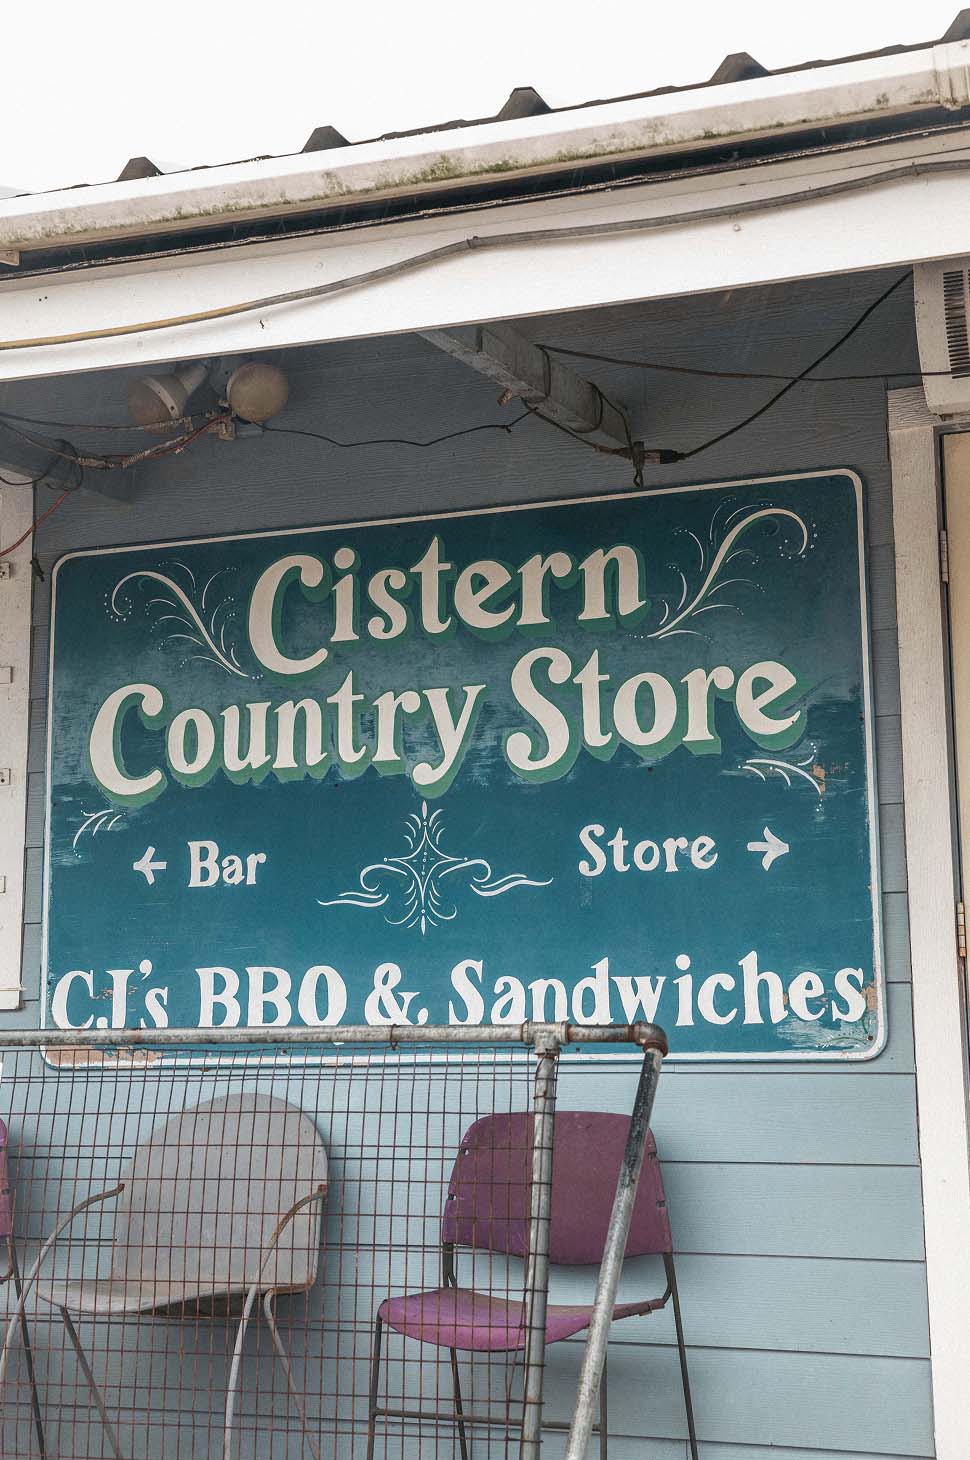
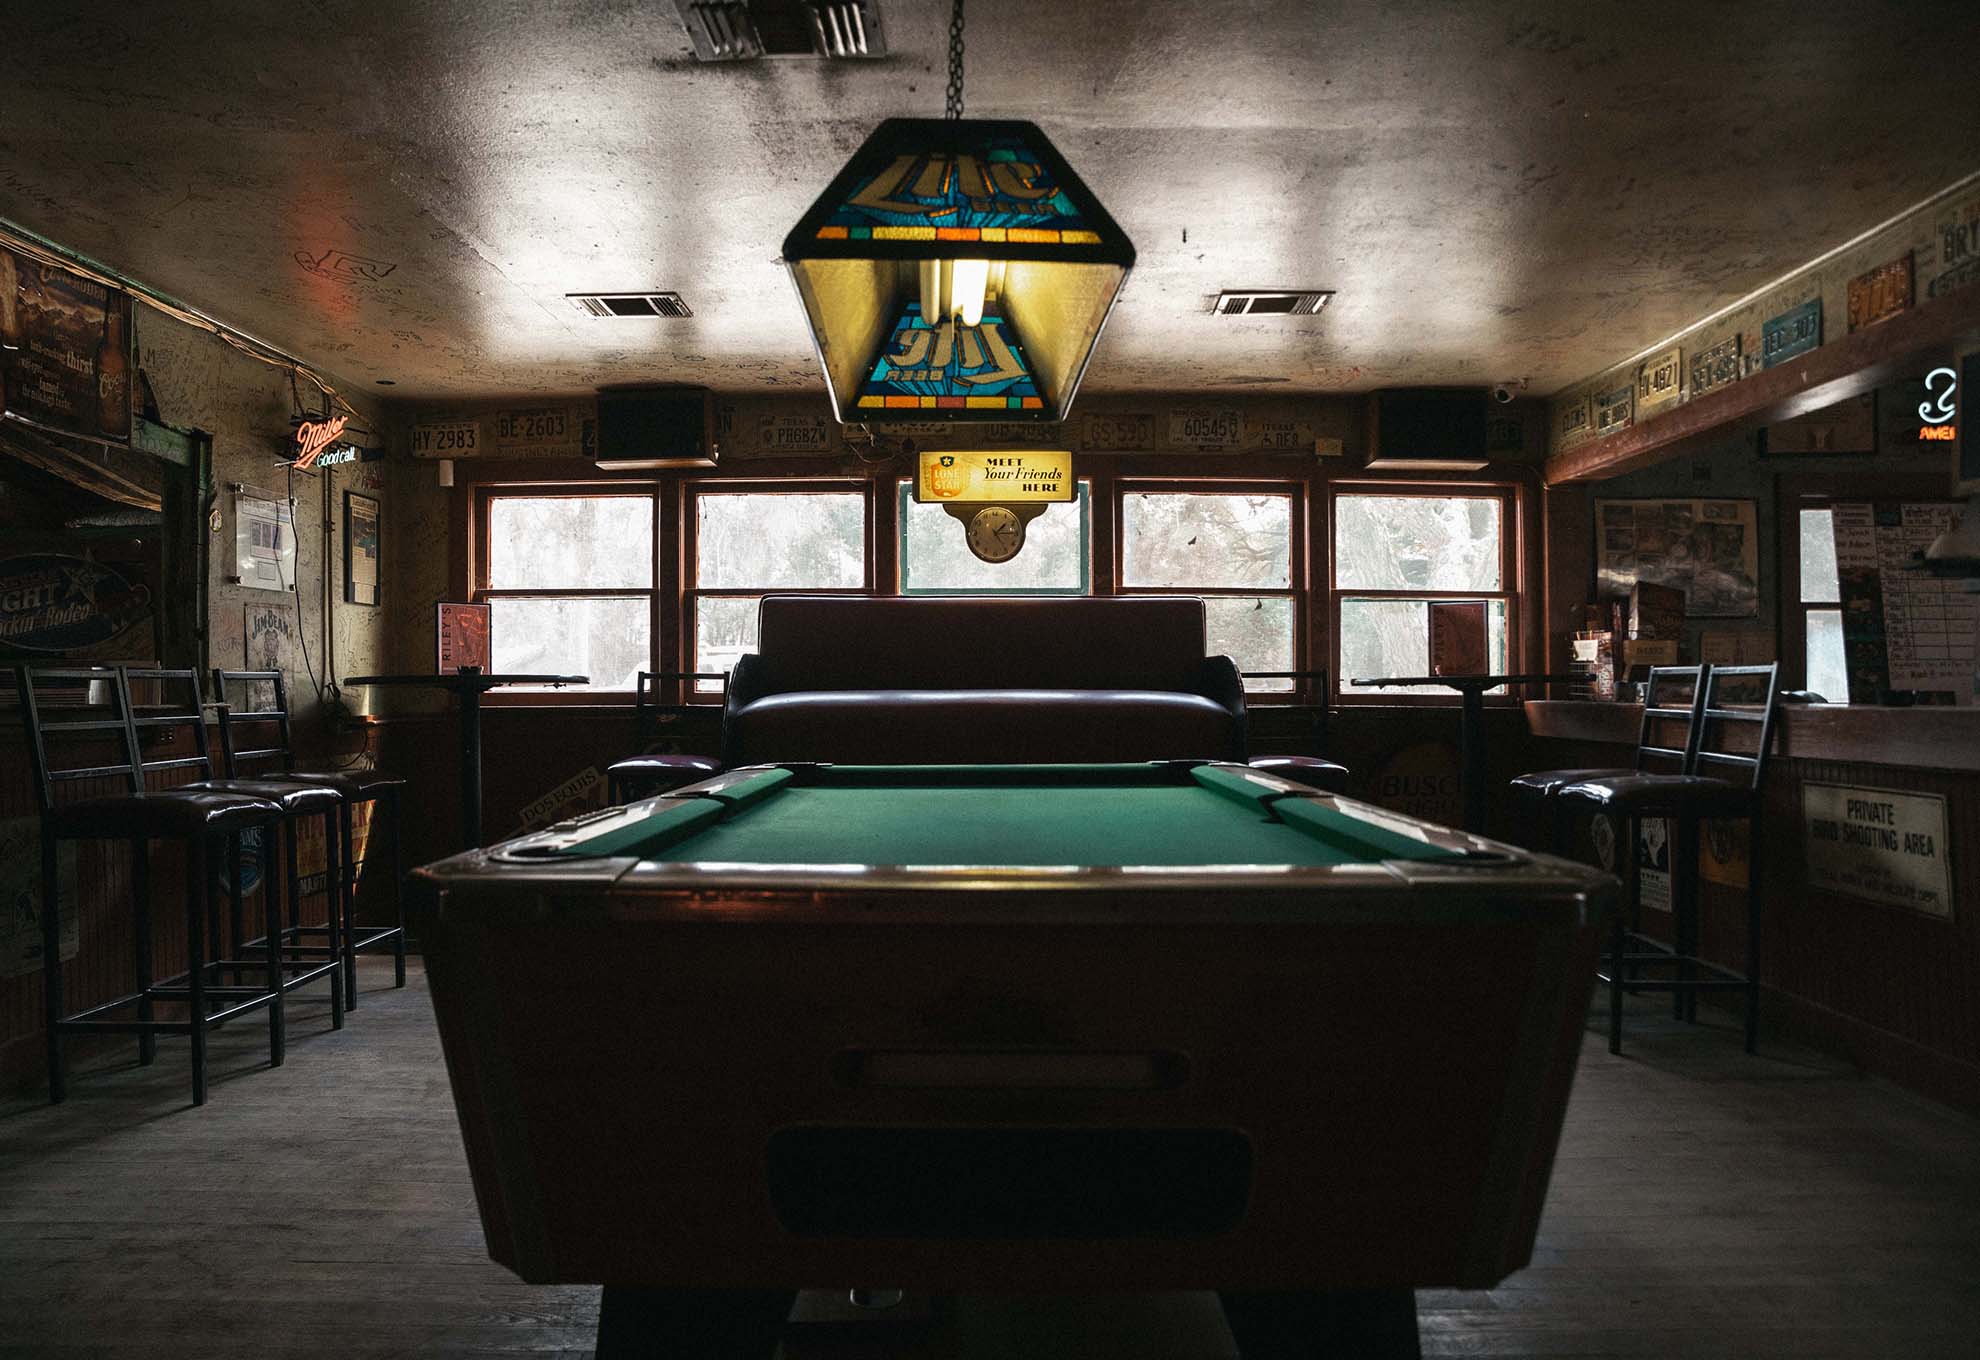
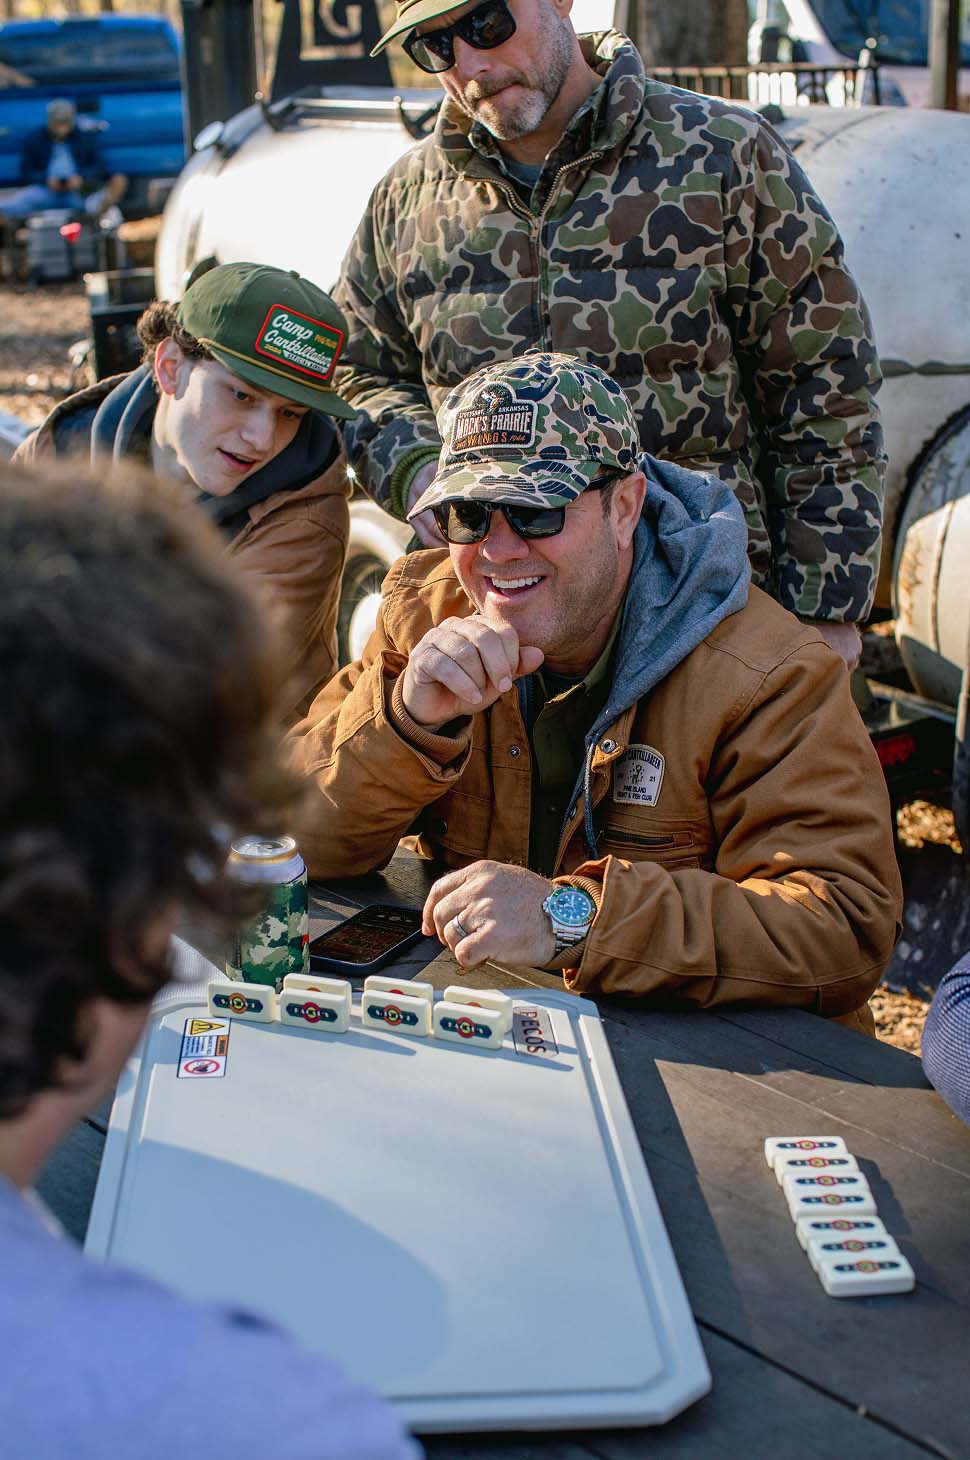
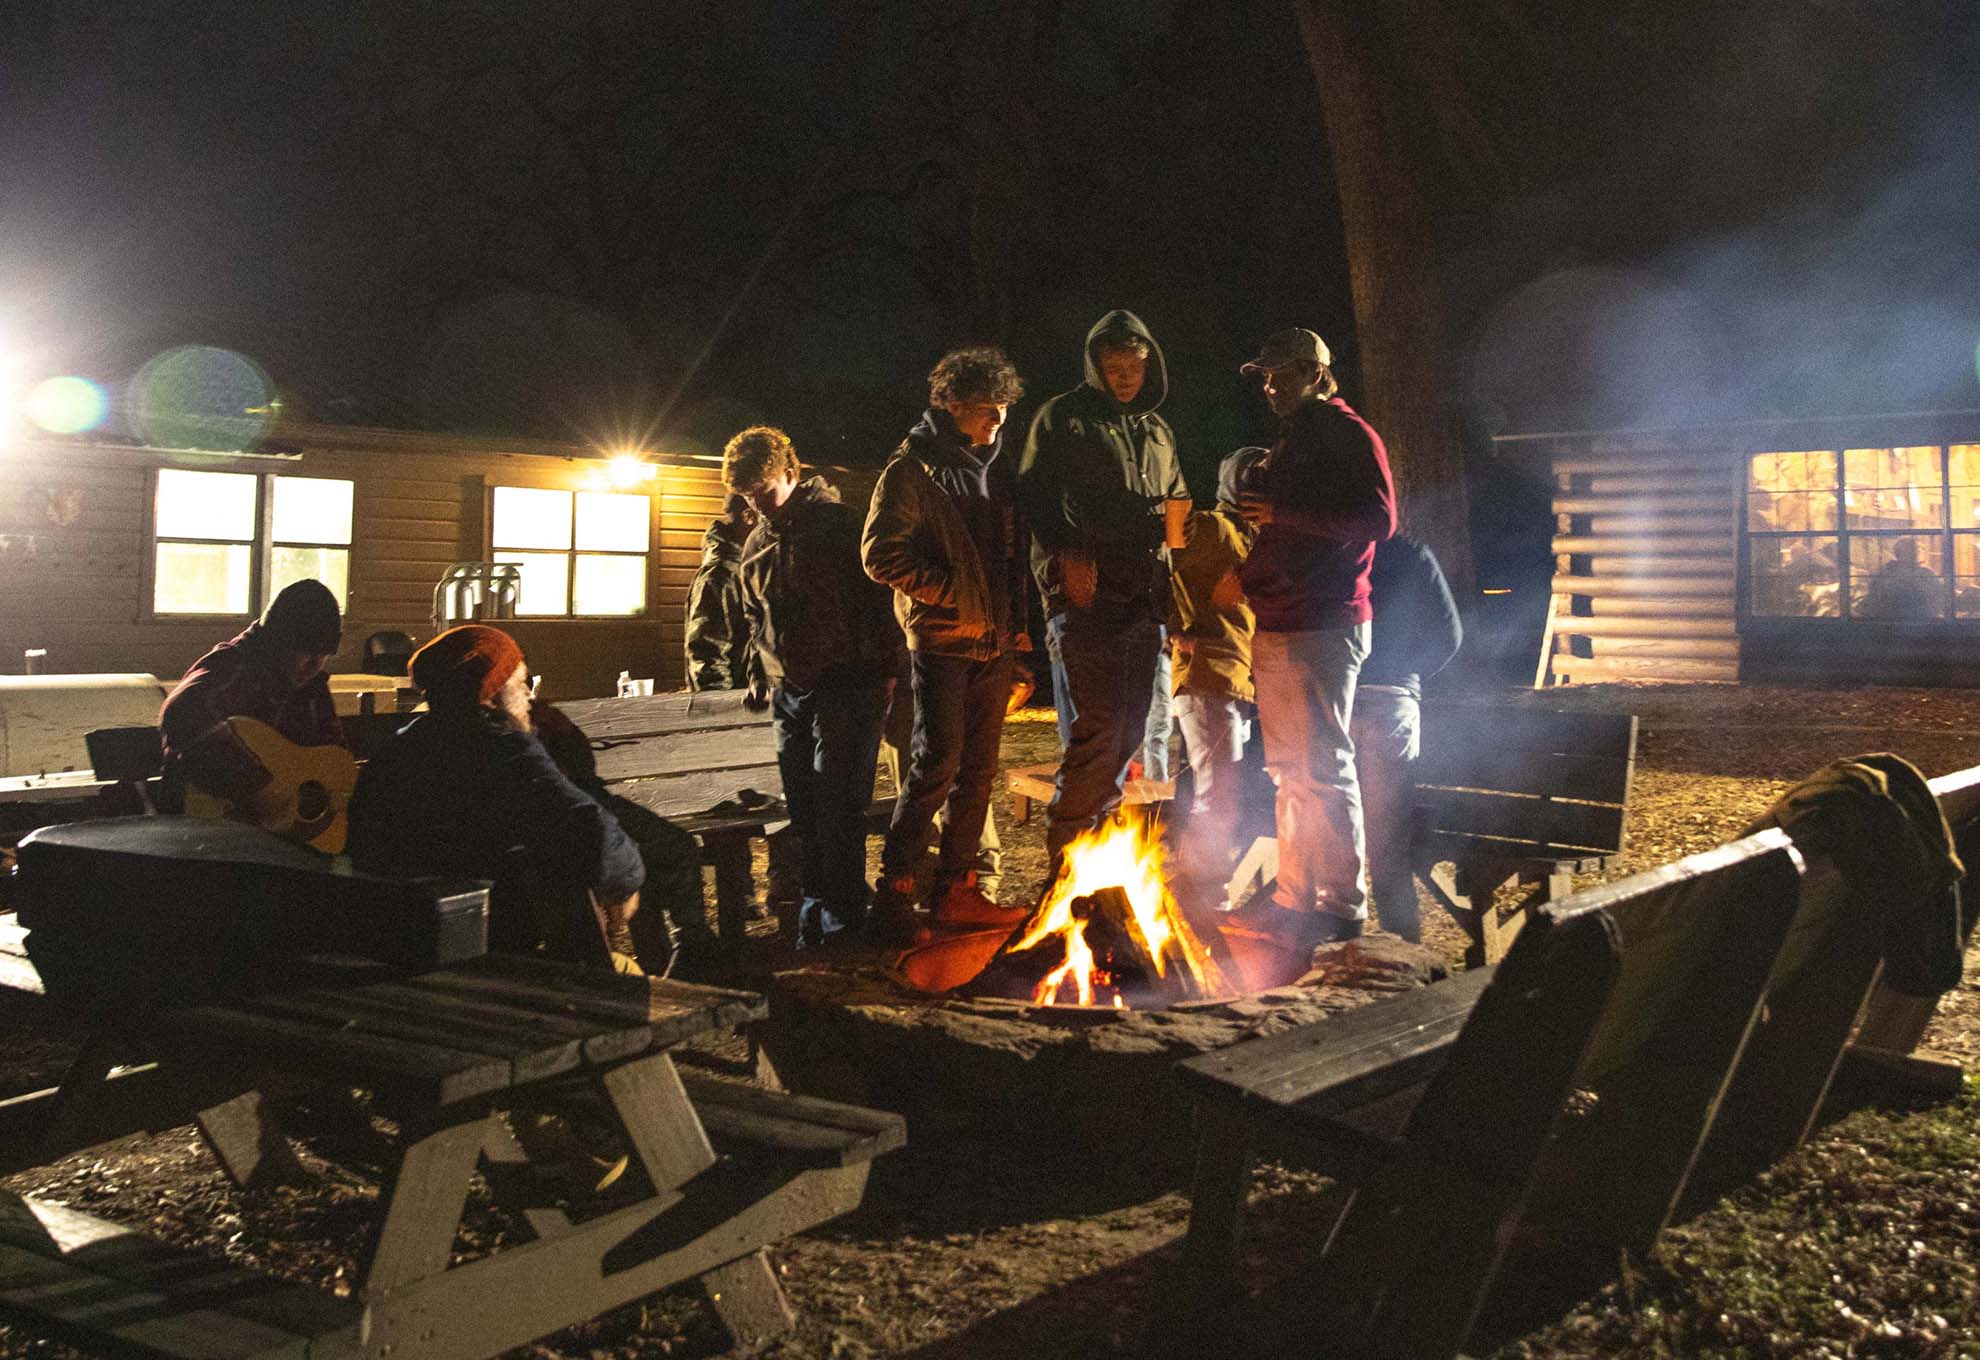
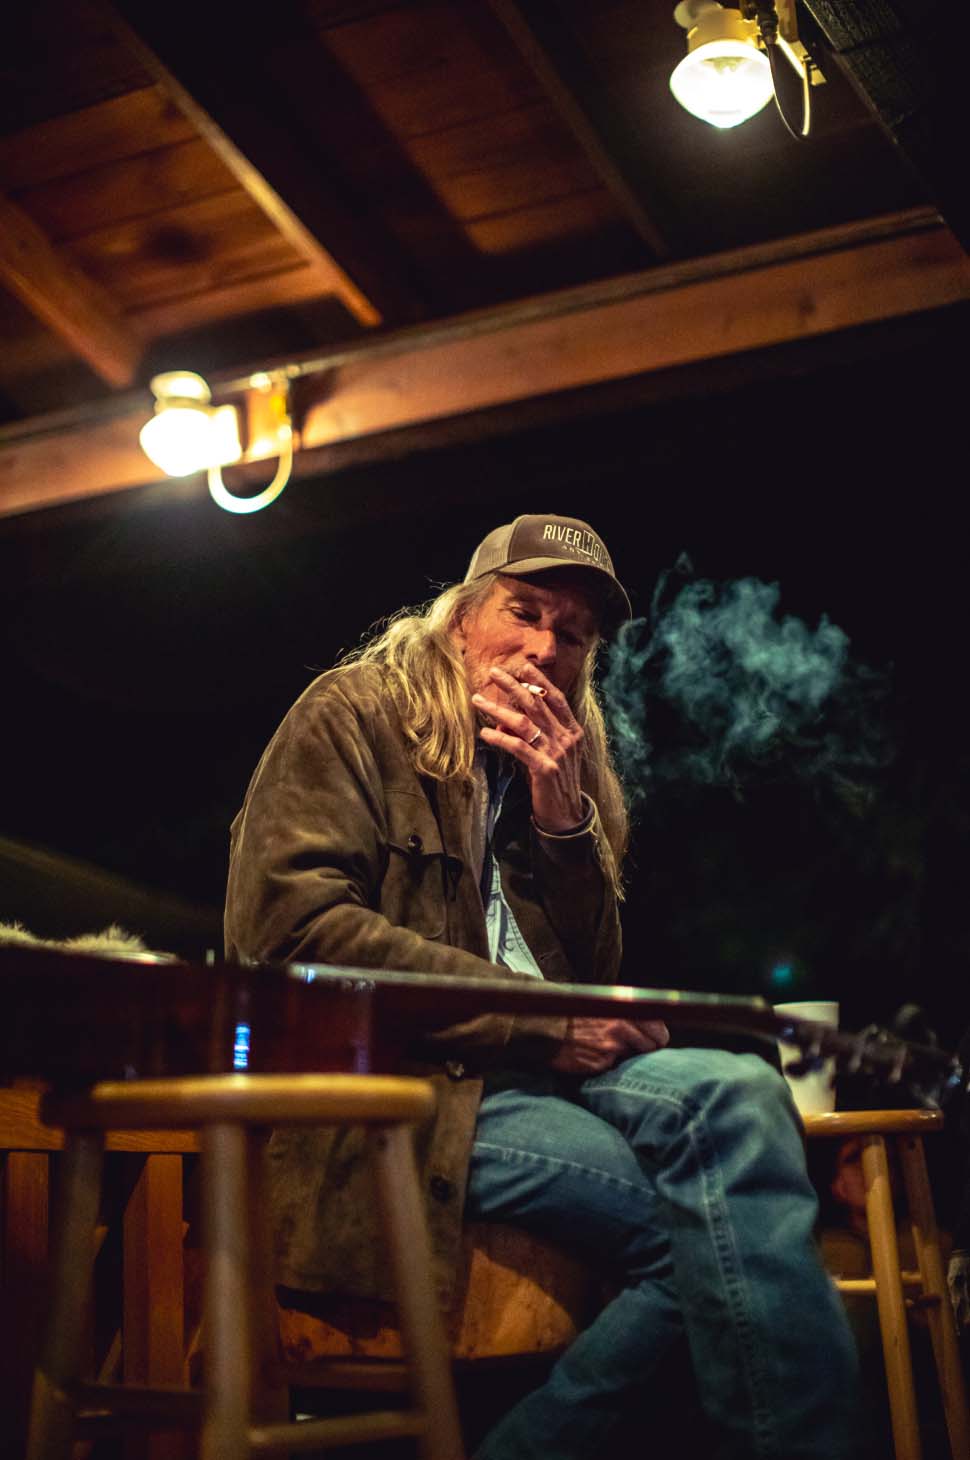
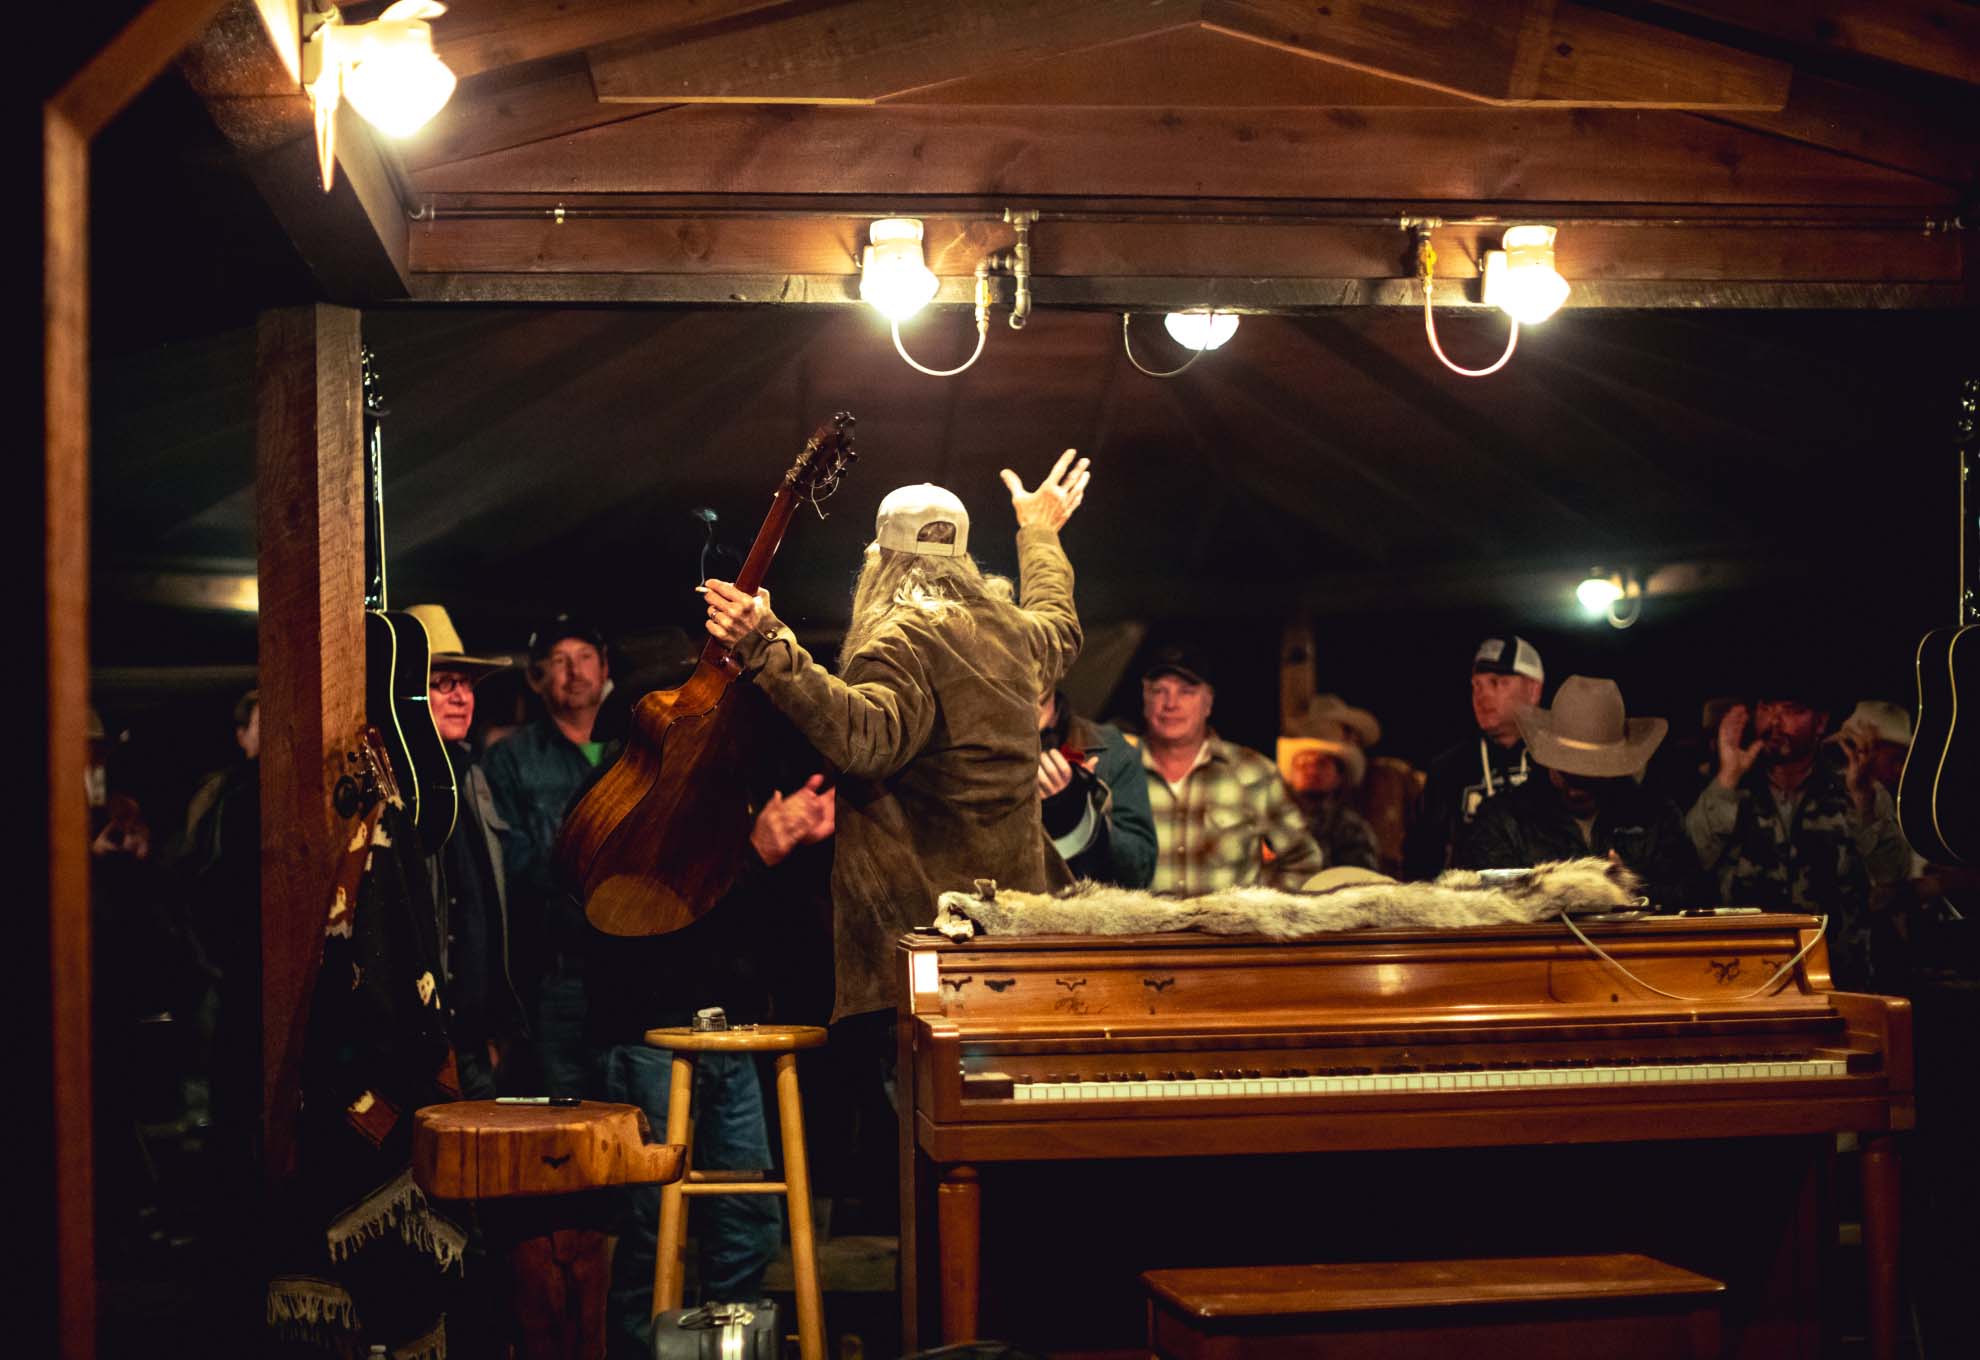
So it was my honor to attend Lockhart Rising, their love letter to the city they call home. We spent an entire Saturday enjoying some of Texas’s best country musicians, all while listening to the crackle of mesquite as we fired up some of my signature dishes.

It’s the type of event that you have to see to believe. In many ways, it’s intimate. ACL, this is not. Lockhart Rising is a small-town affair with big-city brains behind it—sponsored by Black Rifle Coffee Company, YETI, Miller Lite, and the Mill Scale boys themselves—and it’s become the event for people who love the things that make Texas iconic: meat, music, and the folks who enjoy the collision of the two.

I hope you can join us next year, but until then, enjoy a few highlights from an event that—like a perfectly smoked brisket—is always gone far too soon.

Editorial

The History of Liar’s Dice
(and How to Play It)

The history of Liar’s Dice is murky at best. Just look at how many names it has: Liar’s Dice, Dudo, Perudo, Bluff, Menteur, Pirate’s Dice, Cachito, etc. It’s a story that involves Spanish conquest, grassroots game-playing, and a whole lot of guesswork in general. The truth is, that’s why I love it so much.

The game goes by multiple names because it’s not a corporate brainchild like Yahtzee or Monopoly. This dice game is a game of the people. It’s been played in homes across South America for nearly 500 years and was only “legitimized” by an established company in the 1980s. It’s a time-killer defined by the folks who played it, and that’s a beautiful thing. We recently introduced our very own set of Liar’s Dice, so I thought this could be a good chance to talk a little bit about its history, the rules, and why it’s one of my favorite games to drag along to deer camp when we’re busy not shooting deer.
As I mentioned, the history of this game is a little tricky, but I’ll do my best to give you the Cliff’s Notes. In lieu of saying “theoretically” or “supposedly” after every sentence, go ahead and assume the whole overview is a big “supposedly”—after all, it is called Liar’s Dice. Liar’s Dice was originally called “Perudo,” which had similar rules to the modern version of the game, and was introduced to the Spanish when they conquered Peru sometime in the 1530s. Some say that the Incan Emperor Atahualpa taught it to the Spanish Conquistador Francisco Pizarro during his imprisonment in 1532.

And then we have a pretty massive gap in the story, which doesn’t pick up until 1982. What happened in the 450 years between 1532 and 1982? It’s a pretty safe bet that Incas, Spaniards, and eventually Europeans had a hell of a good time beating their compadres in Perudo. The game was a staple in South American and Mexican households, particularly with families having their own handmade sets that they could enjoy over candlelight after a hard day’s work.

“Dice games were a familial rite of passage for the Goodes, something we did to pass the time on the coast and in hunting camp—the perfect mixture of good-natured deception and ill-informed strategies.”

The rest of the story is pretty typical. Two travelers were visiting Lima, Peru, and were invited to join in on a game of Perudo. Evidently it was a hit, because they returned six years later with the sole intent of learning the game and making plans to sell it commercially in broader markets. It only took 456 years for someone to slap their brand name on it.

Luckily, my relationship with Liar’s Dice is the same as those ancient Incas. Dice games were a familial rite of passage for the Goodes, something we did to pass the time on the coast and in hunting camp—the perfect mixture of good-natured deception and ill-informed strategies. Some of my favorite memories are of playing games like Liar’s Dice late at night with my dad and his buddies.

And that’s why we wanted to introduce our own version of Liar’s Dice. Is it wildly different from other sets? Not really. It’s just better. We made our dice cup from high-quality leather and collaborated with local artisans to bring it to life, an homage to the intricate leather Perudo cups that families treasured. It’s a simple, well-made product that gives far more than it takes. Want proof? Well, there’s more than 450 years of folks who’d recommend you’d get your own set, too. They could be bluffing, but I doubt it.

Want to know what you’re getting into? Here’s a brief rundown of the rules for Liar’s Dice:


Objective

Eliminate opponents by tricking them into overbidding or by catching them in a bluff. Bids are made on the total number of matching dice under all cups combined across the table.

What You Need

  • Players: 2 to 6+ players
  • Equipment: 5 dice per player and 1 dice cup per player

Setup & Rolling

  • Each player starts with 5 dice in their cup.
  • All players shake their cups simultaneously and slam them upside down on the table, keeping their roll hidden.
  • Peek under your cup to see your dice—do not let anyone else see them.

Key Rule: Wild Ones

  • Ones are wild: They count toward the total for any face value bid (e.g., two 4s and two 1s count as four 4s).
  • Exception: If a bid is placed directly on ones (e.g., “three 1s”), ones are no longer wild for that round.

Game Flow & Bidding

Play moves clockwise around the table. The starting player opens with a bid consisting of a quantity and a face value (for example, “three 4s”). On your turn, you must choose one of two actions:

Option A: Raise the Bid
  • Increase the quantity: Keep the face value the same or change it, but bid a higher total count (e.g., raise “three 4s” to “four 2s” or “four 4s”).
  • Increase the face value: Keep the quantity the same, but bid a higher face (e.g., raise “three 4s” to “three 5s”).
  • Rule: You can never decrease the quantity or face value.
Option B: Call “Liar!” (Challenge)
  • If you think the previous player’s bid is higher than the actual number of matching dice on the table, challenge them by calling “Liar!” (or “Dudo!”).
  • This immediately ends the bidding phase.

Resolving a Challenge

When “Liar!” is called, everyone lifts their cups to reveal all dice. Count the total number of dice that match the challenged bid (including wild 1s):

  • If the total matching dice is LESS than the bid: The bidder was wrong. The bidder loses 1 die.
  • If the total matching dice is EQUAL TO or GREATER than the bid: The bidder was correct. The challenger loses 1 die.

Winning the Game

  • The player who lost a die removes it from play and starts the next round.
  • Once a player loses all 5 dice, they are eliminated.
  • The last remaining player with dice wins the game.
Editorial

Discover the Greatness of the Discada

In their heyday, the vaqueros who rode across South Texas and north Mexico were some of the hardest around, running cattle through thick mesquite brush in temperatures well over 100 degrees. If you weren’t as tough as nails and a maestro on the back of a horse, then you didn’t even consider saddling up in that region. Long days. Short nights. The hard ground. Harder work.

But let’s not forget that this lifestyle had its upside, too. Imagine for a moment that you’re a vaquero, rounding up cattle in a place like the King Ranch. After a long day on the ranch, you set up your bedroll, stoke the campfire, and listen to the coyotes howl and the barred owls rattle their calls across the dry senderos of south Texas. It was all you had, and it was also all you needed. No one ever says, “more is more,” after all.

It’s this simple way of living that inspired the Discada, an invention born out of the barren expanses of the region and driven by a horde of vaqueros with empty bellies. As they say, the way to a man’s heart is through his stomach, and the Discada is one hell of a love story.

I’m proud to offer my own version of this bootstrapped invention in LG Shop, but it’d probably be helpful to tell you what it actually is. Walk through just about any town in Texas (much less, the world) and you’ll get a blank stare when you ask someone what a Discada is. It’s high time we introduced this culinary stroke of genius to the world.

Making Lemonade

Sure, you can thread a hunk of meat onto a stick and roast it over a fire. But when you’re spending every night under the stars, shoe leather on a stick probably gets a little old. A group of scrappy vaqueros came up with a solution hiding in plain sight.

Working a ranch requires working the land. And working the land requires implements. Over time, those implements break down and become permanent yard art in the wild places across our great state. So when the vaqueros saw more than a few harrows nestled among the mesquite trees and scrub brush, they had a light bulb moment: Could we cook on that thing?

Long story short, the answer is yes, and a little-known South Texas solution to camp cooking was born. They popped one of the discs off of the harrow, cleaned it up (I hope), and used it as a cooking surface for everything from tacos and fajitas to whatever else they could nab while working the ranch.

Since then, the discada has become the Discada. In the southern parts of the state, it’s a singular cooking device born out of necessity and the ingenuity that comes with it. The crazy part? It wasn’t just a desperate solution. Whether they knew it or not, they came up with an incredible cooking device.

“When the vaqueros saw more than a few harrows nestled among the mesquite trees and scrub brush, they had a light bulb moment: Could we cook on that thing?

Vaquero Versatility

We didn’t introduce the El Kenedy Discada solely as an homage to those hardy vaqueros who love hearty cooking. While it’s certainly that, we also saw the Discada as a unique and versatile cooking implement born from a farming implement that had seen its prime come and go.

First, the shape and structure of the Discada is incredibly useful. Much like an Asian wok, the bowl shape of the disc gives you multiple cooking options at the same time. Need to get a hot sear on a steak or cook some scrambled eggs? Throw ’em in the middle of the Discada, where the flame is closest. Then, as you move outward, the temperatures get incrementally lower.

Imagine if you drew a dart board on the Discada. The innermost ring is where the real heat happens. The second-most ring is perfect for slower sautées with things like peppers, onions, tomatoes, and more. The outer ring is just hot enough to keep tortillas warm, as well as other ingredients during meal prep.

And that’s where the similarity to the wok ends. The design of a harrow disc is much thicker than a typical cooking pan. You could farm with a Discada; you couldn’t necessarily farm with a wok. So while a wok or kitchen pan will heat up faster, they don’t necessarily regulate heat as well, which is what makes the Discada ideal for getting the perfect temperature.

Does it take longer to heat up? Sure. But, much like a cast-iron skillet, you can retain heat longer and make subtle adjustments if needed without over-cooling or overheating your cooking surface. Paired with the bowl structure of the Discada, you’ve got one of the most versatile ways to cook a meal in the backcountry or your backyard.

“I assure you, once you meet the magic of the Discada in person, it’ll be tough to go back—plus, the horseshoe handles are pretty darn charming.”

The LG Flavor

So you have two options if you’re feeling the call of the Discada. First, you could go trudge around the border and try to track down a harrow for yourself—if it’s not rusted out by now, you may even be able to get a disc loose. The other option (which, admittedly, may not be quite as fun) is to pick up our brand-new El Kenedy Discada.

I collaborated with top-notch craftsmen to design both our 18" and 22" models, made with heavy-gauge steel for a lifetime of durability and an even heat dispersion for even the trickiest of camp dinners. It’s custom-made for cooking over an open flame. I assure you, once you meet the magic of the Discada in person, it’ll be tough to go back—plus, the horseshoe handles are pretty darn charming. You can find it in our shop, ahora.

Editorial

An Ode to the Open Road

Mark Twain once said: “Clothes make the man. Naked people have little or no influence on society.” I sure as hell hope the latter half is obvious to just about anyone, but I’m a big fan of his sentiment. Sure, it may seem a little shallow or vain at first, but I think it’s a thought worth considering.

The fact of the matter is, most people judge a book by its cover, meaning they’re going to make assumptions about you by what you wear. Is it good? Probably not. Is it true? Probably so. We all know that clothing doesn’t change anything about a person—if you’re a jerk in a hat, you’re just a jerk in a hat; I’ve also met some of the finest people on the planet adorned in cargo shorts and a tank top. But if I’m a book that’s getting judged by its cover, I want a head start, which is why I’m a fan of a great hat.

If you know me at all, you know that I’m not talking about just any hat—I’m talking about the legendary Stetson Open Road. It’s not often I’ll wax poetic about an inanimate object, but get me going about this hat, and we’ll polish off a bottle well before I’m done. In fact, I love this hat so much that I sell my own custom version of it on this very site.

Before you think this is just a big sales pitch for the Open Road (okay, maybe a little), think of it more as a pitch for picking out your first impression with intention. I want to make an argument for why the perfect hat matters by exploring this one’s history, cultural significance, and what it represents to me. If that results in an Open Road for you, great. If it leads you toward another look, just as good, because the Stetson Open Road is my hat.

Here’s what I mean.

The State of Stetson

In the 1830s, John B. Stetson introduced the “Boss of the Plains” hat. A classic style that endures to this day, its fine-tuned curvature was the perfect option for riders on the high plains who craved streamlined shade that wouldn’t blow away in the wind. And that was the standard for years. Stetson introduced more and more hats—all geared towards those who lived life on the land, on the back of a horse, and needed to be ready for anything.

Let’s fast forward a bit to the 1930s. Stetson was still manufacturing the finest hats in America, but the 1830s version of America was wildly different from the 1930s version—one now fresh on the heels of the Industrial Revolution. The West had officially been tamed (as much as it could be), and westward expansion had taken root, blurring the lines between the frontier and the big city.

“They envisioned a hat that carried Western values and aesthetic, but could also be at home in offices and boardrooms from New York City and LA to every place in between.”

Stetson being Stetson, they decided to revolutionize their own look and also blur the lines by introducing the Open Road. They envisioned a hat that carried Western values and aesthetic, but could also be at home in offices and boardrooms from New York City and LA to every place in between.

The design of the Open Road was wholly unique at its introduction. The crown maintained a tall, cowboy-style structure at 4 ¼ inches with a classic cattleman’s creasing style. The brim, however, was shortened to just 2 ¾ inches to give it a more modern, streamlined look akin to the popular fedoras of the day. Top it off with a minimalist grosgrain ribbon band and a timeless Stetson crest, and you’ve got the birth of an icon in Western culture.

This hat single-handedly (single-headedly?) proved that someone with a Western spirit and attitude could be found anywhere—on the ranches of Texas, or running the entire country. Sometimes both, which offers us a perfect segue to the Open Road’s next era.

The Man Under the Hat

While the Open Road was popular across the country from day one, it blew through the roof of Western fashion when a few notable folks also made it “their hat.” I’m talking about two American presidents, of course. First, Harry S. Truman, who planted it firmly in the American landscape; next, Texas’s own Lyndon B. Johnson, who made it an American icon.

In fact, Johnson loved this hat so much that he’d order it in bulk from Stetson so that he could leave his hat to notable figures—and random strangers—as the best business card in the history of off-the-wall business cards. Known equally as a hardy Texas rancher and a refined dignitary and political figure, Johnson established the look of someone who could walk the line between Stetson’s Western values and a modern man. Dare I say, someone who was “all hat” and “all cattle.”

It’s easy to say that hats like the Open Road are a fad, but I wholeheartedly disagree. When something endures for nearly 100 years, with no signs of slowing, it becomes something more than a trend. Thanks to Truman and Johnson, it enters the Mount Rushmore of American fashion alongside blue jeans and boots, and it’s pretty tough to argue otherwise.

“Known equally as a hardy Texas rancher and a refined dignitary and political figure, Johnson established the look of someone who could walk the line between Stetson’s Western values and a modern man.”

Own the Open Road

Here’s why I love the Open Road. It’s American. It’s Texan. It’s modern. It’s classic. It’s anything you want it to be, really, and that’s the most important thing I can say about a hat. There’s a saying that the best hat is the one you have on, which I think has two meanings. First, it’s important to wear the right hat for the right occasion, which I just pointed out isn’t much of a problem for the Open Road because it works just about everywhere.

The secondary meaning, though, is one that’s worth exploring. In my mind, the perfect hat compels someone into a state of confidence. If that sounds like a bullshit line, bear with me. It’s easy to throw on a ballcap and call it good because no one expects anything from a ballcap, and you’re probably not going to stand out in a crowd.

But when you put on a Hat-with-a-capital-H, you’re not hiding from anyone. Folks are going to notice, which means you can take two roads (no pun intended)—you can either be comfortable with that, or uncomfortable with that. To me, this saying implies that you can pull off any hat as long as you believe that you can pull off any hat. Every time I put on my Stetson, I’m taking a step out into the open and letting people know a few things: that, like my hat, I’m American, Texan, modern, and classic.

“Every time I put on my Stetson, I’m taking a step out into the open and letting people know a few things: that, like my hat, I’m American, Texan, modern, and classic.” 

If I want you to take away anything from this ode to the Open Road, I want you to find “your hat.” I’ve found mine, and it comes standard with confidence and a good backstory. If you think yours might also be the Open Road, check out the custom version we offer in the LG Shop, shaped in the distinct style of yours truly. If it’s not for you, try something else. Go with a cowboy hat. Hell, go with a sombrero if you really want to test your confidence.

Point being, the right hat isn’t a signal of vanity. At least, it shouldn’t be. It’s merely a reflection of the person beneath it. Think of it this way—if people are going to read you like a book, you might as well control the narrative, and the perfect hat can do just that. My narrative begins the same way Texans have been writing their story since 1937, with the clean creases and classic conviction known as the Open Road.

Editorial

Mesquite 101: The Cooking Wood You Can’t Ignore

There are certain hills I will choose to die on, and most of those hills are littered with the thorny, warped branches of mesquite. Ever since my dad stoked the fire for Goode Co., it’s been directly tied to just about everything we do behind the cooker—smoking, grilling, you name it—which tends to get people’s attention. Why? Because, love it or hate it, it’s pretty damn hard to ignore mesquite.

And that’s just how I like it. It weeds out the kind of folks who call red snapper “too fishy” or wild game “too gamey.” If you don’t like the taste of a properly smoked piece of meat (or veggie or dessert or whatever), then maybe you should try a different cuisine—because mesquite is as pure of a cooking wood as they come.

As we were curating products for the LG Shop, we knew we’d have a lineup of Premium Cooking Woods, which meant we’d offer mesquite. We’ve handpicked some of the finest mesquite around based on its quality, moisture content, and age, which will set you up for success behind the grill and smoker.

But, because mesquite is such an intense wood, I won’t leave you to the wolves. In this quick guide, I’m going to give you a quick rundown on everything mesquite, so you can make the most of it. Who knows, maybe you’ll learn to love it as much as I do. There’s plenty of room on this hill with me.

We’ve handpicked some of the finest mesquite around based on its quality, moisture content, and age, which will set you up for success behind the grill and smoker.

A Little History

If you live in Texas, or anywhere near Texas, you’ve seen mesquite trees. While they used to be found along rivers and streams in the southern parts of the state, they’ve expanded over hundreds of years to encompass just about any open space that doesn’t have a building, road, or cattle pasture on it.

As for its use, the mesquite tree has been part of nature’s grocery store for centuries. Native American tribes would use the pods for making flour, honey, and all sorts of goods. I can see why. Next time you see a mesquite tree loaded with pods, be sure to break off a few of the ripe ones (they turn brown as they’re about to drop from the tree) and give it a taste. They’re a dead ringer for gingerbread with a touch of honey. You can even dry them in a dehydrator or smoker, and grind them to make your own flour.

But that’s enough about mesquite pods. We’re here to talk about wood, which has also been a cooking staple across Mexico, Texas, and the broader Southwest ever since some hungry dude figured out how to rub two sticks together. This is partly because mesquite is so prevalent, making it an easy choice for Mexican vaqueros, ranchers, and Texas Rangers to make a quick fire for searing their choicest meants (or, you know, opossums and whatnot) over an open flame.

As the barbeque scene exploded a few decades back, mesquite has fallen back a few spots due to its intense flavor and the attention needed to use it properly, making woods like pecan, oak, and apple more popular. There’s no denying the fact that it’s a Texan wood, through and through, and that’s why we’re obsessed with it and will continue to be obsessed with it as long as there are fires to be built and meats to be cooked.

Made to Burn

Before we get to the flavor of mesquite, let’s talk a little bit about the wood itself. Mesquite can pack a whopping 58 pounds per cubic foot in density. That number may not mean much to you, but oak and pecan generally top out in the mid-40s, making mesquite one of the densest and toughest hardwoods you can find on the landscape.

This matters to you because it burns hot and fast. In fact, it’s one of the hottest-burning woods you can commonly find, putting it up there with osage orange, white oak, dogwood, and locust. Of course, this has its pros and cons, which we’ll explore more in the next section. As for the actual burn, it’s a secret weapon for cooks across the state.

Mesquite excels at starting your cooking fire. Its intense heat makes it a prime candidate for grilling any sort of meat, including some of your favorite Mexican cuisines, as well as wild game that may have a stronger flavor you want to tone down a bit. It’s also an optimal wood for smoking, which some misguided barbeque folks may disagree with. Beyond its ability to start and get your fire up to optimal heat quickly, mesquite is a great way to add flavor to any longer cook, mixing and matching with other mild, slow-burning hardwoods to control the flavor and temperature of your smoker. Or, if you’re looking for a classic, intense barbeque experience, just go all-in with a pile of mesquite.

As Texans, mesquite’s flavor immediately exudes something more than a flavor—it exudes memories of cowboy culture, Mexican hospitality, and long nights under a canopy of stars. It’s hard to describe, but it’s baked into our DNA.

Big Flavors

And that brings us to the flavor profile of mesquite. You can’t ignore it, and you’d be crazy for wanting to ignore it. As Texans, mesquite’s flavor immediately exudes something more than a flavor—it exudes memories of cowboy culture, Mexican hospitality, and long nights under a canopy of stars. It’s hard to describe, but it’s baked into our DNA.

From a culinary perspective, the flavor is strong. It’s almost impossible to describe a wood’s flavor, but I’d call mesquite earthy, with subtle hints of sweetness, and a pleasant aroma that leans towards something like cumin. Like I said, it’s hard to describe.

Getting the perfect flavor from mesquite comes down to how well it’s cured, or “seasoned.” Green, or young, mesquite wood tends to be extremely strong in flavor and also have a bit of an acrid or bitter taste, so it’s best to let the wood dry for a bit. The good news is that mesquite tends to cure more quickly than other hardwoods, needing only six to 12 months depending on the size of your wood. Once it’s dry, the flavors tone down a bit and ditch the bitterness, giving that classic, sweet profile. Don’t have six to 12 months to spare? We did that for you with our Premium Cooking Wood, offering bundles that are seasoned to perfection and ready for your next big smoke.

Putting It to Work

As for where to start, that’s totally up to you. As I mentioned before, mesquite is an ideal grilling wood. Because it burns hot, fast, and creates massive amounts of smoke early in the process, you can infuse flavors into your steaks, fajitas, carne asada, chicken, and more, without needing much time over the fire.

Or, if you want to dive in headfirst, mesquite also excels at cooking large cuts of dark meat, complementing the rich, fatty flavors with its deep, earthy notes. Pork shoulder, pork butts, and even beef briskets can be great options for cooking with this Texan classic. Lastly, mesquite pairs nicely with plenty of other woods, if you’re looking to create your own smoky mixture of deliciousness. Classic smoking woods with lighter flavor profiles and a slower burn are ideal—think oak, pecan, apple, and cherry.

Because it burns hot, fast, and creates massive amounts of smoke early in the process, you can infuse flavors into your steaks, fajitas, carne asada, chicken, dishes, and more, without needing much time over the fire.

Ultimately, making great barbeque is personal. Everyone has their preferences and opinions, but I’d highly encourage you to form your own. Every article and online forum has plenty of folks saying mesquite is too strong, too hot, and too much to use on its own, but myself and the smoking pros I work with have been disproving that for going on 50 years now. Give mesquite a shot. You may be surprised at the results, and you’ll sure as hell never feel more Texan.

Photography by Jody Horton.

Editorial

Four Ways to Win the Super Bowl This Year

Let’s crunch the numbers for a minute. There are 32 teams in the NFL, and only two of them are going to make an appearance for the last game of the postseason. If my math is correct—by math I mean calculator—then only 6 percent of Americans are truly invested in the outcome. What does that leave for the rest of us? The party, obviously. Maybe that’s why over 26 million Americans tend to take a “sick day” on the Monday after the Super Bowl.

If you’re going to party hard this year, then I highly suggest you also party right. Skip the frozen pizzas. Skip the 30-pack of alcohol-flavored water. And please, for the love of God, skip those prepackaged dips with questionable smells.

I can’t cure a hangover for you, but I can sure as hell make sure that the hangover is worth it. This year, root for whoever you want to root for, and follow my handy guide for making this the best Super Bowl of your life — no matter who wins.

Make Proper Poppers

I already have another popper recipe on this very site, but this is a slightly more involved (and showstopping) take on a classic appetizer. Long story short, if you can nail this recipe, you don’t even need to worry about a main course — these poppers will do the trick just fine.

The key here is, first, the brisket. Go ahead and turn this dish into a weekend-long excuse to hang out by the smoker because if you’re going to smoke something, it’s worth smoking right. From there, it’s just about the quality of ingredients. Go find that good cheese at your finest grocery store or, better yet, find some even finer cheese at your local Mexican market. The same goes for jalapenos. Don’t get me wrong, this recipe’s not complicated, and that’s why the ingredients matter so much. If you get that right, the sum is greater than its parts.

ingredients
  • ½ lb smoked brisket, finely chopped
  • ½ cup tomato-bacon jam
  • ¼ cup BBQ sauce
  • 4 oz cream cheese
  • 2 oz Chihuahua cheese, shredded
  • 2 oz high-heat cheddar, shredded
  • 22–23 medium-sized jalapenos
  • 9–11 bacon slices
instructions
  1. Chop brisket and combine with the tomato-bacon jam and BBQ sauce.
  2. Add all the cheeses, and mix thoroughly
  3. Slice jalapenos lengthwise and remove the seeds and veins
  4. Roast jalapenos on the grill for about one minute. Don’t burn the stems.
  5. Fill each jalapenos with 1 oz of the filling mixture.
  6. Stretch the bacon slices, slice them in half, and wrap each jalapeno.
  7. Place them seam-side down on a plate.
  8. Smoke the poppers at 275 degrees for 40–55 minutes, and (optional) crisp them at 375 degrees for 5–10 minutes.
  9. Alt: grill the poppers on medium indirect heat, turning occasionally until the bacon is crisp and the filling is hot.
  10. Brush lightly with BBQ sauce, serve hot, and wonder why the Texans aren’t playing.

Score With Seafood

I know, I know. It feels weird for a French word to pop up in an article like this, but stick with me. Béchamel may sound all fancy, but when you hear that it’s essentially a butter sauce with a boatload of great stuff in it, you’ll thank me.

Personally, I think it’s a crime how little seafood is served at Super Bowl parties and I’m making it my life’s mission to remedy that fact. Put the bagel bites down, and head to the light because this recipe is going to make even the most jaded Cowboys fan enjoy watching yet another Super Bowl without a single star on a helmet (plays world’s tiniest violin).

ingredients
  • 3 oz mushroom-cheese bèchamel
  • 1 oz heavy cream
  • 3 oz lump crab meat
  • 3 oz shrimp (51/60 count, peeled)
  • 2 oz white cheese blend
  • 1 oz lemon butter
  • 2 slices of garlic bread
  • 1 charred lemon
  • A pinch of green onions, sliced for garnish
instructions
  1. Gently heat the bèchamel, heavy cream, and crab in a small sauteé pan until simmering.
  2. Separately sauteé shrimp in lemon butter until just cooked.
  3. Add cooked shrimp to the bèchamel-crab mixture and fold gently.
  4. Transfer the hot mixture into a round casserole dish and sprinkle evenly with the white cheese blend.
  5. Place the casserole on a pie pan and bake at 425 degrees for seven minutes. Remove when the cheese is bubbling and lightly toasted.
  6. Place the casserole on a linen-lined oval place and garnish with green onions.
  7. Serve with garlic bread, charred lemon, and a serving spoon.

“A surefire way to win over even the surliest of football fans is to grab your fish of choice, smoke the living daylights out of it, and turn that sucker into a dip.”

Smoke ‘Em If You Got ‘Em

This isn’t so much a recipe, but more of a general suggestion. If you’re an angler — or appreciate any type of seafood — a surefire way to win over even the surliest of football fans is to grab your fish of choice, smoke the living daylights out of it, and turn that sucker into a dip.

Believe it or not, fish is the perfect conduit for smokey flavors. The delicate, flaky texture soaks up the smoke like Willie on his tour bus, making for the perfect accompaniment for mild, fatty ingredients to go alongside it. It’s generally best to go for more fatty fish like redfish, salmon, or even tuna. That being said, I’ve successfully made crowd-pleasers with trout, whitefish, snapper, and even blue catfish (trust me, it’s underrated).

So much of this depends on the type of fish, but if you pair it with cream cheese, a little mayo, some dill, garlic, salt, and pepper, it’s pretty damn tough to go wrong. Heat your smoker to 250 degrees and cook the fish until it’s just cooked through. As for your wood selection, green mesquite is going to have the heaviest smoke flavor, but if you’re looking for something a little milder, try going with a seasoned (6+ months) or aged (8+ months) pecan or oak for a sweet, subtle flavor. Either way, it’ll be good.

Hit the Books

If any of these ideas are striking your fancy, then I’ve got more options. Just head over to my recipes page and you’ve got all sorts of options for putting the best Super Bowl party together. Here’s a brief rundown of some recipes I think would make killer football foods:

  • Boudin: you’ll have a living room full of happy Cajun or at least folks who wish they were Cajun.
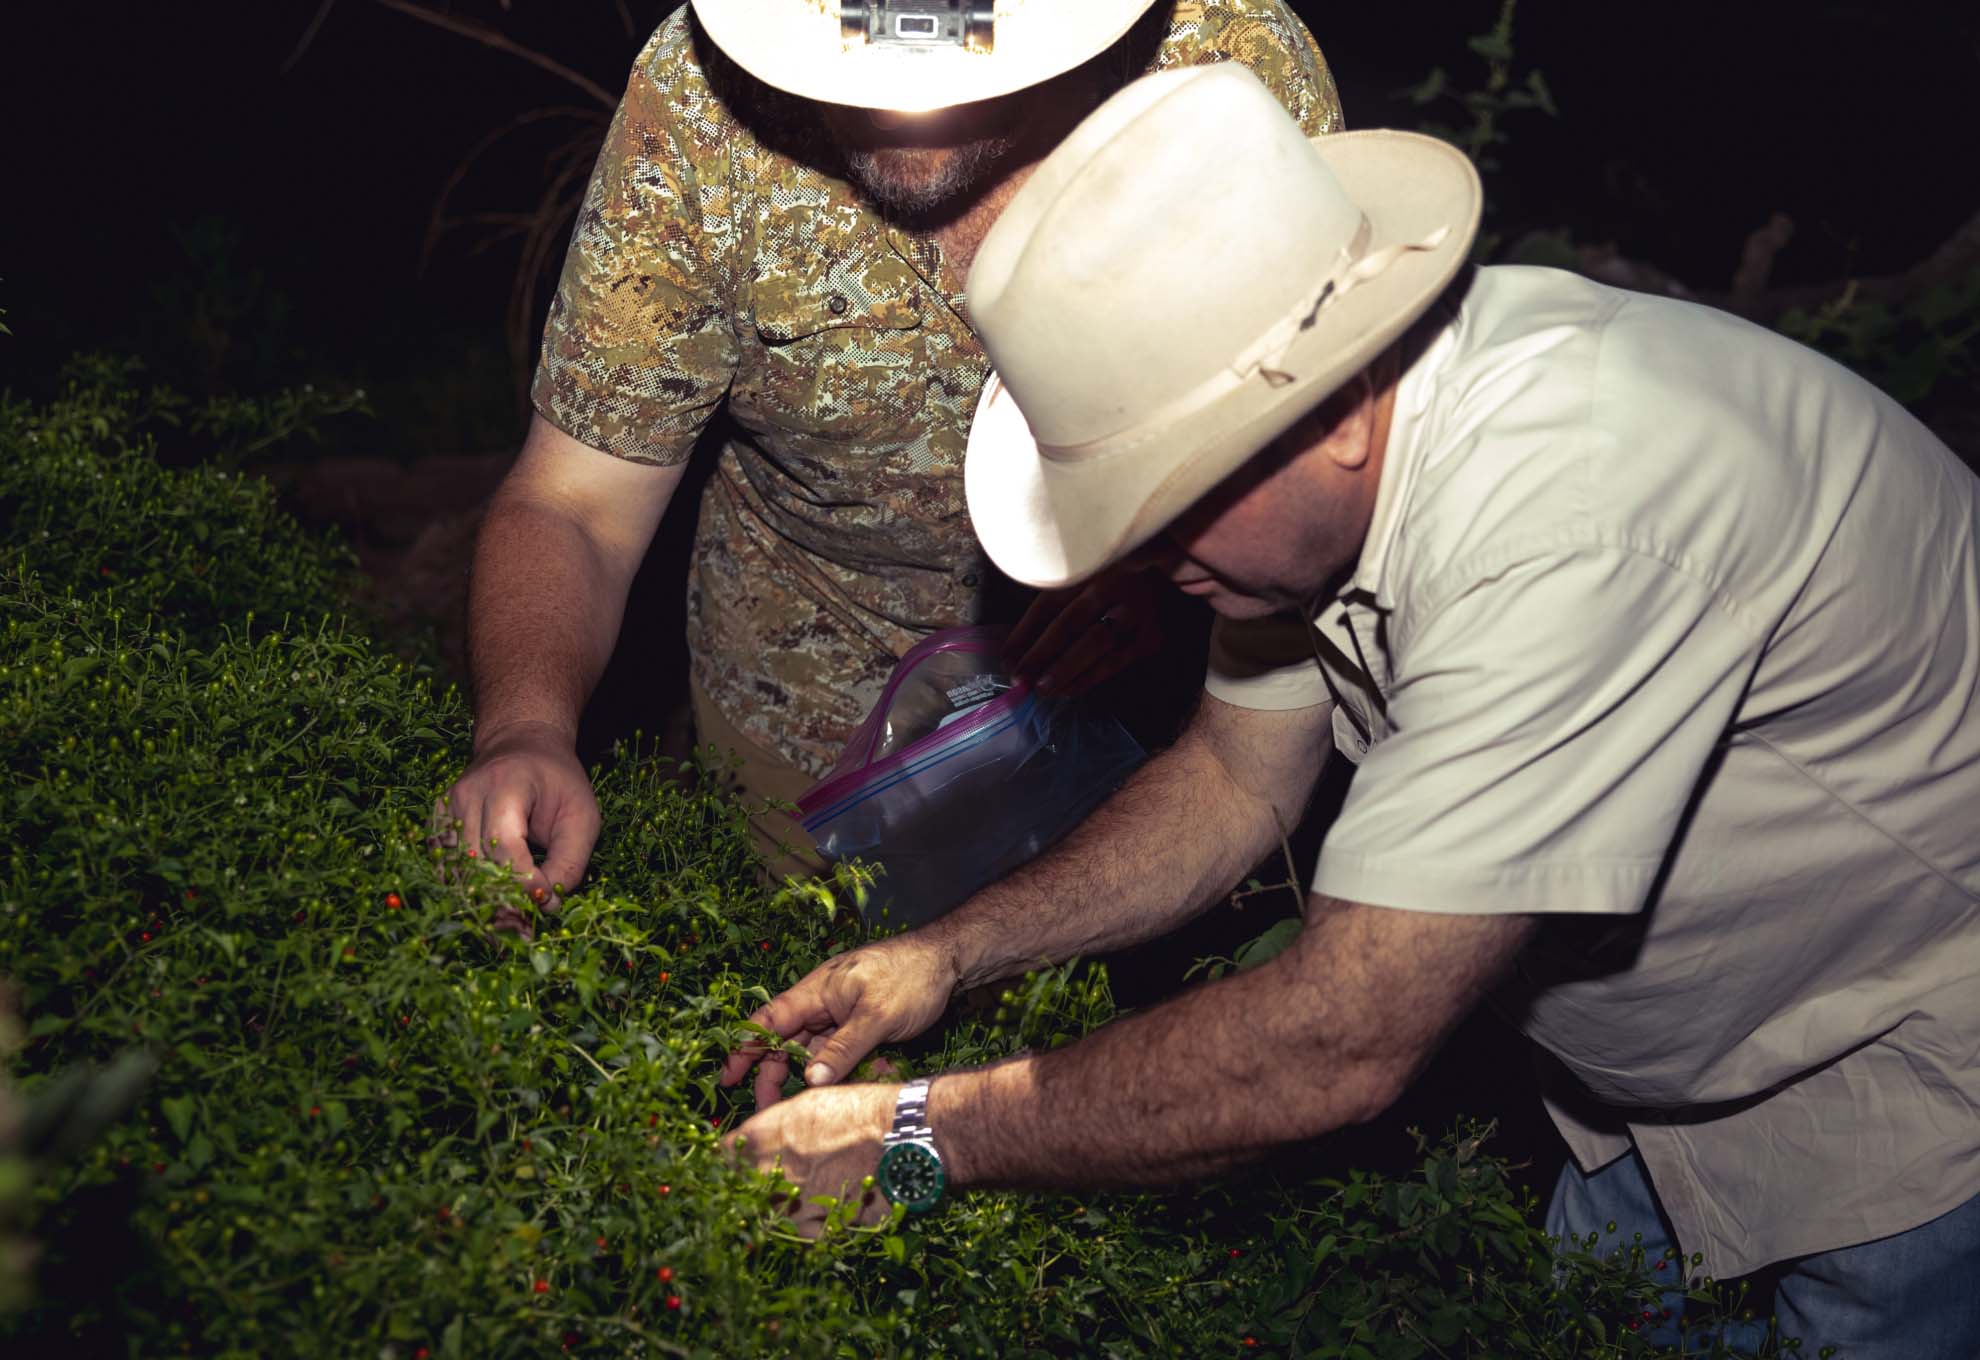
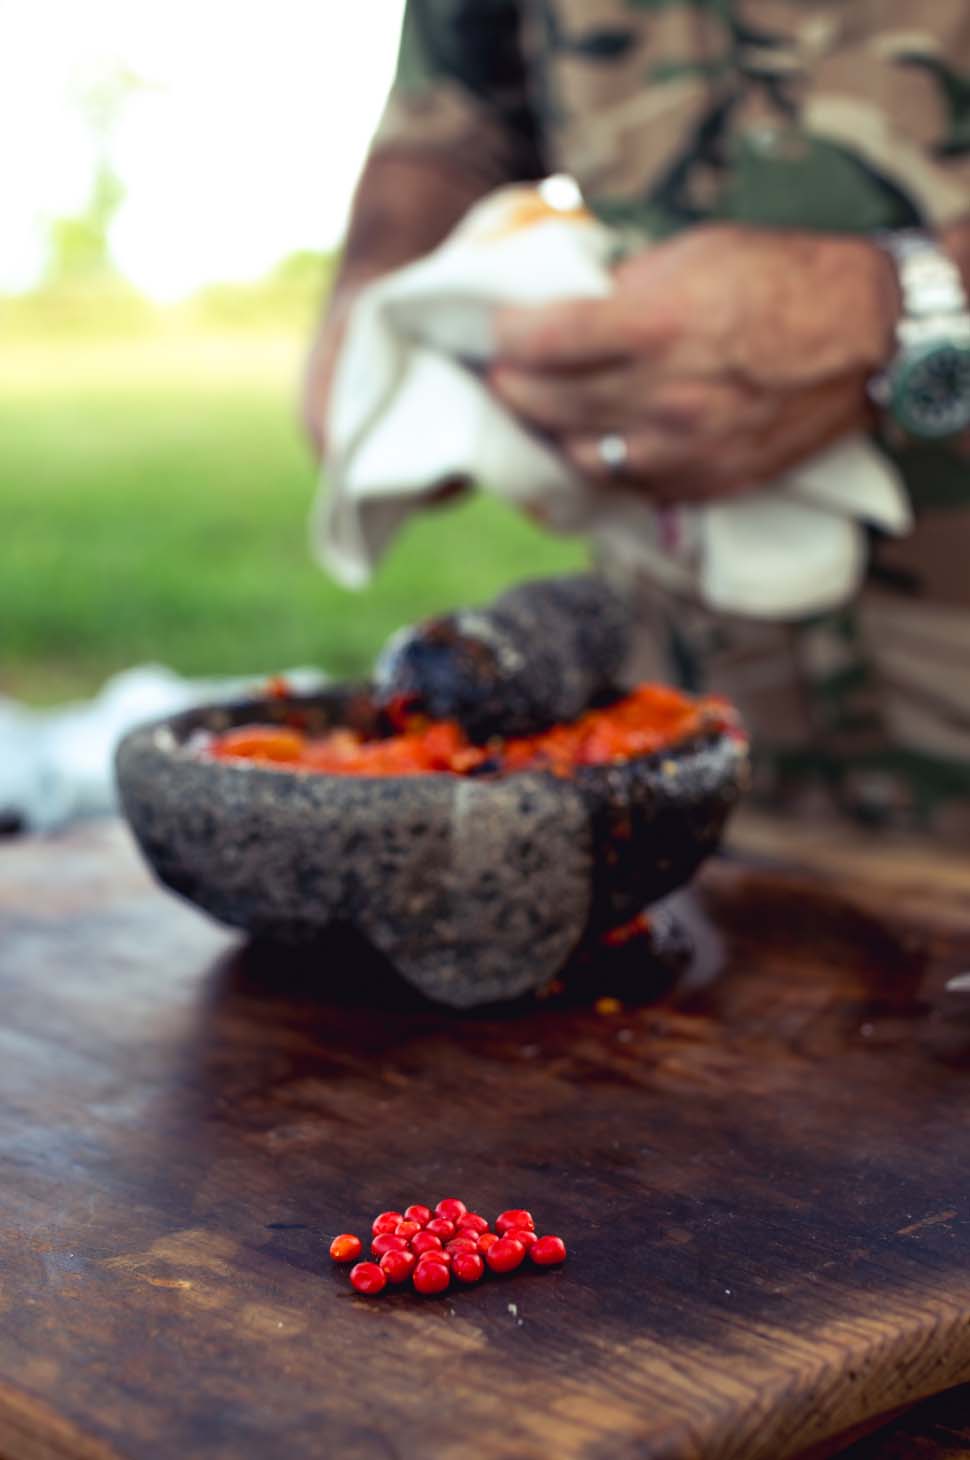
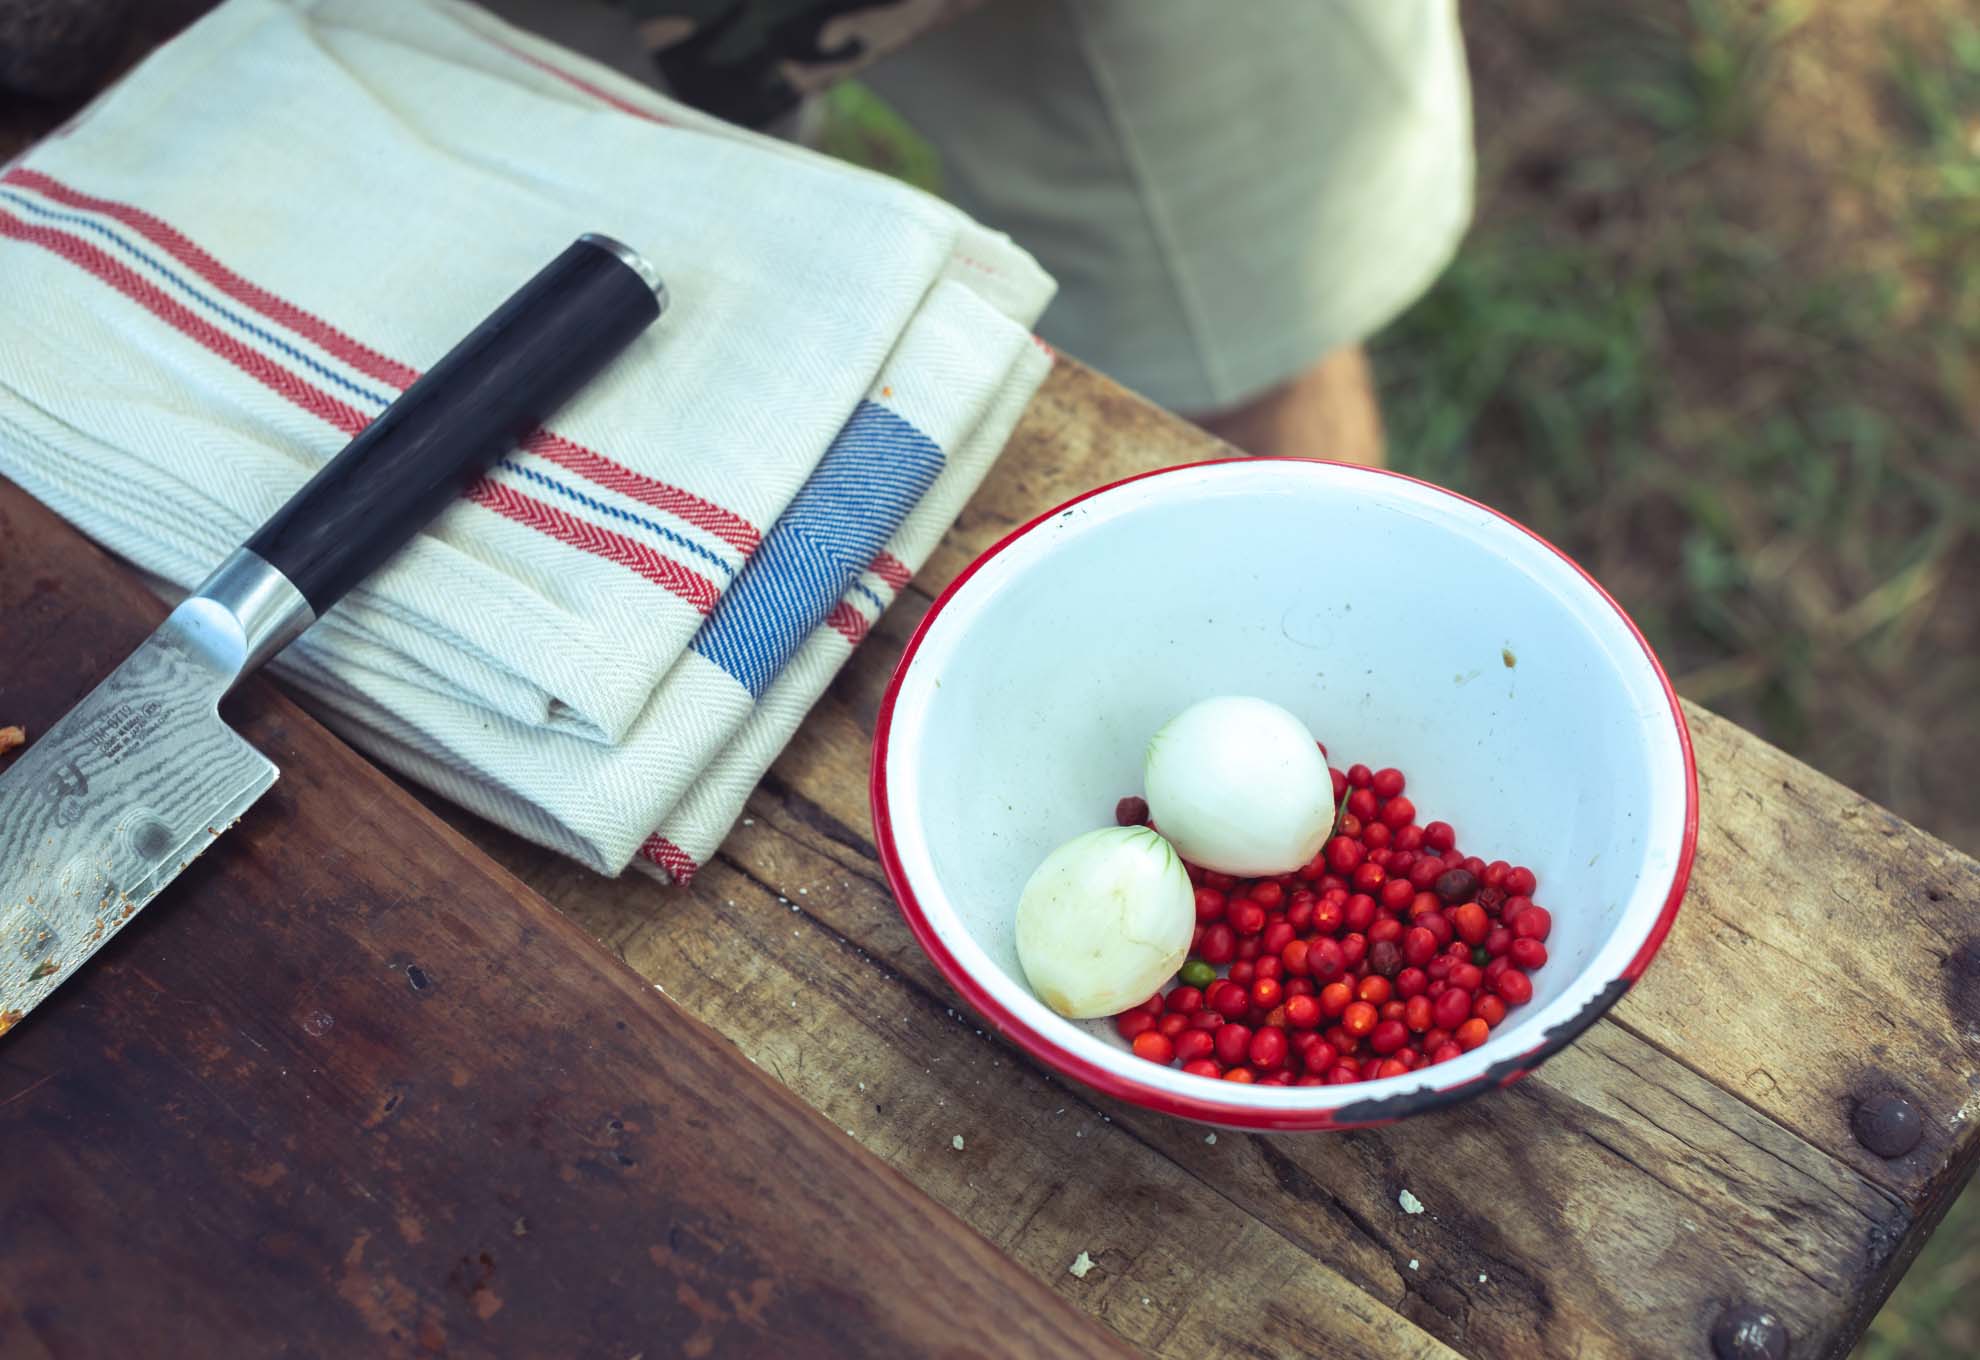
  • Chile piquin salsa: if you’re not sweating the outcome of the game, you’ll sure as hell be sweating (in a good way) with this one.
  • Chicken enchiladas: come on, who doesn’t love enchiladas?
  • Crab cakes with Creole mustard sauce: these tangy little bundles of seafood goodness will be gone before they hit the table.
  • Tortillas: Yep, I’ve got the perfect recipe for both flour tortillas and corn tortillas. I promise, no one ever complains about homemade tortillas.

Not to get all introspective, but life’s short and there are only so many Super Bowl parties. It may sound like a lot of work to throw together a lineup of delicious dips and finger foods, but that’s only if you think about it like work. I love this stuff. It gives me plenty of time to pop a cold one, sit with some pals, and talk about how bad the halftime performance is going to be. Don’t forget, this is what life was meant to be — having the best folks come over to scream at a bunch of athletes we’ve never met in our damn lives. If that doesn’t sound like a hell of a good time, throw a few of these recipes on the table, and there’s no way you’re making it to work on Monday.

Photography by Jody Horton.

Editorial

Introducing the All-New Levi Goode Shop

It’s easy to say that “things” don’t matter, but that doesn’t make it true. In fact, we spend our lives with the things we buy, make, and use on a daily basis, so they’re going to make up a substantial portion of our time on this planet. They have either the ability to serve and sustain, or to frustrate and break. In short, things do matter, and that’s why I’m launching the all-new Levi Goode Shop.

Anyone who knows me knows that I live by the “buy once, cry once” philosophy. I love a well-crafted product—particularly one that’s made in the great state of Texas—that not only fulfills its intended purpose, but is also a joy to use. And that’s what I’ve filled this online store with. It’s not a catalog. It’s a collection.

“Each and every one of these items has been put through the ringer in Houston, across Texas, and around the world, surviving long enough to come back and tell the story.”

Well-Used

Why is it a collection? Well, because it’s made up of things that I actually use in my own life. As a life-long appreciator of quality and craftsmanship, I feel like my kitchen, home, and travel bag are damn good testing grounds for some of the best products out there. Each and every one of these items has been put through the ringer in Houston, across Texas, and around the world, surviving long enough to come back and tell the story.

For instance, I never leave the house without my Stetson Open Road, and it’s proven to be a loyal sidekick for decades. Pick one up for yourself, and you’ll have a custom-shaped hat that can serve as your sidekick, too. Or, take the Discada Cooking Disc as another example. These custom-made pieces of perfection have survived just about every cooking condition—from well-ventilated professional kitchens to the mesquite-covered backcountry of Texas’s largest ranches.

You get the idea. In short, I wouldn’t offer a product that I wouldn’t use myself, and that’s the driving idea behind everything in the LG Shop.

Well-Made

I may use all sorts of products, but I certainly can’t make all sorts of products. In fact, I take just as much joy in knowing who made an item as I do what the item is—it matters to me, and I think it should matter to you as well. In the age of AI, there’s nothing I appreciate more than a handcrafted object soaked in a true professional’s blood, sweat, and years of experience. It just feels human, and being a human myself, I tend to lean towards that side of the equation.

We worked with the good folks at Southwest Disk to create our Discada offerings, and they came back with designs that truly reflect what I grew up using along the brushy plains of South Texas. We source our Premium Cooking Wood from the team at Butlerwood, located in Seguin, Texas, to offer the best cooking woods you can find.

Then there’s our own team. We may not know how to make all the products, but we sure as hell know how to make food products, which is why we’re offering a whole slew of seasonings for everything from big cuts of steak and chops to seafood and fajitas and everything in between. Between myself and our culinary team, we’ve been like mad scientists finding the perfect ratio of seasonings sourced from only the best ingredients.

On top of that, we have some truly distinct leather products—like the Chef’s Apron and Dice Cup— and even some custom-made candles to create the perfect vibe when you’re not basking in the aroma of mesquite smoke. If you can’t tell, we’re having fun, and I hope you will too.

Might as Well

This isn’t a big sales pitch. It’s not a sermon on product quality. It’s simply me wanting to share some inspiration with my community. If there was no website or online store, I’d still be using and producing “things” like these because I truly believe that they make my day-to-day life better, and that’s the only reason I’m opening up shop and sharing them with you.

If you’re interested in spicing up your life, check out the Kitchen & Bar section to pore over spices, candles, cooking boards, and so much more. If you want goods that are as durable as you, check out the Gear & Goods section. Or, if you simply want to light one up in the woods, don’t miss the Campfire Cooking section. Every item has passed my personal test of quality, and I can’t wait for them to pass yours, too.

Photography by Brian Kennedy

Editorial

A Sportsman’s Guide to Surviving Slow Season

Maybe it’s our whitetail-centered mindset in this country, but there’s a pervasive idea that hunting season comes to an end when December comes to an end. There’s something to that, of course. The leaves are off the trees, it gets bitterly cold in some parts of the country, and things do tend to taper off a bit. Then, we’re left with the black hole known as winter.

For us Texans, January through March can be a rough one. We don’t have the option to go skiing like some of our western friends, but it’s generally not warm enough to spend the day lounging around outside by the pool, either. The good news is that there’s still plenty of juice left to squeeze out of our outdoor pursuits. In fact, things can get pretty dang good when the Christmas music begins to fade away and people recover from their New Year’s Eve festivities. It just takes a little outside-the-box thinking—mental gymnastics, if you will.

Outdoorsmen are busy folks, and we like it that way. So, in an effort to keep us busy in the best way possible, I’m throwing out some options to keep you sane during the slowest season of the year. It may not be peak fishing or deer hunting, but there’s still plenty of fun to be had in the great outdoors—not to mention the great indoors, but we’ll get to that shortly.

In the meantime, here’s my guide for surviving the late season.

Late-Season Ducks

All of my fellow waterfowlers spend November and December chasing their target, but the late-season migration can prove to be one hell of a good time as well. This partially depends on the weather throughout the fall and winter, but if we happen to hit a weather window where cold fronts push the remaining birds south, things can really heat up in January. If you’re reading this article in 2026, you’d better get to it—the season ends across the state on January 25.

Keys to success

The late season is a tricky time to chase ducks, but certainly not impossible. At this point, birds have seen plenty of hunters and there’s a solid chance they’re carrying a few pellets in their ass from poor shooting across the flyway. With that in mind, it’s best to keep your decoy game subtle. Try running small decoy spreads ranging from six to 24 decoys at most, and keep them sparsely organized and in pairs. Drakes and hens have paired up at this point in the season, so they won’t want to dive bomb into a group of 30 or 40 decoys—they want those ladies to themselves. Beyond that, you’ll need motion in your spread, but not too much. Keep the Mojo spinners in your bag, and stick to a more subtle jerk rig or pulsator decoy.

“If you haven’t joined in on this yearly event, you’re sorely missing out because it can be about as much fun as you can have without breaking the law.”

The White Bass Run

Starting sometime in February or March, drive across any body of water in Texas and you’ll most likely see plenty of trucks parked near overpasses, boat ramps, and trails leading to creeks. They’re there for one reason only: the legendary white bass run. If you haven’t joined in on this yearly event, you’re sorely missing out because it can be about as much fun as you can have without breaking the law. If you can time it correctly, and find the fish, it’s one bite after another with some great eating at the end of the day. Sure, it’ll be crowded on the water, but white bass (or sand bass, or sandies) aren’t going extinct any time soon.

Keys to success

This one is all about timing. There are plenty of theories as to when the bass start their yearly spawning run up the creeks, but I’d start dropping lines whenever the water temperature gets above 50 degrees or so. You’ll know when the run is in full swing because you won’t be able to keep the fish off your hook. As for where to go, simply look for any large reservoir or river, and then look for feeder creeks flowing into it—the bass will be heading up those creeks to spawn as soon as the water reaches that magical temperature. Don’t overthink the lure selection. They’ll pretty much eat anything at this stage, so make plenty of room in the cooler.

Turkey Season

This is an obvious one, but definitely worth mentioning. The spring turkey season generally kicks into gear in mid to late March, so it’s a great way to emerge from hibernation and celebrate the onset of warmer temperatures. The spring season gets all of the buzz in the turkey world for one good reason: the toms are ready for love, and willing to make some bad decisions. That’s great news for us, and I highly recommend you don’t miss it.

Keys to success

We don’t have enough time or space here to go over a guide to turkey hunting. Many books and online articles have been written on the topic, and they’ll all do a better and more thorough job than I can do in a few sentences. So I’ll keep it simple. Buy yourself a turkey call and start practicing. Watch YouTube videos on what an actual turkey sounds like in the spring when they’re searching for hens, and also pay attention to when you should make a bunch of noise and when you should be quiet and stealthy. Once you get that figured out, it’s just a matter of finding some timber and loading up the scattergun.

“The good news is that there are things you can do pretty much all year long to keep your deer brain in working order.”

Post-Season Scouting

Alright, now it’s time to think a little outside the box. As many of you know, I’m more of a generalist, but I recognize that it can be tough for the diehard whitetail hunters to fully turn it off when the season comes to an end. The good news is that there are things you can do pretty much all year long to keep your deer brain in working order. We’ll save food plots and land management for summer, but in the meantime, you can head for the woods and start scouting for next season. In fact, it may be the best time to do so. Deer are still in their cold-weather movement patterns, so the information will still be applicable for next season. They’ll still be working occasional scrapes and making rubs, which you can mark for future reference. All in all, any day in the woods is a good day—and always productive.

Keys to success

Now that the season is actually over, this is your chance to see where the bucks are actually bedding. As I mentioned before, look for scrapes and rub lines in the timber, and then (very) slowly walk until you bump something—take note of where the buck was bedded and the general features (elevation, wind, foliage, etc.) that led him to choose that spot. Even if you don’t end up hunting this particular buck, it’s valuable intel for other deer as well. It also helps to have a mission, and it’s always fun to go looking for antler sheds. Especially later in the winter, bucks will drop their antlers, and they serve as a great goal to keep you focused and engaged when things are gray and gloomy in the timber.

Work on Kitchen Skills

Surprise, surprise. You know I had to pigeonhole cooking into this article at some point, so here we are. If you were lucky in the fall, you have a freezer full of the best meat money can’t buy and now’s the time to start brushing up on your skills so you can make the most of it. I’m not against burgers and seared backstrap, but there are a million ways to cook venison, waterfowl, upland birds, and whatever else you happen upon during hunting season. Take advantage of the slow season to learn a few new techniques, and try recipes that you maybe wouldn’t normally try—there’s a 100% chance it’ll pay off.

Keys to success

Instead of tips and techniques, I’ll just offer some great places to start on your wild game cooking journey. I’d be remiss if I didn’t throw out some of my own references:

For more in-depth instruction, there are plenty of great wild-game cookbooks out there, but here are a few of my favorites:

Shoot, after reading my own list, I’m already feeling better about the long wait for summer. In our minds, we’re all in a hurry for warmer weather, but let’s not get too hasty because we’ll all be sick of that same warm weather when August rolls around. In the meantime, let’s soak up what we have right in front of us—namely, a hell of a good time during the “slow” season.

Photography by Jody Horton

Editorial

The Fine Art of Knife Sharpening

For any trained chef, knife sharpening is near and dear to their hearts—and I’m no different. I see a knife as the foundation for meal preparation, reflecting an attention to detail and also a commitment to making the best meal possible. Just think about it.

The meat slices will be thinner. Tomatoes won’t be smashed. Minced garlic will be consistent. Big chunks of cilantro won’t stick to the front of your teeth. In other words, a good sharp knife will save you lots of tears in the kitchen—and I mean that literally, because a sharp knife means less tears when you slice into an onion.

All of the benefits may seem small, but your knifework comes in contact with nearly every aspect of cooking—so it adds up to a monumental difference, which is why a little part of me dies inside when I go to someone’s house and see the state of their knives. It’s one of the most criminally ignored aspects of a home kitchen. It’s time to fix it.

That’s why we’re talking about knife sharpening, one of the kitchen skills I’d put on the culinary Mount Rushmore, right beside “season early and often.”

It may not seem sexy, but
it sure as hell will be when your BLT has paper thin tomato slices instead of chunky monstrosities.

Understanding the goal

There are a lot of misconceptions about knife sharpening, so let’s start by actually talking about the goal. Imagine a flat piece of steel with a blunt edge. What would you need to do to make it ready to cut an onion?

First, you need to set an edge. This is a moot point for just about everyone who isn’t a professional knife maker because you’re most likely purchasing an edge, so consider this goal achieved. Next, you want to use some sort of abrasive (whetstone, sharpening steel, etc.) to remove small amounts of metal in equal parts on each side of the edge, bringing it to a fine point. Generally, this is done in stages, using a rough abrasive to remove larger amounts of material, and gradually using finer abrasives to tip-toe towards a smooth, fine edge.

During this process, you’ll eventually start building a burr on the tip of the knife edge. The burr is simply an accumulation of metal that’s being removed from the blade, which is actually a good thing! The final step in the process will be to “deburr” or remove the burr, revealing your razor sharp edge.

What method should I use?

There are a ridiculous number of ways to sharpen a knife, and many of them are ridiculous themselves. For whatever reason, knife sharpening has been flooded with gimmicks over the past few decades, with a deluge of “as seen on TV”-type products that have varying degrees of efficacy. So, as an antidote to this fact, I’m going to keep things simple and run through a few tried-and-true methods.

Highly effective, slow, and moderately expensive: whetstone

If you ask any culinary purist the “right” way to sharpen a knife, they’ll tell you to get a high-quality set of whetstones. They take some skill and knowledge to learn—and can take 20–40 minutes per knife to use—but can offer up an unbelievably sharp edge. I’m talking about medical-grade sharpness. The reason for this is that whetstones give you the ability to set whatever angle you want on your edge, and very gradually increase the abrasive’s fineness to get the finest point possible.

The issue? As I said, it can take time, even if you’re proficient with whetstones, and a high-quality set can be hundreds of dollars as well. If you do want to go this route, I’d recommend having a 600-grit, 1,000-grit, 2,000-grit, and 6,000-grit stone to get the job done right. Many stones are double-sided, so you could get here in as little as two stones. You’ll probably want a “fixer” as well, which is used to flatten the whetstone and aid sharpening.

The process is fairly simple, although it can take some time to get used to. Depending on the state of your blade, you’ll want to start on a coarse or moderately coarse stone. Keeping a consistent angle, push the blade away from you while moving the knife from tip to heel. Do this 8–10 times on one side, flip the knife, and repeat. Once the edge looks and feels good, repeat on a finer whetstone. Once you’re done with the whetstones, you’ll want to use your honing steel to deburr and re-center the edge of the knife. We’ll dive into honing steels shortly.

Fast, fairly effective, and moderately expensive: Chef’s Choice

As I mentioned before, there are way too many gimmicky sharpening tools out there, which is why it took me a while to come around on the Chef’s Choice tool. This thing essentially has three increasingly fine, rotating abrasives that turn along the blade’s edge, and the casing helps to keep the angle consistent. You can go from dull to pretty darn sharp in about 3–5 minutes per knife.

Can you get the knife as sharp and beautiful as a whetstone? No, you can’t, but it can get as sharp as most people will ever need. Another knock on the tool is that it costs between $150–$200, and you can’t adjust the angle of the edge if you wanted to get more specific to individual knives. Lastly, the wheels leave a fairly harsh-looking surface on the knife, which is purely aesthetic, but can bother knife purists like myself.

All of this being said, it’s a great choice for a home chef who just wants to get things done and wants a sharp knife for the job. It’s fast, pretty effective, and a one-time buy. I won’t go into techniques because there’s not much to go over, and the owner’s manual will do the trick if you decide to go this route.

Effective, fast, and cheap: sharpening steel

The sharpening steel is the ultimate all-around solution. It’s not as technique-intensive as the whetstone, can be incredibly inexpensive, and is highly effective. It’s the goldilocks of knife sharpening, in my opinion, and used by professional chefs around the world.

It’s important not to confuse a sharpening steel with a honing steel (we’ll cover the difference next), but the technique is similar. You place the steel vertically on a hard surface covered with a towel or something similar, and run the knife along the steel at a consistent angle. It may take a little time to get used to maintaining an angle, but you can start by using the guard of the steel’s handle to start your motion, which is generally about 15 degrees.

You’ll want to start at the heel of the knife, and run the blade along the steel in an upward and/or downward motion. Repeat 8–10 times on one side, then repeat on the other side. You’ll want to decrease the number of motions on each side as you get close to a perfect edge.

Honing vs. Sharpening

The award for most misunderstood tool in the kitchen goes to the honing steel, hands down, but it’s not your fault. Just get online and you’ll see the word “sharpening” attached to honing steels all over the place, which is very misleading because the honing steel does not sharpen—it hones (go figure).

Remember that burr I mentioned earlier? The honing steel helps to maintain a sharp edge by removing the burr in the sharpening process and also re-centering your edge as the knife gets used. A honing steel is an essential part of any kitchen because, if used frequently and properly, you’ll only need to sharpen your knife  once or maybe twice a year depending on usage.

As you use a knife, the edge will be pushed to one side or the other making it seem less sharp. By running the knife along the honing steel, you’ll flatten and re-center the edge, bringing it back to its original glory.

As for how to do that, it’s the exact same as the sharpening steel, and I like to use a honing steel just about every time I bring out a knife to cook—it can take as little as 10 seconds once you get used to the motion.

How Often to Sharpen

This is a tough one to answer because it’s different depending on the knife, its usage, how well it was sharpened to begin with, and what any one chef considers “dull.” The most obvious answer is to sharpen your knife when you’re unhappy with its performance, even after honing its edge.

For me, it helps to view a knife as what it really is—a tool—and tools are meant to make work easier. If I have to put any “effort” into slicing an onion or use any type of sawing motion to slice a tomato, it’s time to re-sharpen. For some home chefs, this definition could change, but the old adage “there’s nothing more dangerous than a dull knife” tends to hold true. If you need to put force behind a knife to get it to cut, then you’re asking for disaster—because as soon as that force finds a place to go, you’ve got a sharp object with no control behind it. So, when in doubt, hone your knife and then test it. If it’s still not there, re-sharpen it.

For the average home chef, I’d say once a year is a good rule of thumb and twice a year would be the most. If it’s more than this, you either need to hone your sharpening skills (pun intended) or invest in a higher-quality knife with better steel. It’ll pay dividends in the long run.

If you haven’t noticed, I could go on and on about knife sharpening because it’s that important. A sharp knife is a safe knife. A sharp knife is an asset. A sharp knife is a joy to use. A dull knife, on the other hand, is the opposite of all those descriptors and is flat-out embarrassing for anyone who wants to keep a proper kitchen. So, give those knives the attention they deserve by giving its edge the attention it deserves. No matter how you cut it, you’ll see the difference on the plate, which is the only place it matters.

Photography by Steve Schwartz

Editorial

Three Iconic Texas Cocktails

You should be well aware by now that I have nothing against wine and beer. That being said, I’ll always have a soft spot for cocktails due to one specific reason—you have to make them, and this means that they’re always going to be a little more personal than anything that’s bottled and shipped. The good, bad, and ugly are all attributed to the person who made them.

In an effort to lean more towards “the good,” I’m going to do a quick run-through of a few iconic Texas cocktails that you can serve up this season and any season. Not only are each of them a great drink, but they also represent their own little corner of Texas’s drinkin’ traditions, and I’ll do my best to give a brief background of each.

Lastly, I’d encourage you to go all-out with these. Beverages are best with your closest friends and family, and your closest friends and family deserve a stiff, well-mixed drink whether temperatures feel like a Texas fall or a New England summer. Start the group text, turn on the bat signal, and start planning the party—because the drink menu is already ironed out.

Margarita

Background

Now, before you say anything, I know the margarita wasn’t invented in Texas. In fact, there’s a metric ton of opinions flying around as to where it was actually first made—Tijuana, California, New Mexico, and even the U.K. (a theory we’re going to ignore altogether). But, let’s try a test. When you think of a margarita, what is the first U.S. state that pops into your head? Yeah, that’s what I thought.

Why it’s great

When done properly (something we’ll cover in a minute), the margarita is the ultimate companion to both Texas temps and Mexican food. It’s refreshing, can be made with spice, and couldn’t be easier to make.

How to make it

It’s not a hill I’m going to die on, but unless you’re currently in a sorority or are desperately trying to impress someone in the aforementioned sorority, you should probably make your margarita on the rocks:

  • 1 lime wedge
  • Coarse sea salt
  • 1 large ice cube
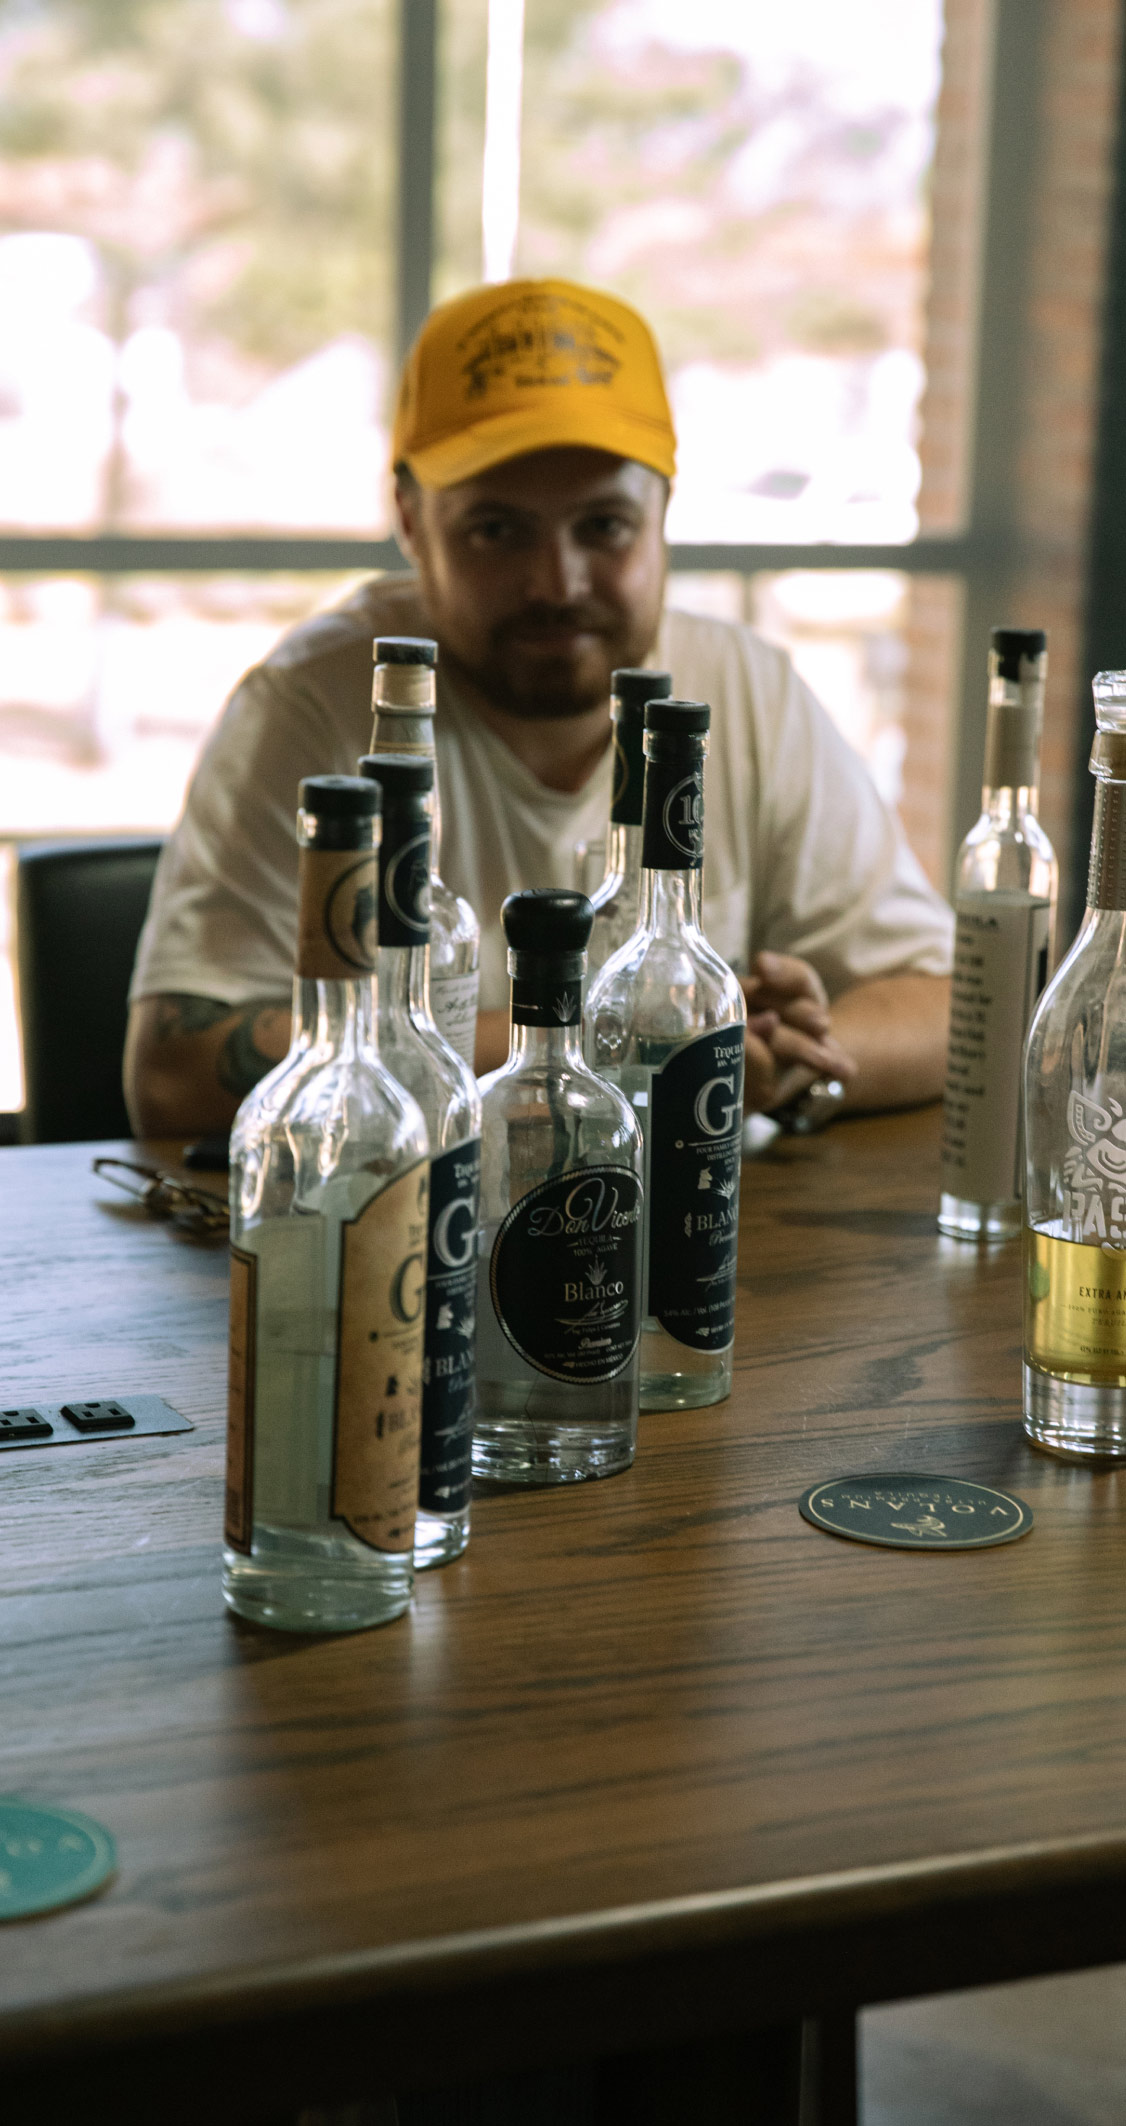
  • 2 oz tequila blanco (I prefer Tapatio or Tequila Ocho)
  • 1 ½ oz triple sec
  • 1 oz fresh lime juice
hot tip

Use the lime wedge to moisten the rim of your glass and dip in tajin before you add ingredients, unless you’re some sort of magician.

Ranch Water

Background

Once again, there’s some dispute as to the history of the Ranch Water, but there’s absolutely no disputing that it was made in Texas. It’s hard for me to believe that a specific bar or restaurant invented this one, mainly because it’s so damn simple—you can’t tell me that 1998 was the first time someone thought to throw some booze in a Topo Chico.

Why it’s great

You throw some booze in a Topo Chico. But seriously, the Ranch Water is the working man’s cocktail in Texas—super easy, and super tasty, and can be adapted to use whatever ingredients you have at your disposal when that Southwest sun is bearing down.

How to make it

Some may tell you to make exact measurements or fancy up this drink, but I think it’s best enjoyed straight out of a Topo Chico bottle. And yes, it should be Topo Chico, if only for tradition’s sake. If I see you drinking this out of a Pellegrino, I’m slapping it out of your hand.

  • 3 oz tequila blanco (I prefer Tapatio or Tequila Ocho)
  • 1 ½ oz fresh lime juice
  • Topo Chico (drink about ¼ of it to make room for ingredients and fend off a hangover)
  • Fresh lime wedge for garnish
Hot tip

I like the impromptu nature of this one, so use whatever you have on-hand—gin, orange juice, napoles fruit, whatever. Best enjoyed on a tailgate.

Chilton

Background

Ah, the Chilton, Lubbock’s most notable outside of Buddy Holly, Joe Ely, and dust storms. This simple cocktail can be attributed to the Lubbock Country Club, where (supposedly) a doctor by the name of Chilton walked up to the bar and had the bartender whip him up a very specific cocktail.

Why it’s great

You may be beginning to notice that Texas is not known for its complicated cocktails. This may be due to our rustic nature, or the fact that no one wants smoked cinnamon or tomato juice when they’re sitting under a mesquite tree. Either way, this is a simple one you can spruce up to taste.

How to make it

If you made this one any simpler, you’d just be drinking lemon and vodka (you’d take out the water first, right?), so it almost feels useless to put the recipe out there.

  • 1 ½ oz of vodka
  • The juice of 2 lemons
  • Soda water
Hot tip

Nothing against Dr. Chilon or Lubbock, but I wouldn’t blame you if you wanted to throw a little simple syrup in this one, to help blend the flavors. I won’t tell.

Get Updates