For any trained chef, knife sharpening is near and dear to their hearts—and I’m no different. I see a knife as the foundation for meal preparation, reflecting an attention to detail and also a commitment to making the best meal possible. Just think about it.
The meat slices will be thinner. Tomatoes won’t be smashed. Minced garlic will be consistent. Big chunks of cilantro won’t stick to the front of your teeth. In other words, a good sharp knife will save you lots of tears in the kitchen—and I mean that literally, because a sharp knife means less tears when you slice into an onion.
All of the benefits may seem small, but your knifework comes in contact with nearly every aspect of cooking—so it adds up to a monumental difference, which is why a little part of me dies inside when I go to someone’s house and see the state of their knives. It’s one of the most criminally ignored aspects of a home kitchen. It’s time to fix it.
That’s why we’re talking about knife sharpening, one of the kitchen skills I’d put on the culinary Mount Rushmore, right beside “season early and often.”

It may not seem sexy, but it sure as hell will be when your BLT has paper thin tomato slices instead of chunky monstrosities.

Understanding the goal
There are a lot of misconceptions about knife sharpening, so let’s start by actually talking about the goal. Imagine a flat piece of steel with a blunt edge. What would you need to do to make it ready to cut an onion?
First, you need to set an edge. This is a moot point for just about everyone who isn’t a professional knife maker because you’re most likely purchasing an edge, so consider this goal achieved. Next, you want to use some sort of abrasive (whetstone, sharpening steel, etc.) to remove small amounts of metal in equal parts on each side of the edge, bringing it to a fine point. Generally, this is done in stages, using a rough abrasive to remove larger amounts of material, and gradually using finer abrasives to tip-toe towards a smooth, fine edge.
During this process, you’ll eventually start building a burr on the tip of the knife edge. The burr is simply an accumulation of metal that’s being removed from the blade, which is actually a good thing! The final step in the process will be to “deburr” or remove the burr, revealing your razor sharp edge.
What method should I use?
There are a ridiculous number of ways to sharpen a knife, and many of them are ridiculous themselves. For whatever reason, knife sharpening has been flooded with gimmicks over the past few decades, with a deluge of “as seen on TV”-type products that have varying degrees of efficacy. So, as an antidote to this fact, I’m going to keep things simple and run through a few tried-and-true methods.
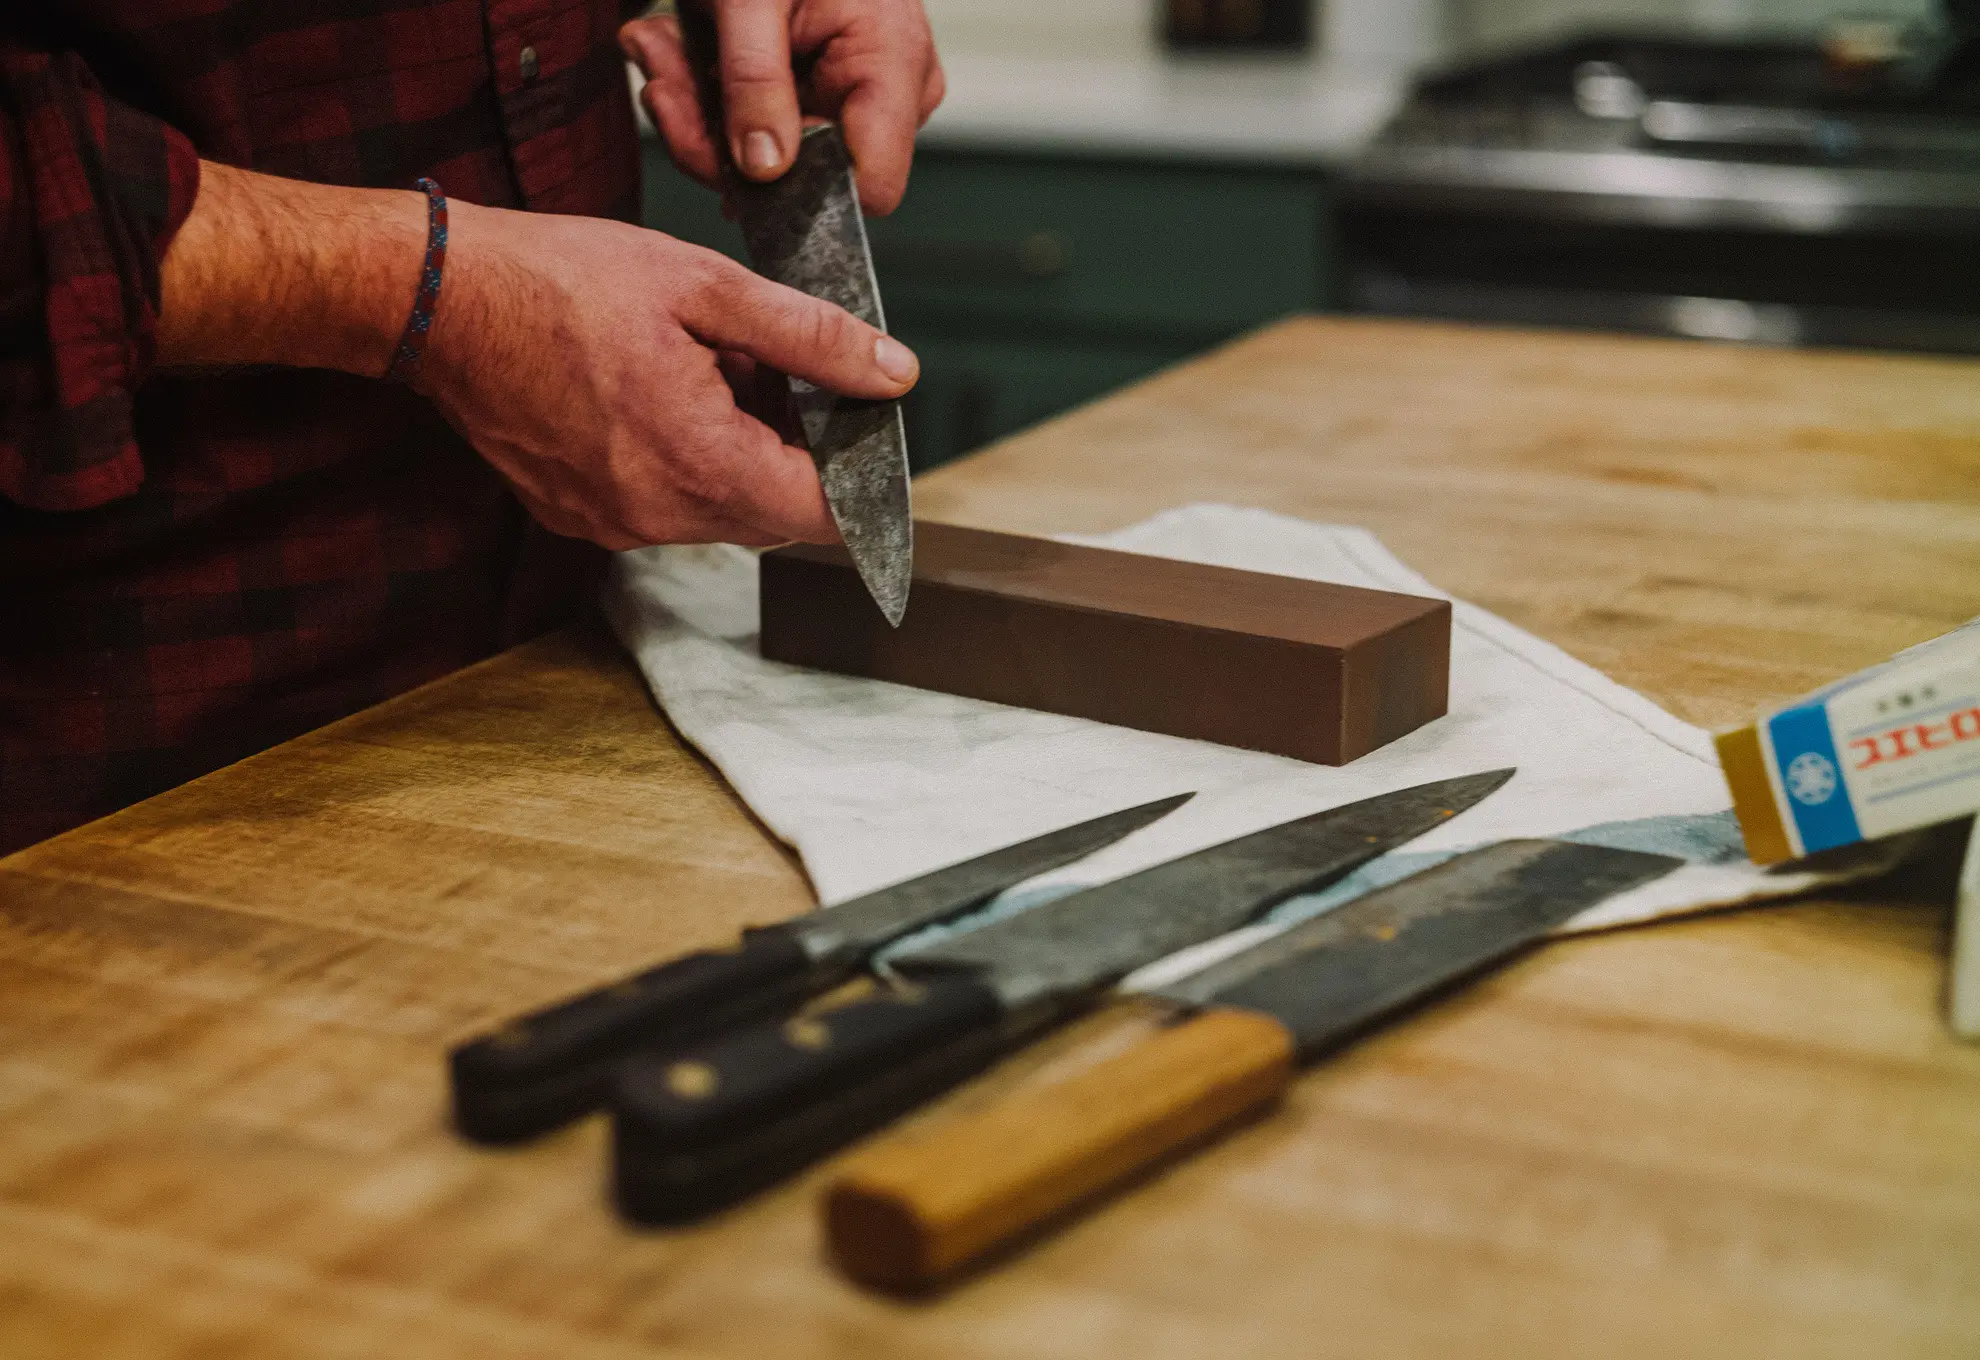
Highly effective, slow, and moderately expensive: whetstone
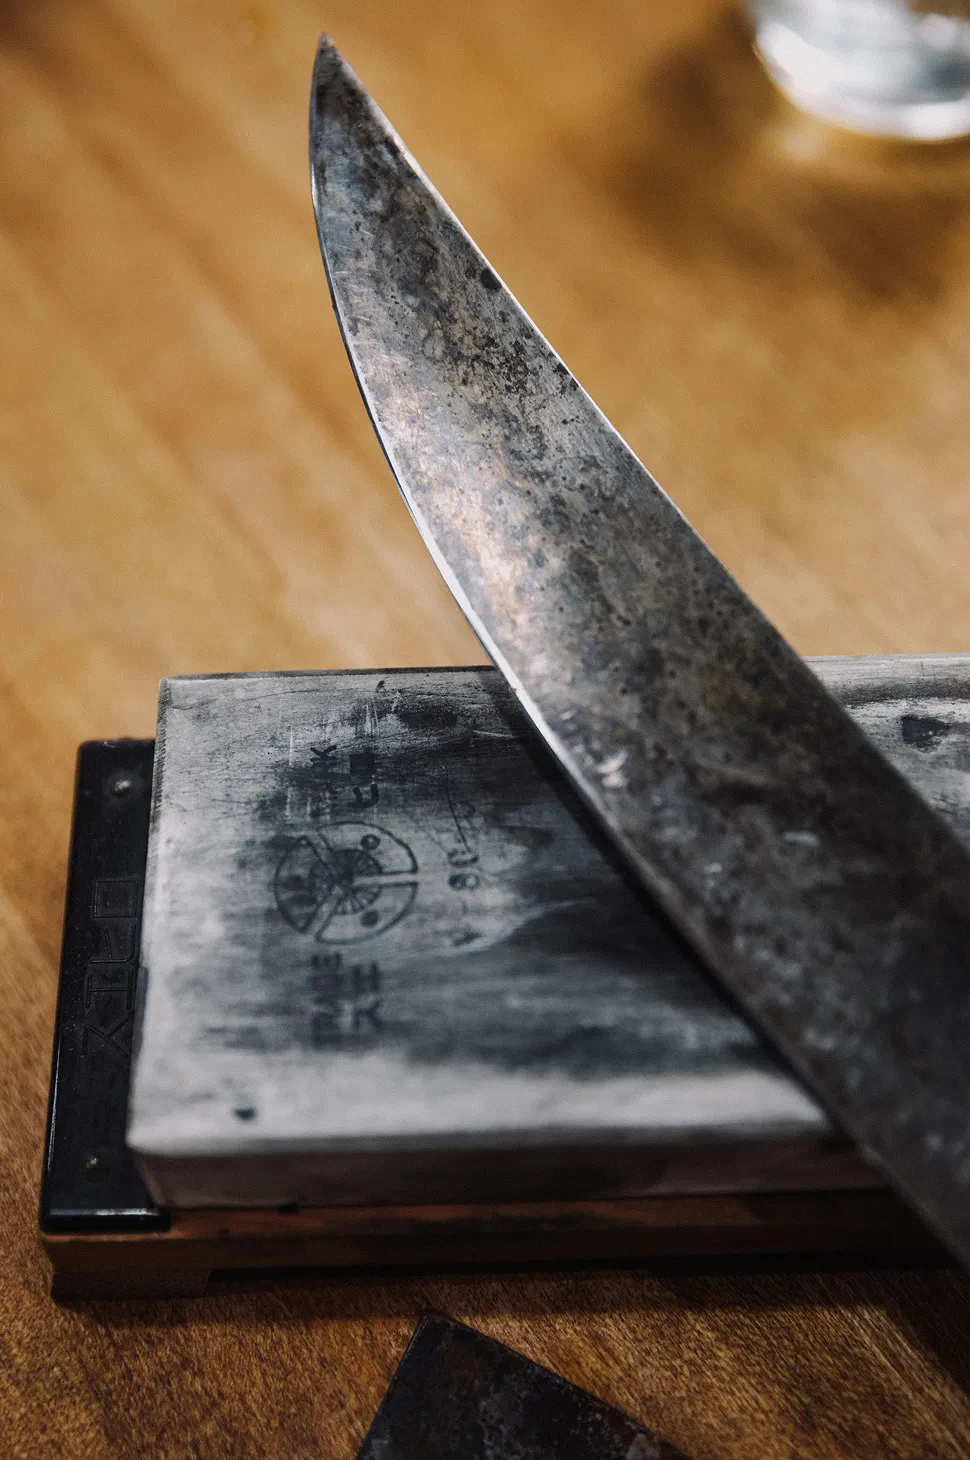
If you ask any culinary purist the “right” way to sharpen a knife, they’ll tell you to get a high-quality set of whetstones. They take some skill and knowledge to learn—and can take 20–40 minutes per knife to use—but can offer up an unbelievably sharp edge. I’m talking about medical-grade sharpness. The reason for this is that whetstones give you the ability to set whatever angle you want on your edge, and very gradually increase the abrasive’s fineness to get the finest point possible.
The issue? As I said, it can take time, even if you’re proficient with whetstones, and a high-quality set can be hundreds of dollars as well. If you do want to go this route, I’d recommend having a 600-grit, 1,000-grit, 2,000-grit, and 6,000-grit stone to get the job done right. Many stones are double-sided, so you could get here in as little as two stones. You’ll probably want a “fixer” as well, which is used to flatten the whetstone and aid sharpening.
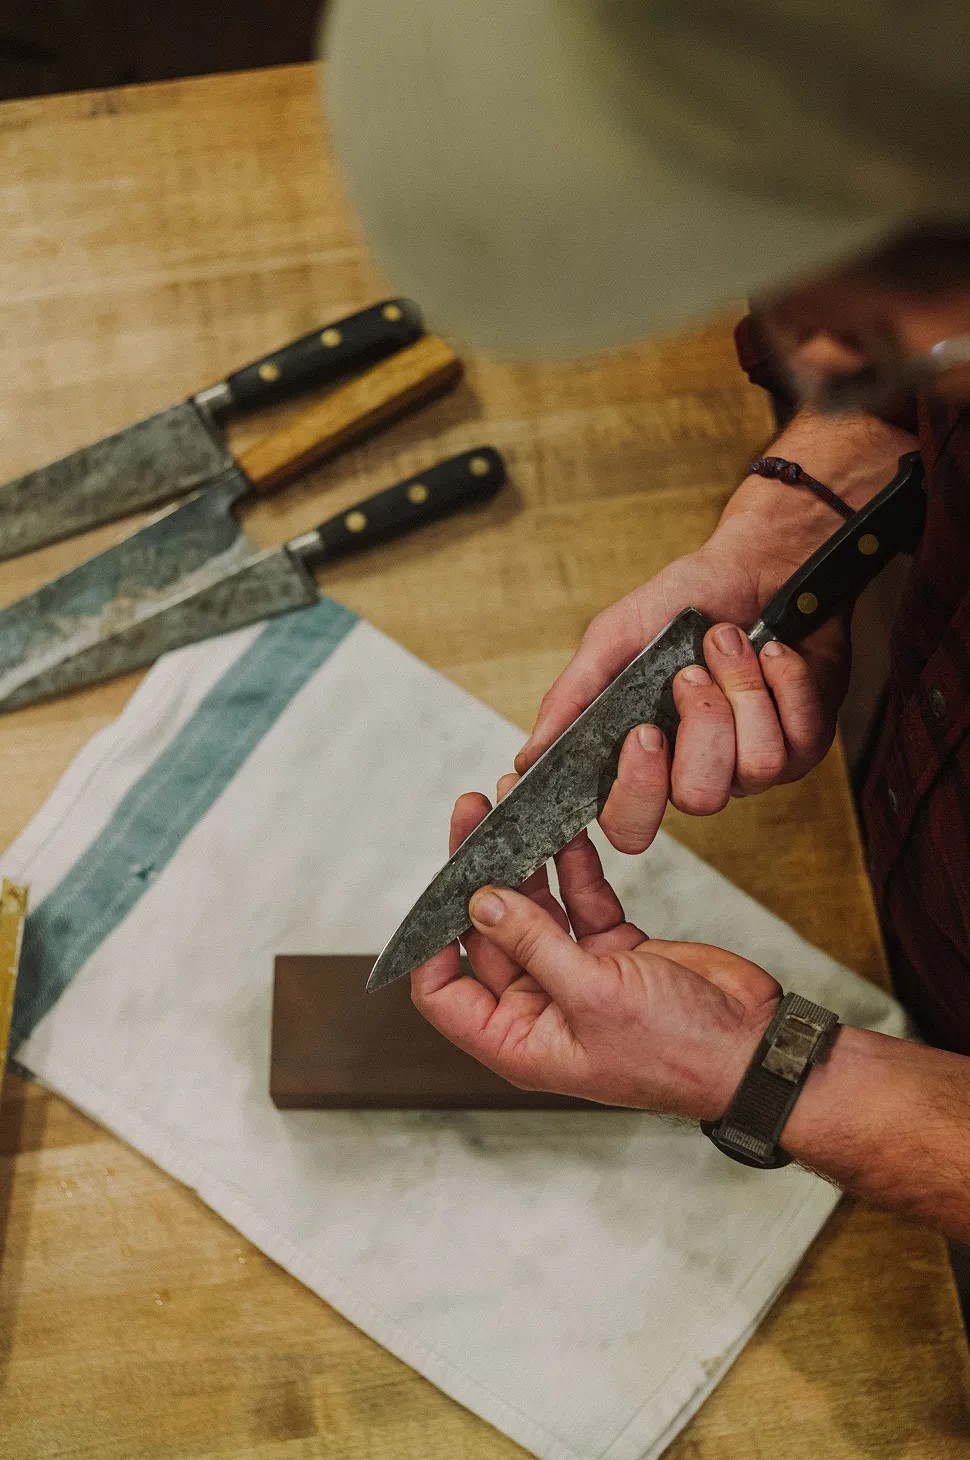
The process is fairly simple, although it can take some time to get used to. Depending on the state of your blade, you’ll want to start on a coarse or moderately coarse stone. Keeping a consistent angle, push the blade away from you while moving the knife from tip to heel. Do this 8–10 times on one side, flip the knife, and repeat. Once the edge looks and feels good, repeat on a finer whetstone. Once you’re done with the whetstones, you’ll want to use your honing steel to deburr and re-center the edge of the knife. We’ll dive into honing steels shortly.
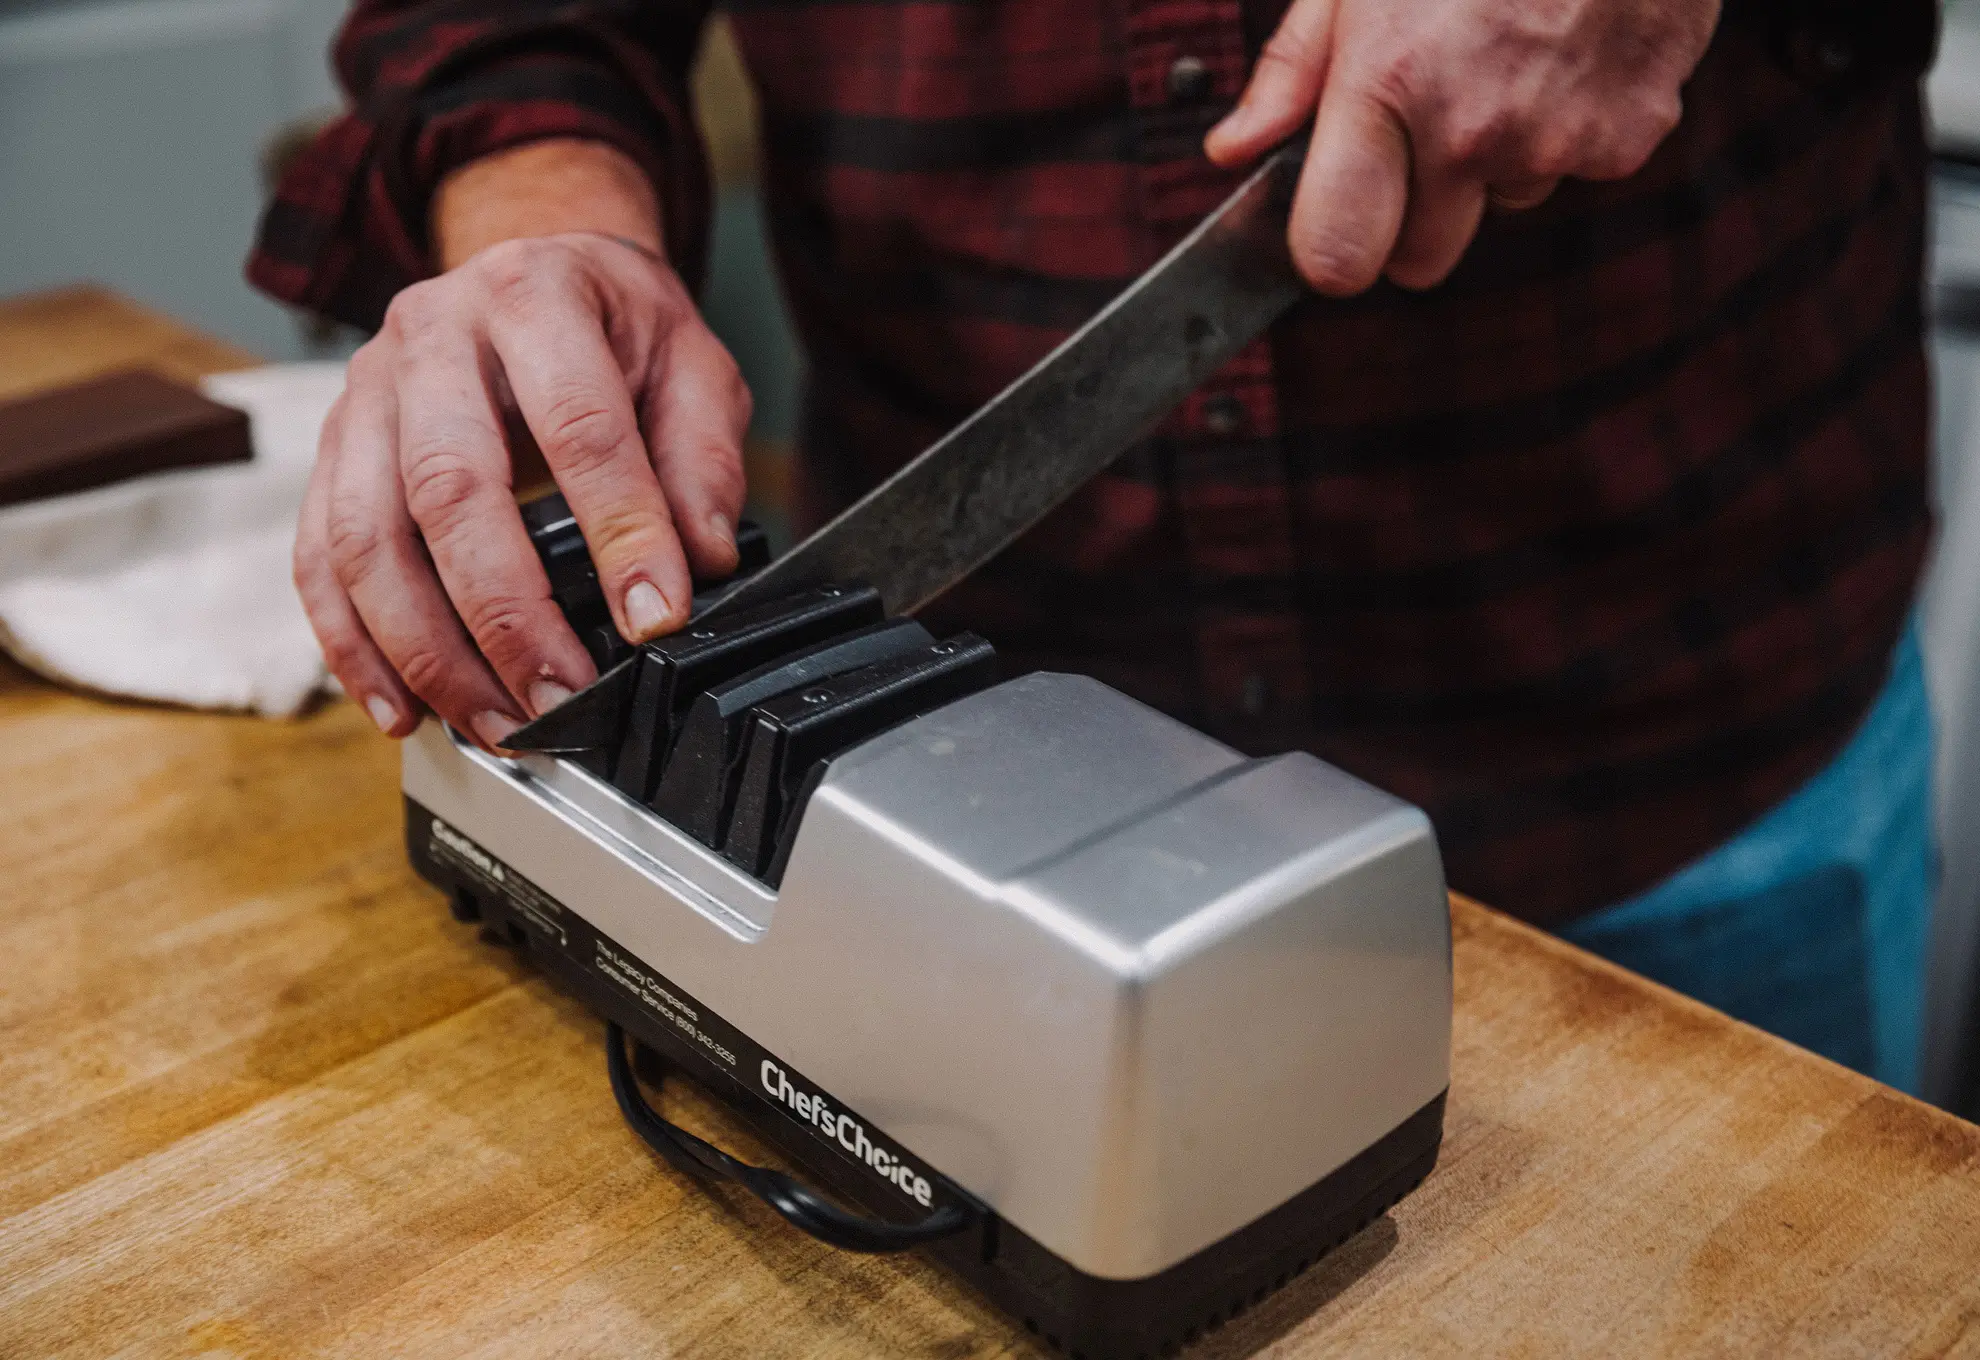
Fast, fairly effective, and moderately expensive: Chef’s Choice
As I mentioned before, there are way too many gimmicky sharpening tools out there, which is why it took me a while to come around on the Chef’s Choice tool. This thing essentially has three increasingly fine, rotating abrasives that turn along the blade’s edge, and the casing helps to keep the angle consistent. You can go from dull to pretty darn sharp in about 3–5 minutes per knife.
Can you get the knife as sharp and beautiful as a whetstone? No, you can’t, but it can get as sharp as most people will ever need. Another knock on the tool is that it costs between $150–$200, and you can’t adjust the angle of the edge if you wanted to get more specific to individual knives. Lastly, the wheels leave a fairly harsh-looking surface on the knife, which is purely aesthetic, but can bother knife purists like myself.
All of this being said, it’s a great choice for a home chef who just wants to get things done and wants a sharp knife for the job. It’s fast, pretty effective, and a one-time buy. I won’t go into techniques because there’s not much to go over, and the owner’s manual will do the trick if you decide to go this route.
Effective, fast, and cheap: sharpening steel
The sharpening steel is the ultimate all-around solution. It’s not as technique-intensive as the whetstone, can be incredibly inexpensive, and is highly effective. It’s the goldilocks of knife sharpening, in my opinion, and used by professional chefs around the world.
It’s important not to confuse a sharpening steel with a honing steel (we’ll cover the difference next), but the technique is similar. You place the steel vertically on a hard surface covered with a towel or something similar, and run the knife along the steel at a consistent angle. It may take a little time to get used to maintaining an angle, but you can start by using the guard of the steel’s handle to start your motion, which is generally about 15 degrees.
You’ll want to start at the heel of the knife, and run the blade along the steel in an upward and/or downward motion. Repeat 8–10 times on one side, then repeat on the other side. You’ll want to decrease the number of motions on each side as you get close to a perfect edge.
Honing vs. Sharpening
The award for most misunderstood tool in the kitchen goes to the honing steel, hands down, but it’s not your fault. Just get online and you’ll see the word “sharpening” attached to honing steels all over the place, which is very misleading because the honing steel does not sharpen—it hones (go figure).
Remember that burr I mentioned earlier? The honing steel helps to maintain a sharp edge by removing the burr in the sharpening process and also re-centering your edge as the knife gets used. A honing steel is an essential part of any kitchen because, if used frequently and properly, you’ll only need to sharpen your knife once or maybe twice a year depending on usage.
As you use a knife, the edge will be pushed to one side or the other making it seem less sharp. By running the knife along the honing steel, you’ll flatten and re-center the edge, bringing it back to its original glory.
As for how to do that, it’s the exact same as the sharpening steel, and I like to use a honing steel just about every time I bring out a knife to cook—it can take as little as 10 seconds once you get used to the motion.
How Often to Sharpen
This is a tough one to answer because it’s different depending on the knife, its usage, how well it was sharpened to begin with, and what any one chef considers “dull.” The most obvious answer is to sharpen your knife when you’re unhappy with its performance, even after honing its edge.
For me, it helps to view a knife as what it really is—a tool—and tools are meant to make work easier. If I have to put any “effort” into slicing an onion or use any type of sawing motion to slice a tomato, it’s time to re-sharpen. For some home chefs, this definition could change, but the old adage “there’s nothing more dangerous than a dull knife” tends to hold true. If you need to put force behind a knife to get it to cut, then you’re asking for disaster—because as soon as that force finds a place to go, you’ve got a sharp object with no control behind it. So, when in doubt, hone your knife and then test it. If it’s still not there, re-sharpen it.
For the average home chef, I’d say once a year is a good rule of thumb and twice a year would be the most. If it’s more than this, you either need to hone your sharpening skills (pun intended) or invest in a higher-quality knife with better steel. It’ll pay dividends in the long run.
If you haven’t noticed, I could go on and on about knife sharpening because it’s that important. A sharp knife is a safe knife. A sharp knife is an asset. A sharp knife is a joy to use. A dull knife, on the other hand, is the opposite of all those descriptors and is flat-out embarrassing for anyone who wants to keep a proper kitchen. So, give those knives the attention they deserve by giving its edge the attention it deserves. No matter how you cut it, you’ll see the difference on the plate, which is the only place it matters.
Photography by Steve Schwartz