I think the word ‘hobby’ falls short when it comes to hunting. Sure, it’s fun, but it’s also an ancient practice that’s been feeding humans since the dawn of time—I promise, those cavemen didn’t (only) do it for fun.
As modern hunters, we’re lucky because we get to have our fun and eat it, too. Whether you’re in it for the challenge or to feed the family or for the deer-camp beers, the end result of a successful hunt is the same: some of the healthiest, most delicious meat you’ve ever tasted.
There are plenty of ways to prepare your venison, as we’ll talk about today. But, I think the majority of hunters tend to underthink their preparations a bit, only using the venison for ground meat or steaks. I love both of those preparations, but if you dig a little deeper you’ll find that there are a million great ways to prepare your freezer full of trophy meat. All it takes is knowing the differences between the cuts and using them appropriately.
With that in mind, I’m going to take a cut-by-cut approach to venison, covering the general characteristics, identification, and how to cook it. Don’t let all of this information overwhelm you, either. There’s nothing wrong with sticking to the basics and you can bite off as much as you want, but I’d highly recommend making the most of your deer.
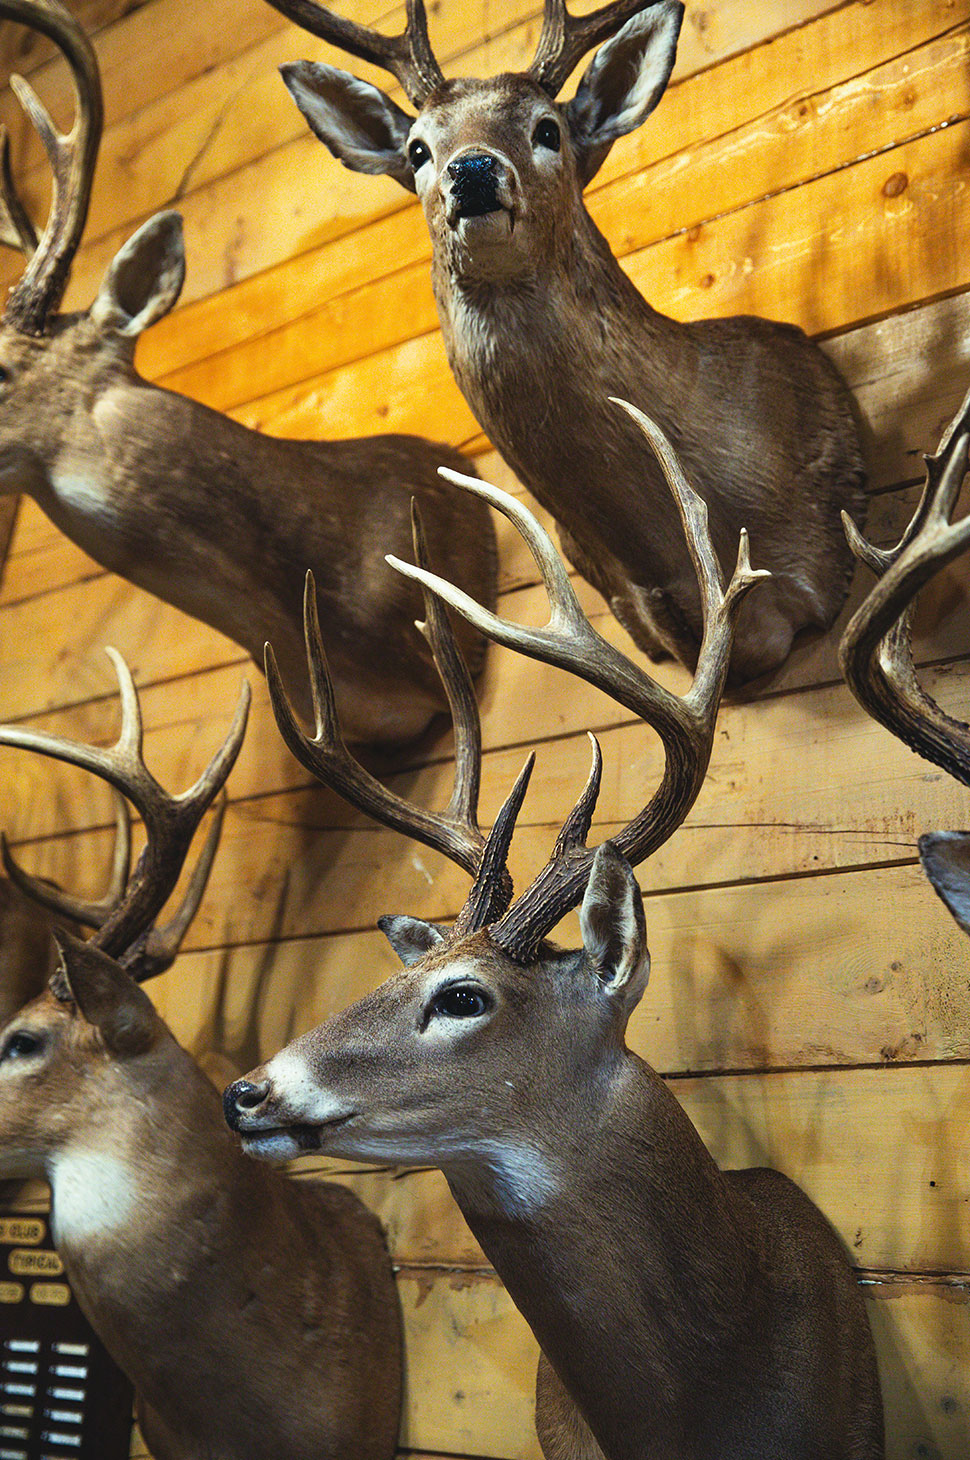

As modern hunters, we’re lucky because we get to have our fun and eat it, too.

Before You Begin
It’s safe to say that the majority of hunters don’t process and butcher a deer themselves, which is the primary reason why most of the cuts get lumped into ‘grind meat’ and ‘steaks.’ If you’re taking your deer to the processor, my recommendation is asking them to leave all of the backstraps and hind-quarter cuts intact. That’s a great place to start and you’ll have plenty to work with.
That being said, processing your own deer is not as difficult as it may seem, and I think every hunter should try it. By processing your own deer, you’ll be able to maintain the highest quality, as well as learn where each of the different cuts come from. You’ll also be able to tailor the process to the deer. For example, a small shoulder from a small deer is great to keep whole for roasts, while a shoulder from a large buck may be best to piece out for stew meat or sausage.
If you’re interested in taking on the process yourself, start with this episode of MeatEater, where Steve Rinella walks you through the whole shebang.
Tenderloins
Identification:
These cuts are easy to identify because they’re the only pieces you’ll find inside the body cavity of the deer. There are two, ranging from about five to six inches long, tucked alongside the spine toward the back of the deer.
Preparation:
Tenderloins live up to their name, and rarely make it into the freezer. In my opinion, they’re best kept whole and seared on a hot grill to rare or medium rare. Regardless, these little morsels land squarely in the ‘steak’ category.
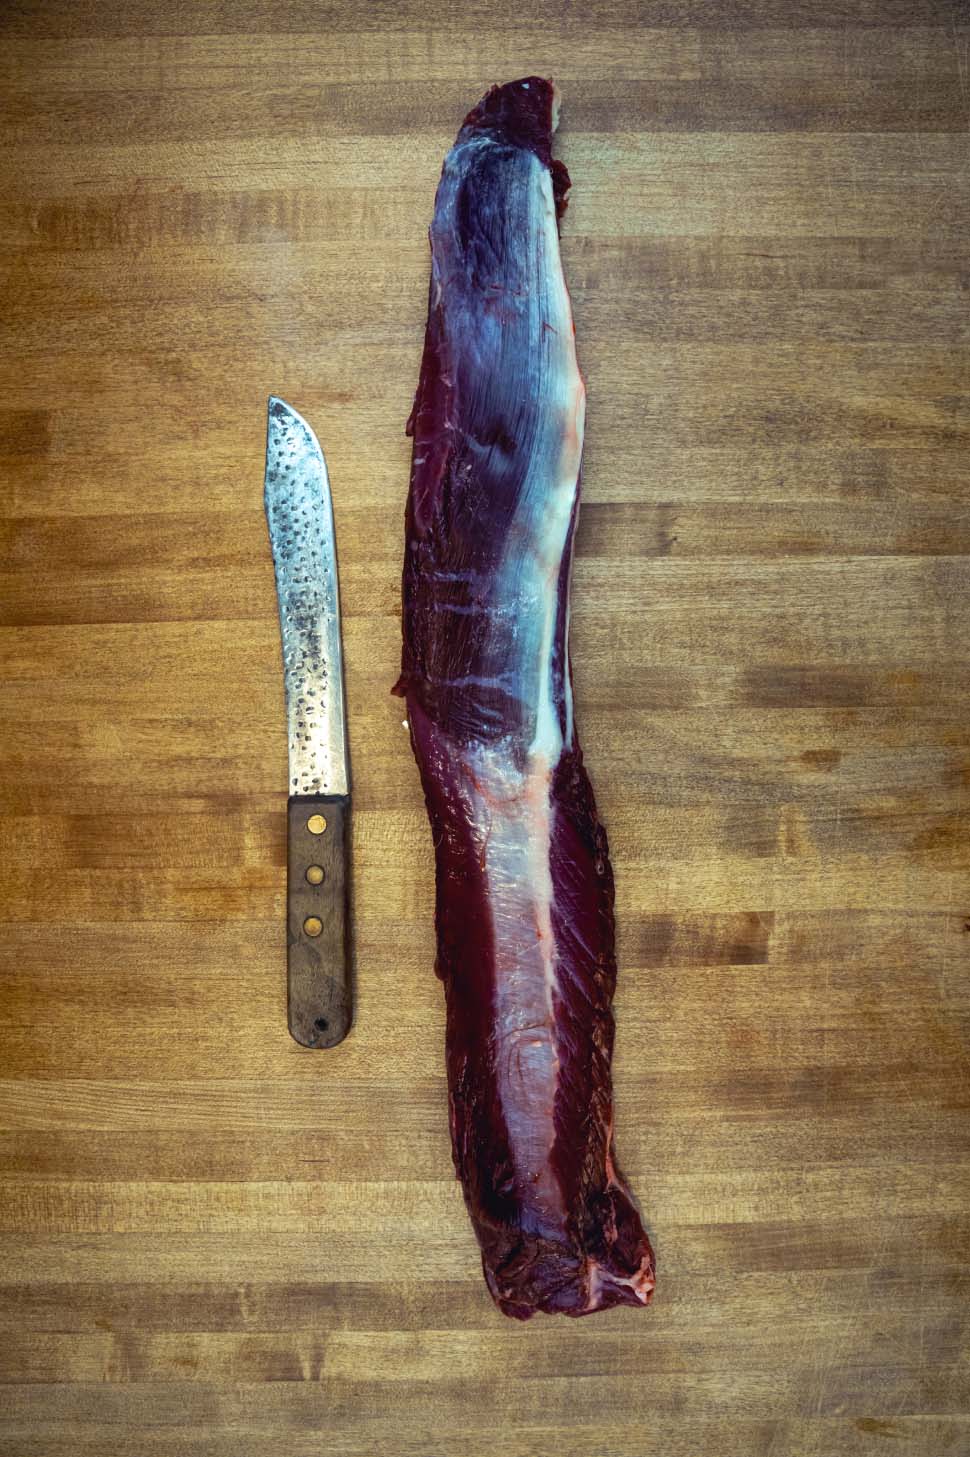
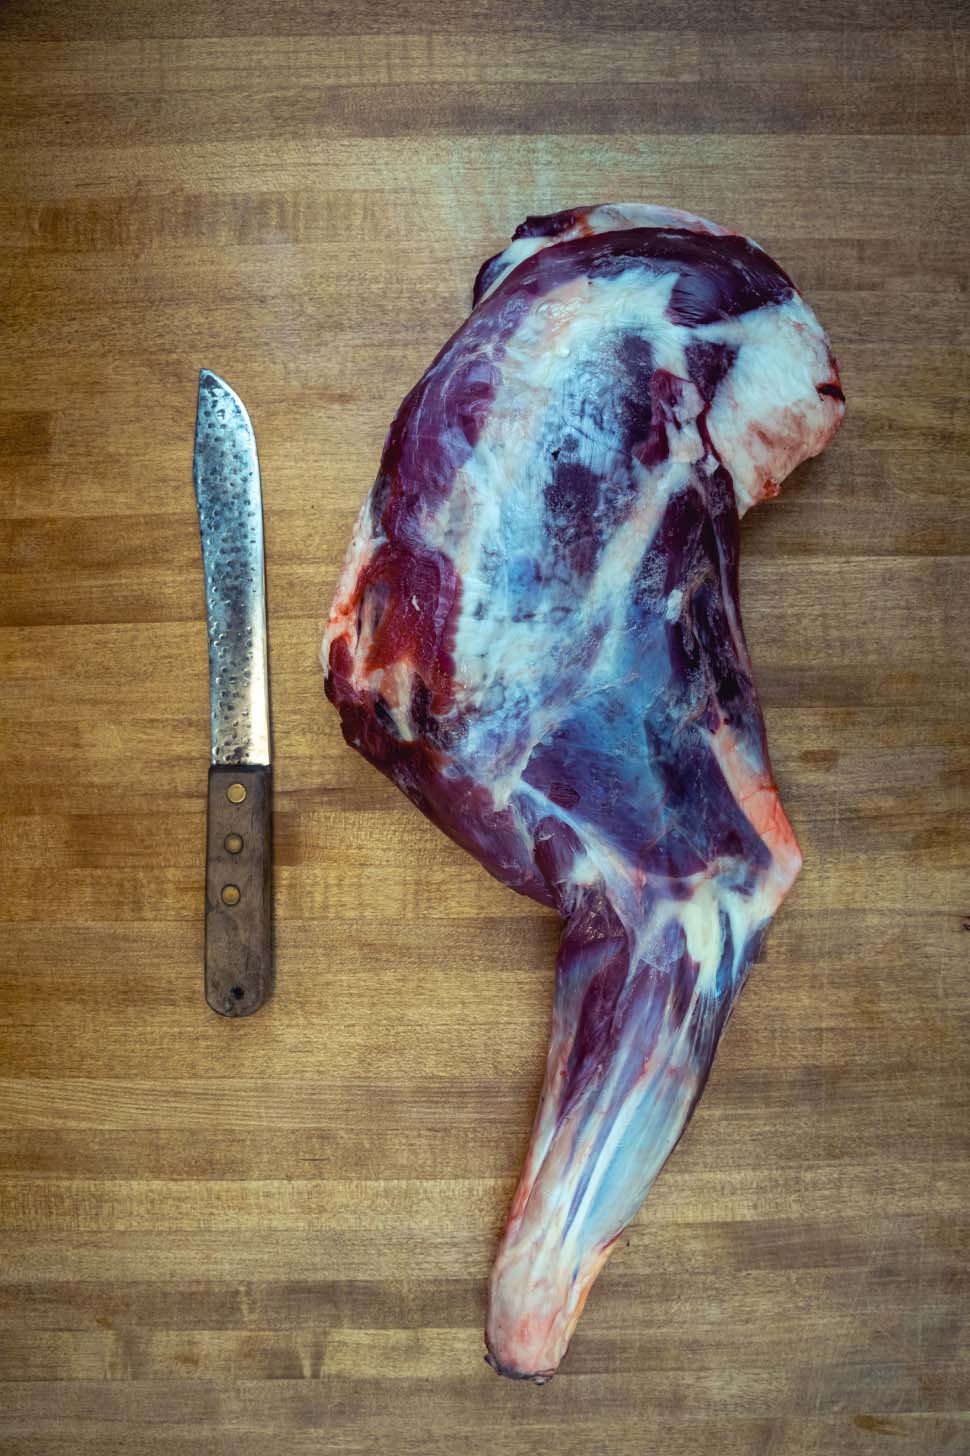
The backstrap (left) is a household name for just about any deer-hunting family, and the shoulder (right) has plenty of great uses if you plan ahead.
Backstraps
Identification:
Backstraps can be found on the back (surprise) of the deer, running along each side of the spine from the neck down to the rump.
Preparation:
They’re one of the most versatile cuts of meat you can find on a deer. Most hunters slice them into one- or two-inch steaks or keep them whole to be sliced after cooking. They can also be sliced thinly and stuffed with any number of ingredients, rolled up, trussed, and cooked over hot coals. If you have a surplus of steaks in the freezer already, the backstraps also make some of the best stew meat you’ll ever have—but that may be sacrilege to most hunters. Lastly, you can cut the backstraps vertically through the ribs to make mini tomahawk steaks as well—another benefit of butchering the deer yourself.
Shoulders
Identification:
They’re shoulders. If you can’t find those, I don’t know what to tell you.
Preparation:
The treatment for shoulders varies a bit based on size. For smaller deer, I like to remove the shank and keep the rest whole for making pot roasts or smoking low and slow on the grill. Shoulders get used hard by deer, so you’ll want to give this cut more time to cook, but once you do, the meat is tender and buttery. For large deer, you have two options. First, you can cut all the meat off and use it for ground meat or sausage. Second, you can cut the shank off and then cut it in half at the next joint, separating the shoulder into two manageable pieces for roasting or smoking. Either is a good option.
You can cut the backstraps vertically through the ribs to make mini tomahawk steaks as well—another benefit of butchering the deer yourself.
Neck
Identification:
While there’s not much meat just below the head, there’s quite a bit in the bottom two thirds of the neck. You’ll know it when you see it.
Preparation:
I’d venture to guess that most of the neck meat ends up as coyote food, but with just a few minutes of slicing, you can add some weight to your grind pile.For larger deer, I like to keep the neck meat intact by slicing underneath and around the neck. It makes great roasts when cooked slowly. For most necks, however, I’ll cut the meat off any which way and throw it into the pile for grinding.
Rump
Identification:
The rump is very similar to the neck, a cut that often gets ignored. It can be difficult to distinguish between the backstrap and the hindquarter, but it’s distinct and becomes easier to identify when the former and latter are removed.
Preparation:
I prepare this the same as I would the neck. You can either keep it intact for slow-cooking as a roast or smoked as pulled venison, or you can put it in the grind pile.

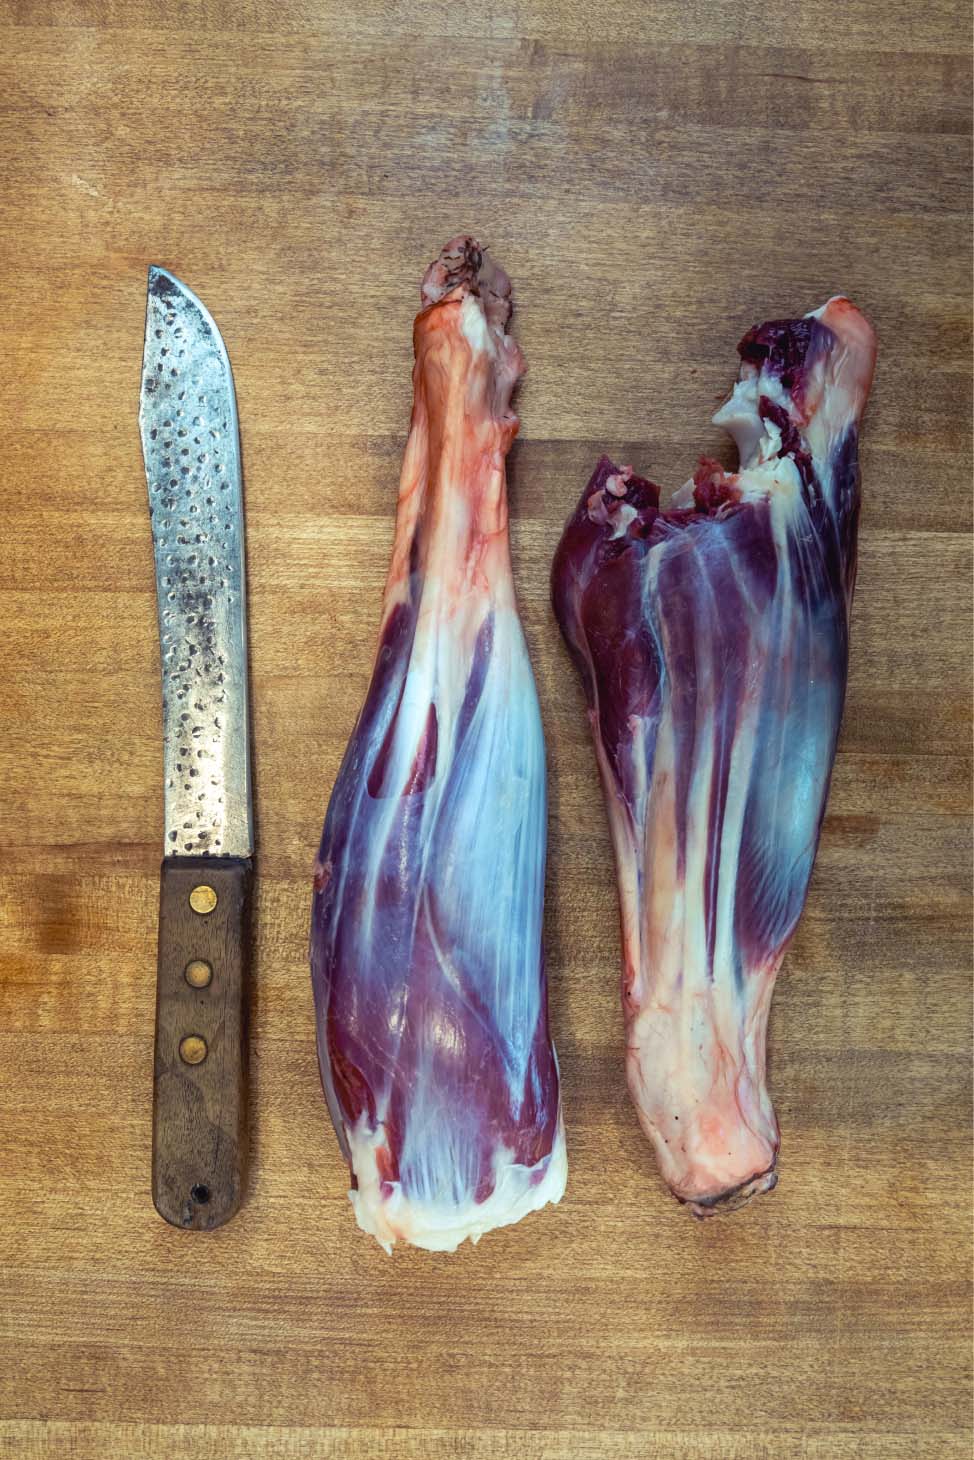
When seared and slow roasted, the shanks release the bone marrow and meat to make some of the most tender, rich meat you’ll have.

Shanks
Identification:
Essentially, the shanks are the “forearm” of the deer, and you’ll find one per leg. Be sure to cut the hoof off, but you already knew that.
Preparation:
Admittedly, there’s not much meat on the shanks compared to the other cuts. However, if you take a meat saw and cut them into three- to four-inch sections, they’ll make one of my favorite venison dishes—osso bucco. When seared and slow roasted, the shanks release the bone marrow and meat to make some of the most tender, rich meat you’ll have. If you want a simpler approach, you can always slow-roast the shanks together and pull the meat off when tender. Lastly, you can always keep them along with other large bones to make venison bone broth.
Ribs/Skirt
Identification:
I’m lumping the entire side of the deer—below the backstraps and between the front and back legs—into this category. You can’t miss it.
Preparation:
I wouldn’t blame anyone for not messing with this section. It’s the most likely to be dirty, bloody, and frankly unusable after field dressing a deer. But, maybe take a few minutes to trim the meat between the ribs, which’ll make a great addition to the grind pile. Or, if the meat is in good shape, you can run your knife under the meat (on top of the ribs), lifting it off in one large sheet. Voila! Skirt steak. It’s great for fajitas or a very German dish called rouladen.
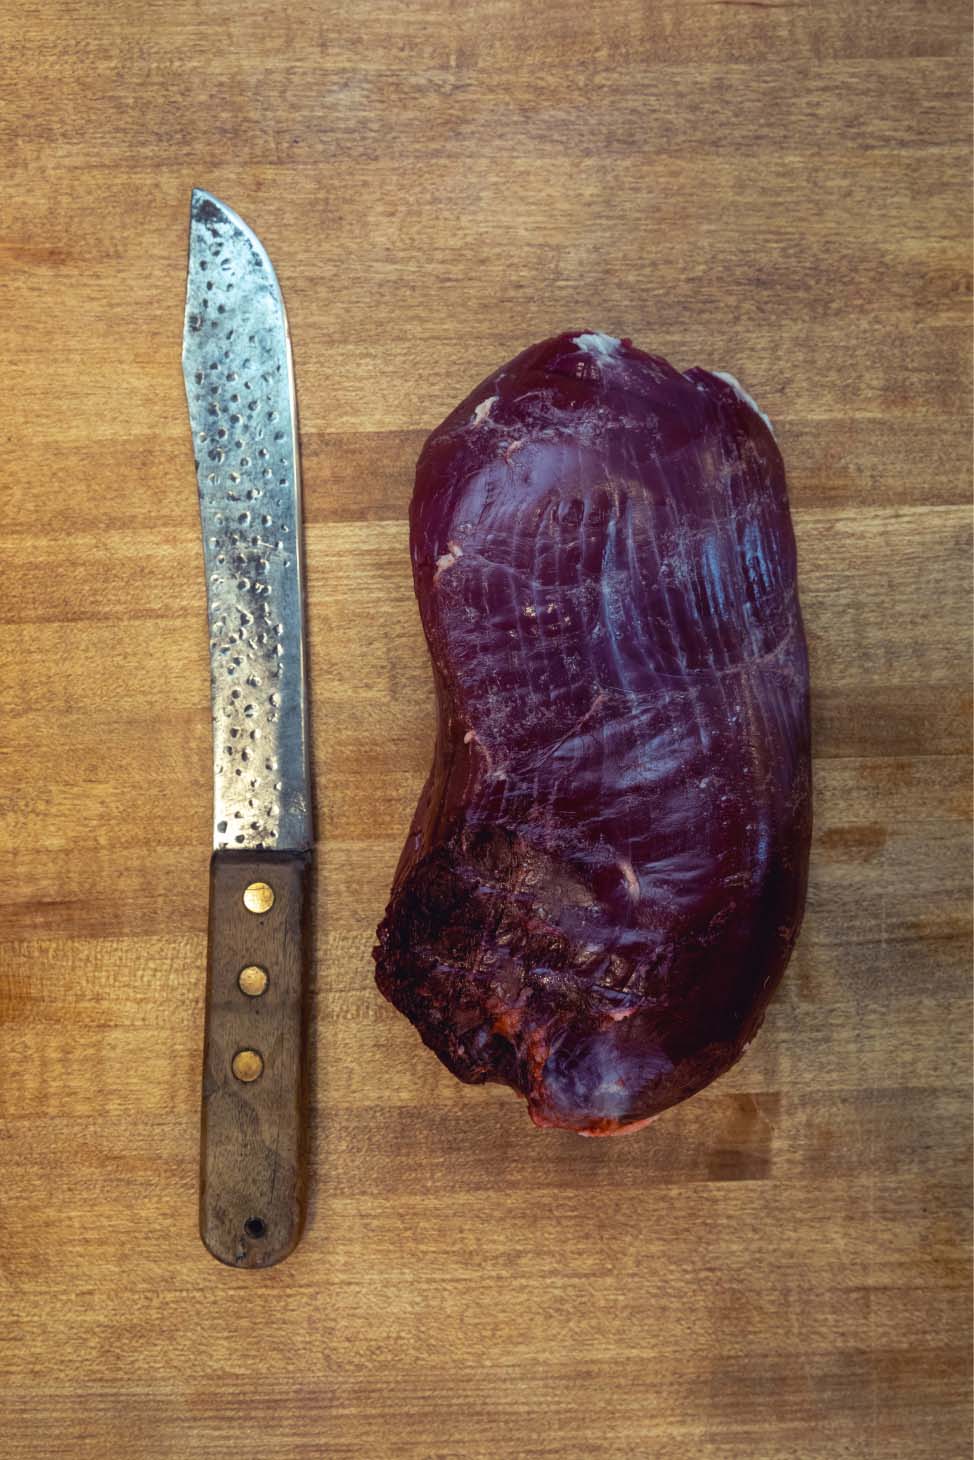
All hail the mighty top round. Cut perpendicularly across its distinct grain, and you have the best steaks that the whitetail woods can provide.

When butchering, it may seem overwhelming, but just keep in mind that the distinct cuts are, well, distinct. If you just follow your nose and your knife, you’ll start to piece out the hindquarters in no time.

All hail the mighty top round. Cut perpendicularly across its distinct grain, and you have the best steaks that the whitetail woods can provide.
Hindquarters
Now we’re getting into the meat (sorry) of the article. The hindquarters deserve their own section because they’re actually made up of five (or six) different cuts that are worth paying attention to. When butchering, it may seem overwhelming, but just keep in mind that the distinct cuts are, well, distinct. If you just follow your nose and your knife, you’ll start to piece out the hindquarters in no time.
Top Round
Identification:
This cut is found on the inside of the deer’s leg above the aptly named bottom round. It has the least distinct shape of the hindquarter cuts (in my opinion), which helps me to identify it. You could say it’s rectangular-ish, similar to the shape of Ohio or Wisconsin? You’ll figure it out.
Preparation:
Anything. This is a tender cut that can be cooked quickly as a steak, kebabs, stir fry, or whatever you’d like. It can also be slow-roasted, but I’d recommend cooking it fast and rare.
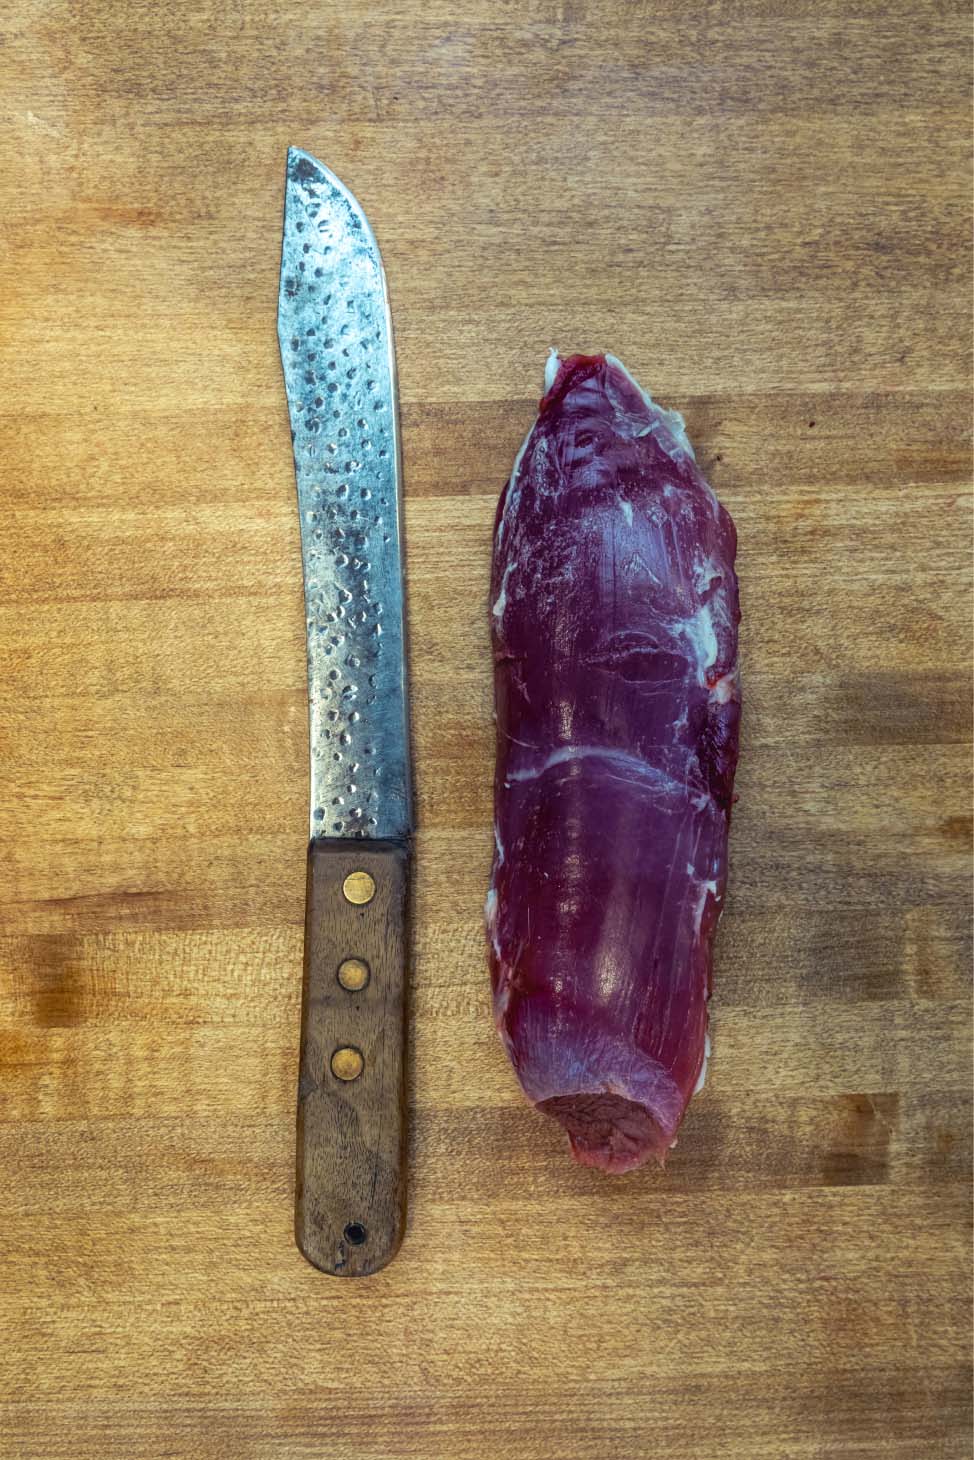
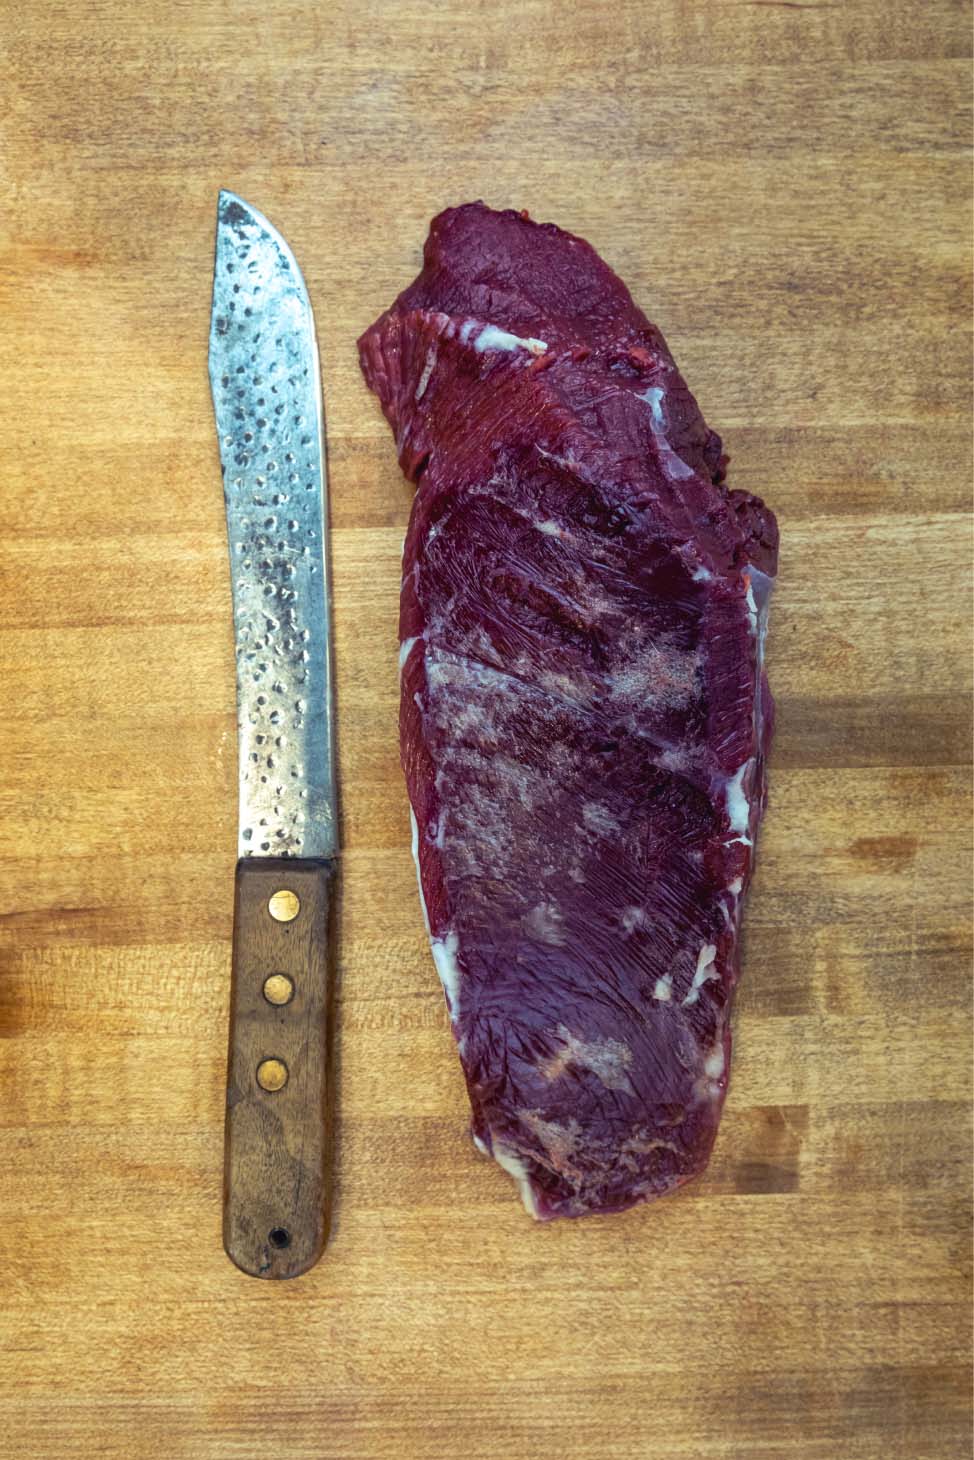
The eye of round's (left) tenderness can be a moving target, but the bottom round (right) is the unsung hero of the deer.
Eye of Round
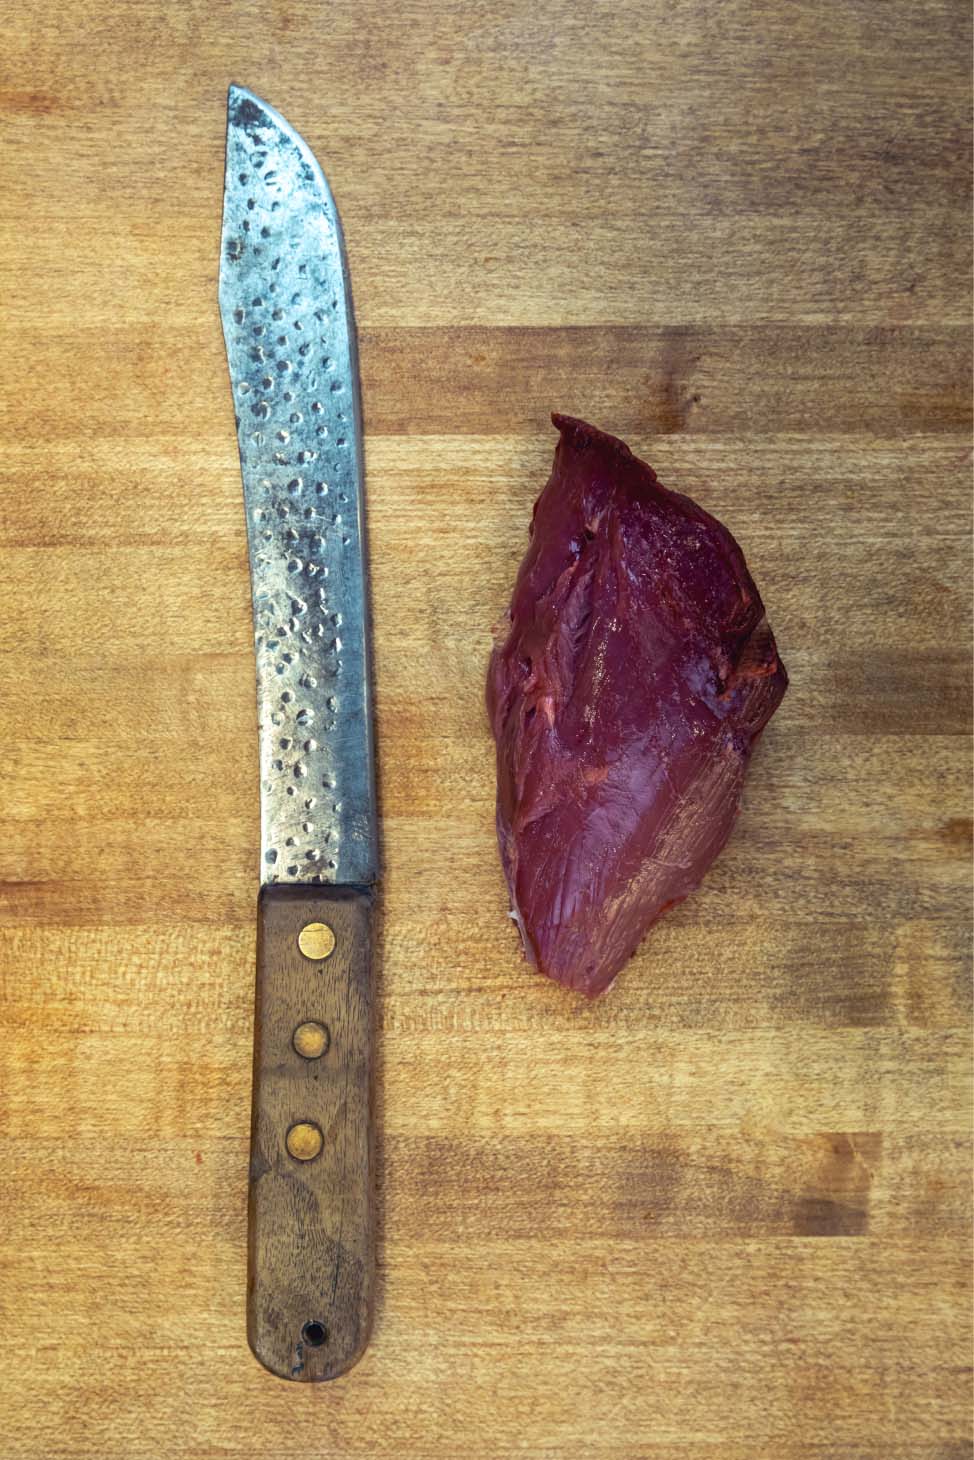
Identification:
Nestled in between the top and bottom round, the eye of round is a small, lean cut of meat that looks similar to the tenderloins. Easily identifiable.
Preparation:
This cut can vary a bit. On younger deer, I’d lump it in with the top round and bottom round, meaning it’s great for fast cooking as a steak or something similar. On older deer (especially bucks), it can be a little tough, so I’d set it aside for stew or grind meat.
Bottom Round
Identification:
The bottom round is a bit easier to identify. Located below the top round and eye of round on the leg, it has a distinct rectangular shape.
Preparation:
Some may say that the bottom round isn’t tender enough to be used for steaks, but I disagree. It may not be “tenderloin tender,” but it’s still a delicious cut of meat that can be cooked quickly and eaten rare. That being said, I also believe that stew meat doesn’t need to be reserved for bottom-of-the-barrel cuts, and the bottom round is a great option to cook slowly in fat and liquid.
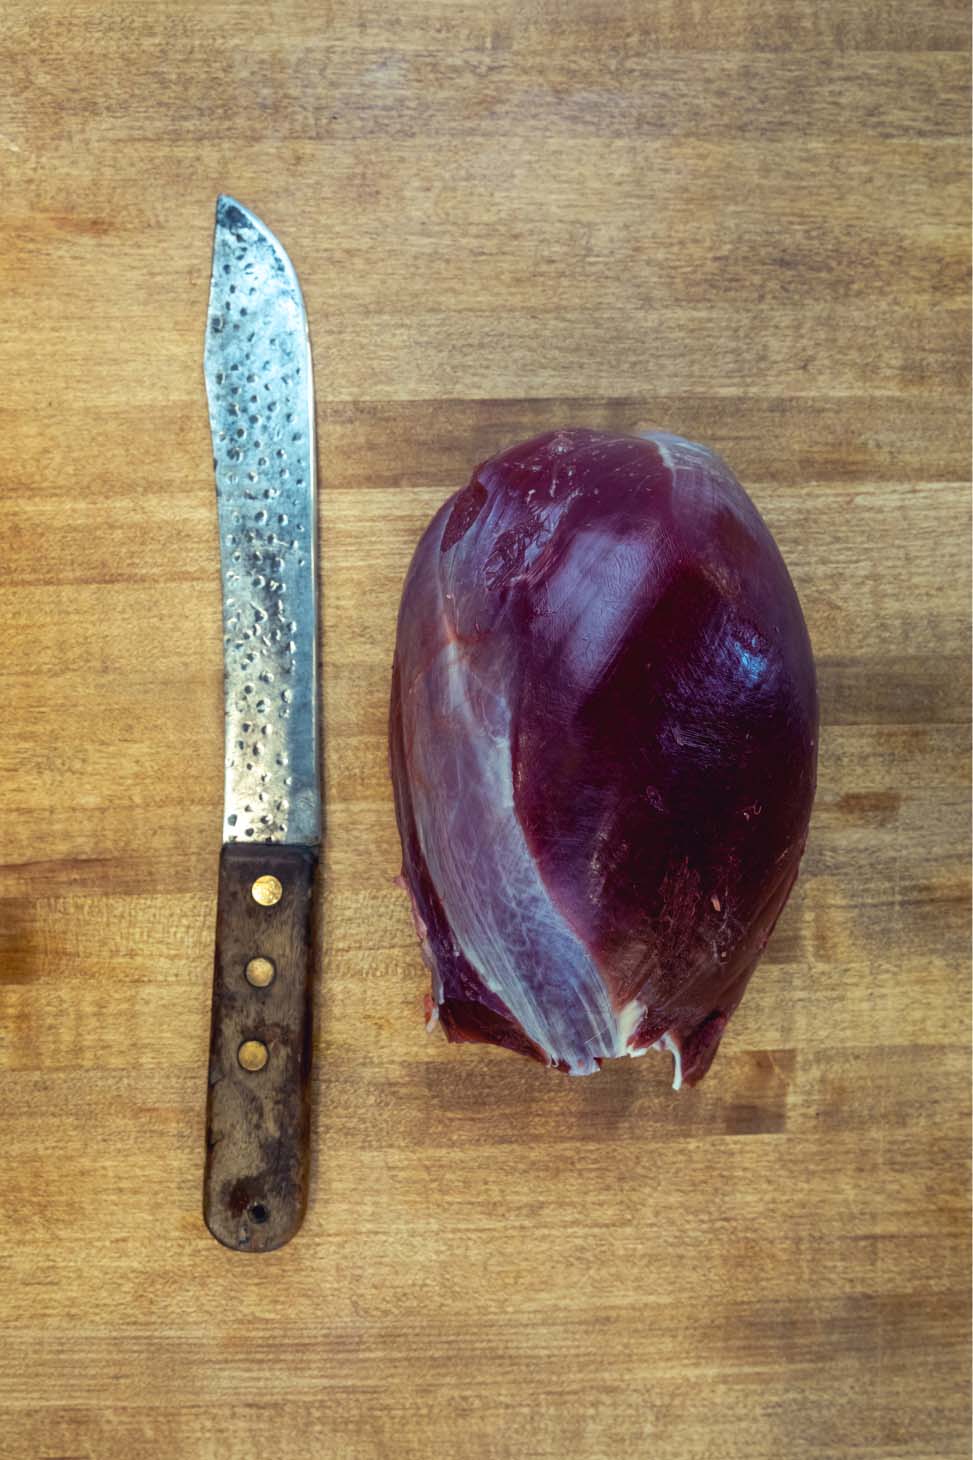
You can't miss the sirloin roast (left), which is a great option for making a batch of jerky. If I'm saving them for steaks, I generally package the tri-tip (right) and eye of round together.
Sirloin
Identification:
Also known as the “football roast,” this cut is easily identifiable because it actually looks like a football.
Preparation:
If you took a cross-section cut of the sirloin, you’d see quite a few lines of connective tissue running through it. Because of this, it’s not great for quick preparations, but it does make for incredible roasts. Cook it low and slow, and all of that connective tissue will dissolve into buttery goodness. It can also be cubed for stew meat, used for grinding, and is my favorite cut for slicing thinly to make jerky.
Sirloin Butt
Identification:
Located on top of the hindquarter, this cut looks very nondescript, but since it’s attached to the sirloin, it shouldn’t be too hard to identify.
Preparation:
This cut is a thin slab of meat, but it is very tender, making it great for fajitas or stir-fry dishes. It’s also fairly small, so I wouldn’t blame you for throwing it into the grind pile.
Photography by Steve Schwartz.
